Step-by-Step Painting Techniques You'll Want to Try!
Step 2: Attach coloring pages behind glass
Stick the paper to the window by using some tape. Get tutorial here
Step 3: Trace the outlines
Make sure the coloring papers behind are secured in place and begin tracing lines. Get tutorial here
Step 4: Remove prints and let glue dry
Now you're left with your basic outlines. Get tutorial here
Step 5: Pour clear glue into cupcake tin
You can use Elmer's Liquid School Glue, Clear. Get tutorial here
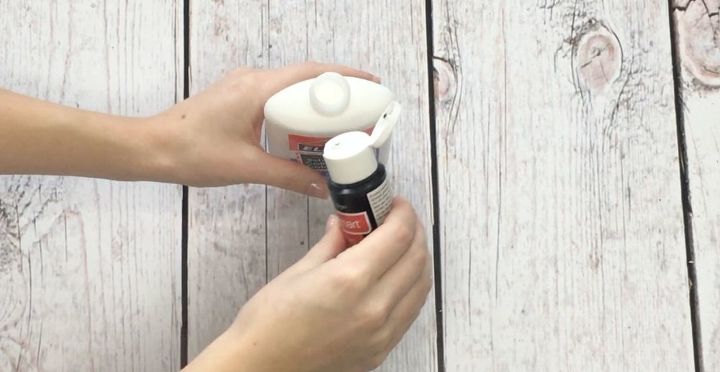
Step 6: Mix in acrylic paints with glue
Use about 2 tablespoons of clear glue to 1 teaspoon of paint. Be sure to mix this well. Get tutorial here
Step 8: Hang your pretty stained glass window
Display this one of a kind work of art anywhere in your home! Get tutorial here
Step 1: Pour your paint
Depending on what you are painting, your medium will vary. Get tutorial here
Step 2: Add water
Add water to make a milky consistency. Be sure not to add to much or your color will not show up in your bubbles. Get tutorial here
Step 3: Add dish soap
I used regular blue dawn and it did not tint my white paint, however if you are worried you can use clear softsoap. Get tutorial here
Step 5: Use straw to blow bubbles
Spin the object while blowing so you can cover the whole surface with bubbles. Get tutorial here
Step 6: Continue and allow bubbles to pop
I used my straw to scrape out all the bubbles and let them pop naturally. Get tutorial here
Step 7: Admire your finished product!
The bubbles give your piece a nice, light marbly look . Get tutorial here
Step 1: Scrub piece with bar of soap
The soap comes off easily and adheres with no problem. Get tutorial here
Step 2: Paint over the soap
Be sure to really coat the frame in paint and cover all of the soap. Get tutorial here
Step 3: Sand edges with grain sandpaper
Be careful not to get too carried away or you won't have any paint left ! Get tutorial here


