3 Brilliant Ideas How to Use Photo Frames
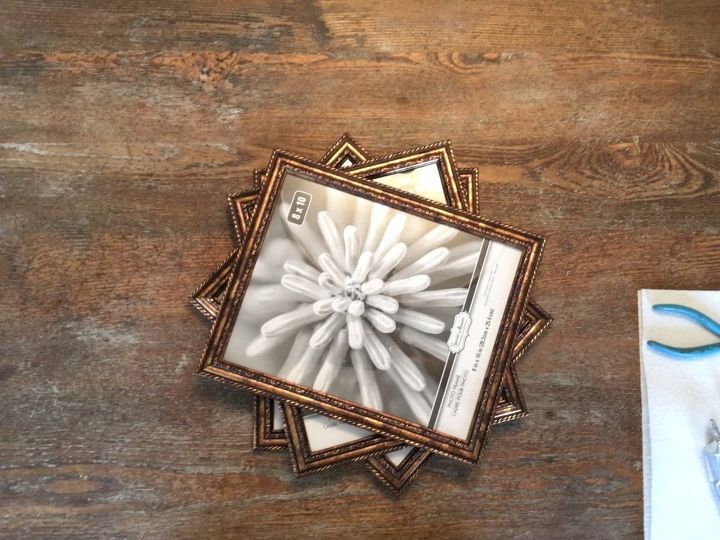
Step 1: Remove all inserts from the frames
For this projects use four 8" x 10" frames and four 4" x 6" frames. Get tutorial here
Step 2: Glue glass into place
Add a drop of glue to each corner and place the glass back into the frame. Allow to dry for an hour. Get tutorial here
Step 3: Glue frames and secure with tape
Using Painter's tape, tape each corner after applying glue to the edges. Get tutorial here
Step 4: Assemble the roof of the structure
Make the roof using the four 4" x 6" frames, and connect them to create the peak. Get tutorial here
Step 5: Secure frames with tape and let dry
Put painter's tape on your joints and allow to dry one hour. Get tutorial here
Step 1: Clean old frame and remove hangers
You can find frames at thrift stores, antique malls or yard sales. Get tutorial here
Step 2: Measure wood around the frame opening
To display the items you will build a box on the back of the frame. Make sure the frame wouldn't stand too far away from the wall. Get tutorial here
Step 4: Secure wood pieces together as a box
Use wood glue on the ends of each piece, and then trim screws to attach the pieces together. Get tutorial here
Step 5: Attach the wooden box to the frame
Apply wood glue around the opening of the frame (on the back side). Place the box and attach to the frame using trim screws. Get tutorial here
Step 7: Level and fix the shelves to the box
Attach the shelves using trim screws. Get tutorial here
Step 8: Cut and attach plywood to the back
Place a thin piece of plywood over the box and mark the size. Cut the plywood to shape. Get tutorial here
Step 9: Apply coats of paint and wax
Apply to coats of paint to the frame, back and inside shelves. After the paint has dried, apply wax to seal the wood. Get tutorial here
Step 10: Attach the plywood back to the box
After the wax has dried, glue the back to the box and secure with trim screws. Add hangers onto the back/plywood. Get tutorial here
Step 2: Trace edge of frame with a wax crayon
That way you'll know how far in the edge of the frame covers the glass. Get tutorial here
Step 3: Paint time and place onto the glass
Type out this information on a piece of paper as a mirror image. Place that paper behind the glass and paint the info on. Get tutorial here
Step 4: Paint a clip art design on the glass
Using the same technique, add an embellishment and leave to dry. Get tutorial here
Step 5: Glue scrapbooking paper to the back
Trace the back of the frame's outline onto a piece of scrapbooking paper. Cut and glue to the inside of the back of the frame. Get tutorial here
Step 7: Put back glass and add more mementos
After the painted glass has dried, place the glass back into the frame and put the back into place. Get tutorial here


