3 Wreath Ideas To Brighten Up Your Front Door
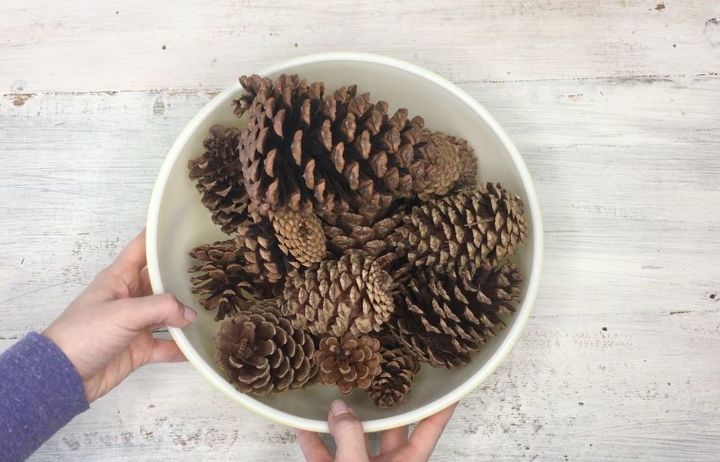
Step 1: Gather different sized pinecones
If you don't live somewhere where there is an abundance of pinecones, you can buy them on Amazon Get tutorial here
Step 2: Paint the bottoms of pinecones
Only paint them half way down. Be sure to get in every nook and cranny Get tutorial here
Step 3: Paint pinecone's center in yellow
It should look like the center of a flower Get tutorial here
Step 4: Pull or saw off the unpainted half
You can start with the scissors to cut of the bottom of the pinecone Get tutorial here
Step 5: Grab wire wreath & twist pinecones on
Gently twist the pinecones into the slats Get tutorial here
Step 6: Grab greenery to fill empty spots
Pull off the pieces and lace them through the wreath form Get tutorial here
Step 7: Hang the wreath on your door
You can make this wreath for any season- just change the colors! Get tutorial here
Next: A Pool Noodle (YES, pool noodle) Wreath
Get started! This ornament wreath is not only customizable, but super easy too! Get tutorial here
Step 1: Cut the noodle to the size you want
Make sure it's not too big or small Get tutorial here
Step 2: Tape 2 pool noodle ends together
Tape the two ends together with duct tape Get tutorial here
Step 3: Hot glue ornaments to the noodle
Be sure to give some variety to the order Get tutorial here
Step 4: Hot glue ornaments to the inner edge
Glue the entire inner circle in the same manner Get tutorial here
Step 5: Cover up the noodle entirely
You can fill in small spaces with smaller ornaments Get tutorial here
Step 6: Fill all the cracks with greenery
You can use eucalyptus because it lasts forever Get tutorial here
Step 7: Wrap a powered light strand around it
Take a small wired battery powered light strand and wrap it around the ornaments and through the greens Get tutorial here
Step 8: Hang it on your wall
You can also hang it on the door if you want Get tutorial here
Next: Frugal Four Season Burlap Wreath
If you LOVE wreaths and noodles this is for you! Grab a noodle and get started! Get tutorial here
Step 1: Measure the amount of burlap needed
Make sure to keep some extra burlap for a fringed edge Get tutorial here
Step 2: Hot glue burlap strips end to end
Secure the seams with a glue gun to create one long continuous strip Get tutorial here
Step 3: Wrap the burlap around the noodle
Measure the burlap and make a tube shape to slide over the noodle Get tutorial here
Step 4: Stitch the entire length
Hand stitch with a simple running stitch the entire length of the burlap strip Get tutorial here
Step 5: Slide the sewn tube over the noodle
Give it a scrunched look Get tutorial here
Step 6: Connect the ends with a twig
Add a twig from outside to the center hole for extra resistance Get tutorial here
Step 7: Secure with a duct tape
Seal the ends with duct tape, there was a lot of resistance with the noodle wanting to straighten itself out again Get tutorial here
Step 8: Add additional decor & hang on door
Add simple burlap bow and glue it . You can add flowers, snow flakes or what ever you have in mind Get tutorial here


