3 Weird Step-by-Step Ways to Decorate Your Plain Tea Towels
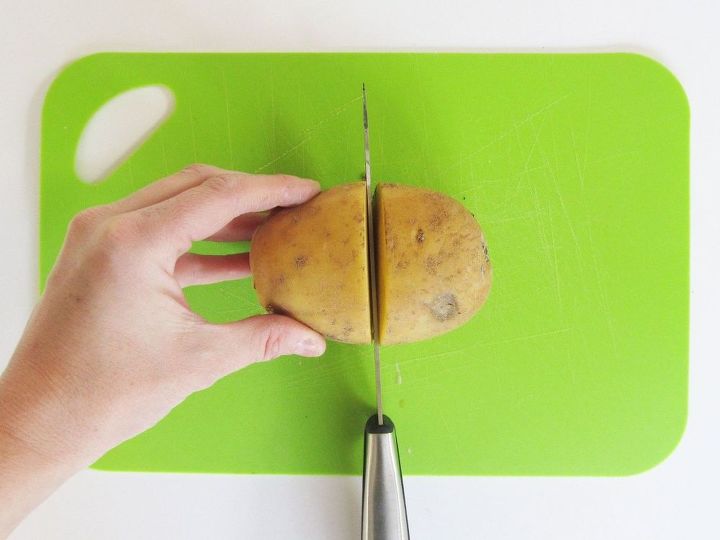
Step 1: Cut a potato in half
Make sure the surface is large enough to put a cookie cutter on top of it. Get tutorial here
Step 2: Push a cookie cutter into the potato
Press the cutter at least 3/4" into the potato. Get tutorial here
Step 3: Cut away the potato around the cutter
Cut as close to the end of the cookie cutter as possible. Get tutorial here
Step 4: Remove the excess slice of the potato
Gently pull the cookie cutter from the potato. Get tutorial here
Step 5: Clean the edges
You're left with a beautiful cut-out, ready for stamping. Get tutorial here
Step 6: Press the potato stamp into the ink
Remember to use fabric-safe ink, which contains dye-based ink. Get tutorial here
Step 7: Start stamping
Use different types of stamps to mix and match patterns. Get tutorial here
Step 8: Set your table & blow guests away!
These potato-stamped tea towels are simple to make, budget-friendly and make great gifts. Get tutorial here
Next: How To Ice Dye Your Picnic Blanket
The COOLest technique to decorate your old sheets. Get tutorial here
Step 1: Pour out 1 cup of soda ash mixture
Soda ash: a pre-treatment wash for fabric to make dye adhere and be colorfast. Get tutorial here
Step 2: Mix in 1 gallon of water
Make sure all the soda ash has dissolved. Get tutorial here
Step 3: Submerge your fabric in the mixture
Be sure the fabric is completely immersed in the water. Get tutorial here
Step 4: Allow fabric to soak for 15 minutes
Once the 15 minutes is up, wring out all the excess water from your fabric. Get tutorial here
Step 5: Place fabric on a rack over a pan
Add twists and bunches throughout to create a more intriguing design. Get tutorial here
Step 6: Cover your fabric with ice
Don't worry if you can't reach the edges of the fabric because the dye will spread throughout as the ice melts. Get tutorial here
Step 7: Sprinkle Procion Dye over the ice
Feel free to do a mixture of colors or just one. Get tutorial here
Step 8: Let it sit for 24 hours
Allow the ice to melt completely. Get tutorial here
Step 9: Rinse the fabric (wear rubber gloves)
Rinse your dyed fabric in cold water until it runs clear and wring out any excess water. Get tutorial here
Step 10: Invite everyone to a dreamy picnic
What a beautiful piece to take for a day in the park! Get tutorial here
Next: How To Create Marble Dinner Napkins
Dress up some plain white dinner napkins with a fun marbled effect. Get tutorial here
Step 1: Mix acrylic paint with fabric medium
This allows the acrylic paint to become fabric-ready. Get tutorial here
Step 2: Spread shaving cream on a cookie tray
Spread a thick layer of cream evenly across the entire tray. Get tutorial here
Step 3: Drip spots of paint onto the cream
You can choose whatever color scheme you'd like! Get tutorial here
Step 4: Swirl the paint drops with a pencil
This creates an exquisite marble look. Get tutorial here
Step 5: Lay the napkin on top of the cream
Carefully place it face down on top of the shaving cream and paint mixture. Get tutorial here
Step 6: Scrape off shaving cream with a ruler
Be sure to wipe the scraping tool clean before repeating this step. Get tutorial here
Step 7: Stretch the napkin and let it dry
Put it in the dryer at medium-high heat or place a sheet of paper on top of the fabric and iron it on a dry setting. Get tutorial here
Step 8: Surprise your family at dinner!
To make another napkin you should repeat the process rather than reusing the painted shaving cream leftovers. Get tutorial here


