


How To Create Stunning DIY Stained Glass Windows With Elmers Glue

Are you looking to add a touch of creativity and color to your living space? Making your very own DIY stained glass window is a fantastic way to achieve this!
In today's project, I'll teach you how to transform an ordinary window into a captivating work of art by making an Elmer's glue window tint with acrylic paint.
This post was transcribed by a member of the Hometalk editorial team from the original HometalkTV episode.
Let's get started with this exciting painted window project!
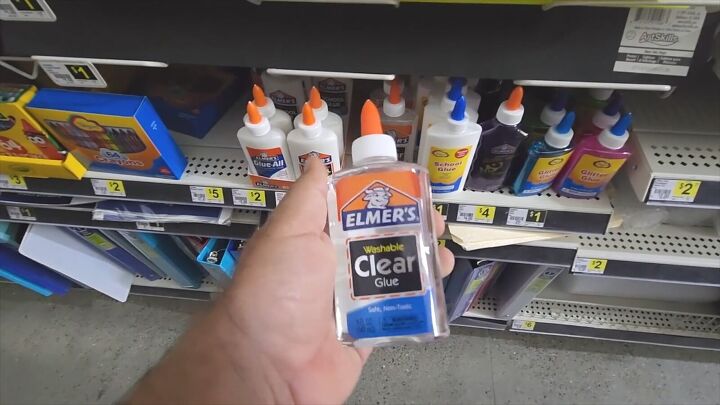
Elmer's Liquid School Glue

Materials You'll Need:
- Skinny roll of tape
- Clear Elmer's glue containers
- Acrylic paint in your choice of colors
- Foam brush
- A bigger bottle for transferring glue
- Plate or piece of cardboard
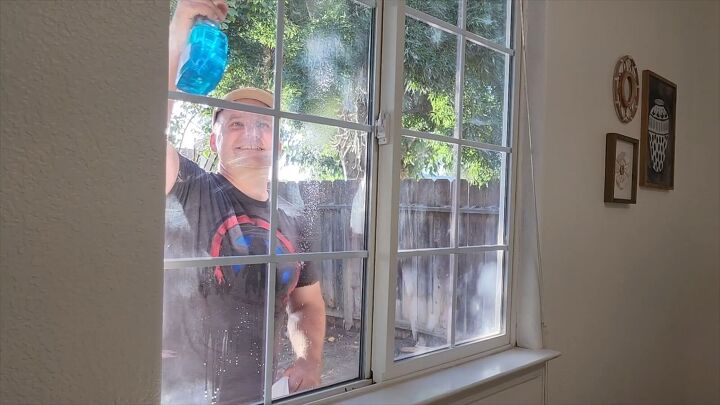
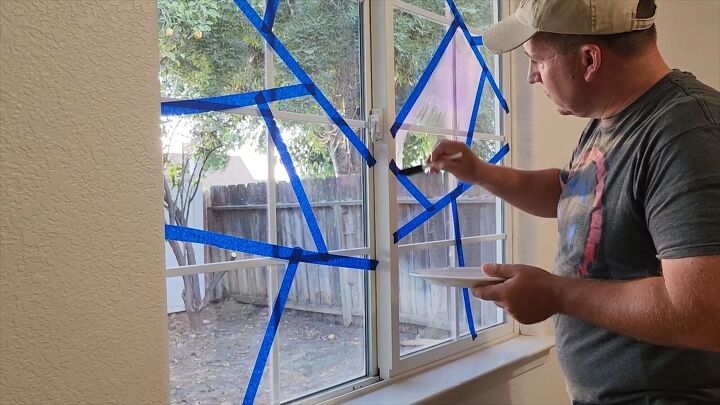
1. Prepare Your Workspace
Begin by selecting an outside window as your canvas and giving it a good clean inside and outside.
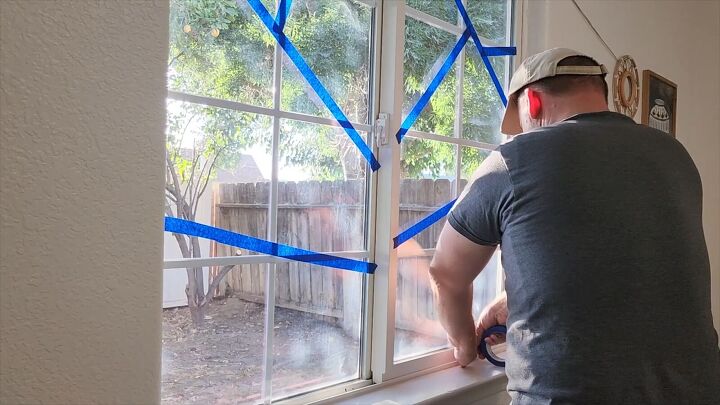
Next, grab your painter's tape and start applying it to your window.
You can choose to follow the existing grid pattern on the window or go for a more random, artistic approach by applying the tape at different angles.
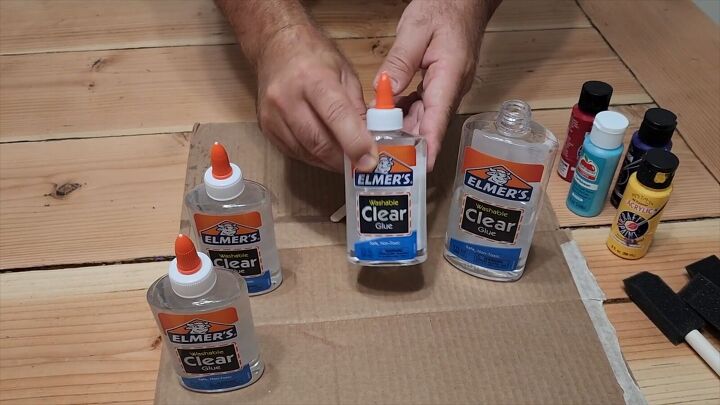
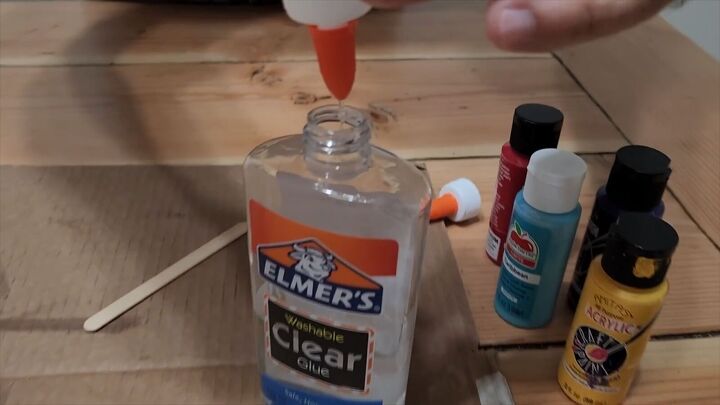
2. Prepare the Glue
Transfer some of the clear glue from each bottle into another container to make room in the bottle for when we shake it to create the mixture.
Once done, it's time to mix the glue and paint together.
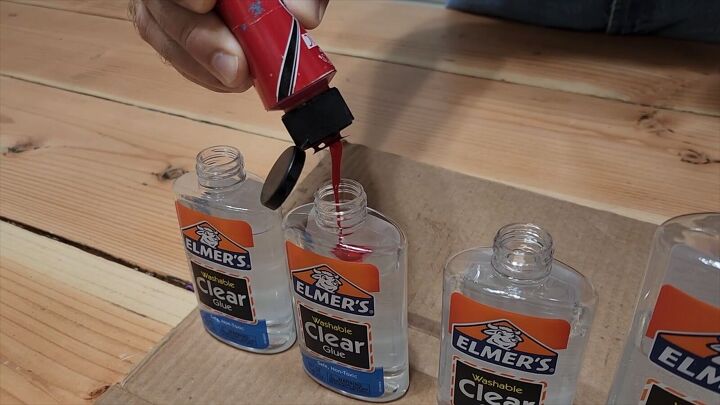
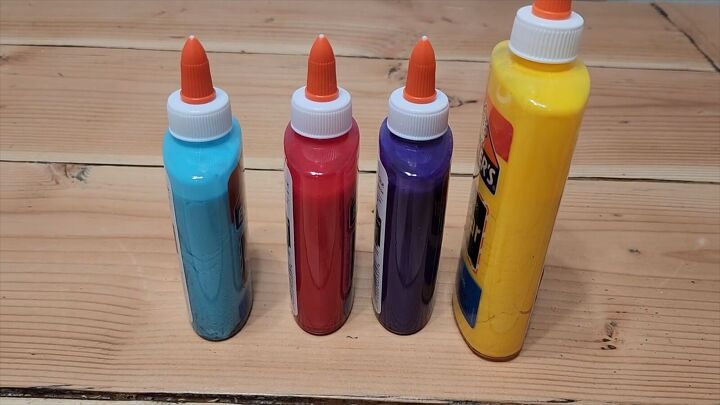
Shake it vigorously until you achieve a consistent mixture.
Complete Acrylic Paint Set – 24 Colors

Feel free to experiment with different colors to match your preferences.
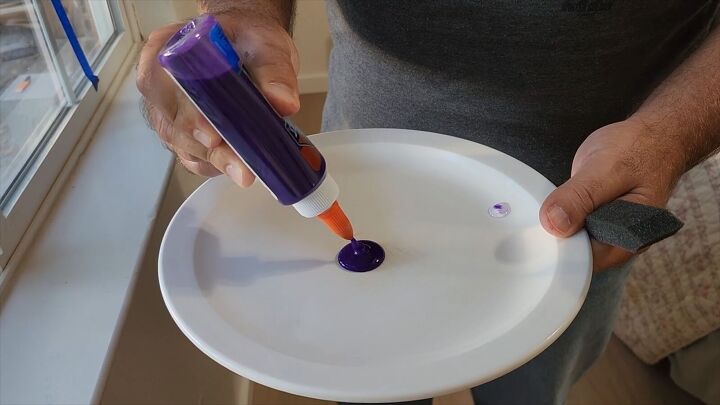
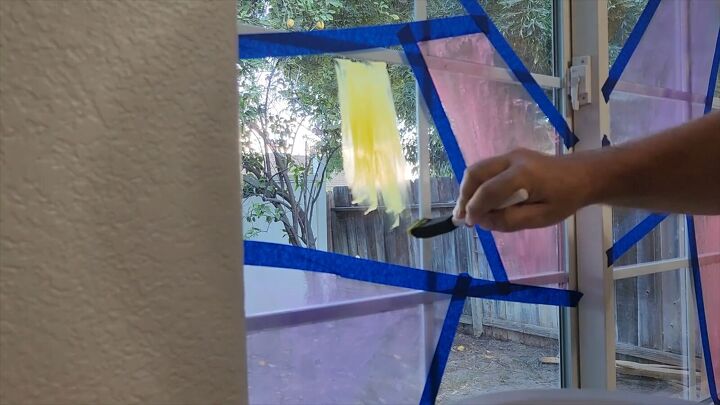
3. Apply the Mixture
Now, take your foam brush and gently apply the glue-paint mixture to the window. Don't worry if you accidentally touch the tape; it will actually help you achieve crisp lines when you remove it later.
Be artistic and cover as much of the window as you desire, playing with colors and grids for a unique look.
4. Multiple Coats
Remember, the paint may appear lighter than expected on the first application. For a bolder effect, apply multiple coats as needed, letting each layer dry.
The great news is that the glue and paint dry quickly, allowing you to add new coats within an hour.
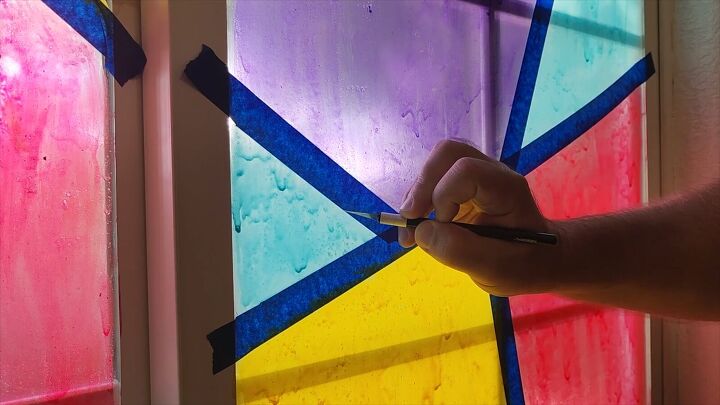
5. Removing the Tape
Once your masterpiece has dried overnight, it's time for the big reveal. Use a knife to gently score the area next to the tape, making sure not to scratch the window.
The glue will naturally separate from the tape. If the tape starts to pull on your colors or the glue, simply score it a bit more.
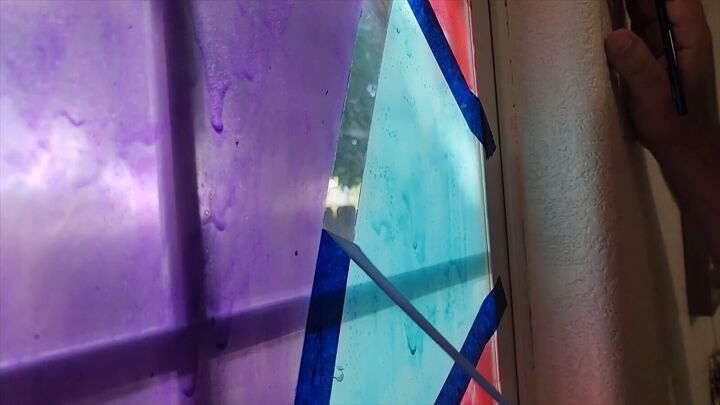
Carefully peel off the tape, and your stained glass window will emerge beautifully.
Explore another decorative window painting craft
DIY Stained Glass Window Tutorial
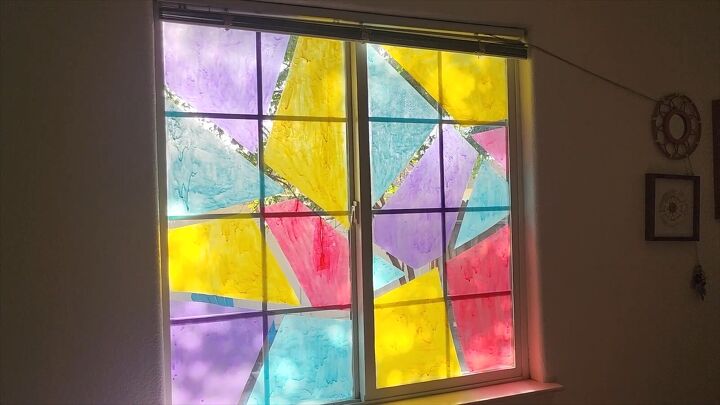
Your vibrant stained glass window is now ready to shine!
When the afternoon sun hits your window, it will illuminate your room with a stunning array of colors.
Ready to start your window decor with glue and paint?
Share your thoughts, questions, and experiences in the comments below!
Comments
Join the conversation
-
Stained glass on the cheap !!! 😜
-
No thanks , my windows were too expensive for that . Just buy one or get the cling ones at Home Depot.


Frequently asked questions
Have a question about this project?
Why do you apply this to the outside of the window rather than the inside?
how do you remove the glue/paint mixture when you are ready for a change?
How do you remove it?