


Opening Kitchen Wall to Make a Breakfast Bar/Passthrough

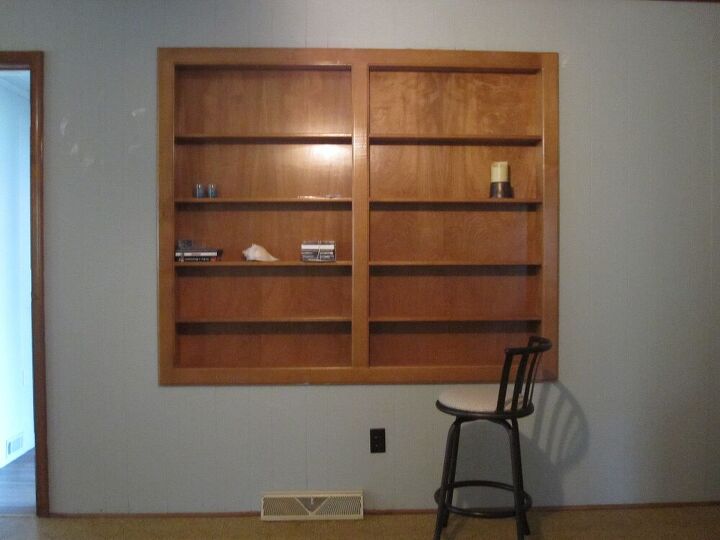
The 70s home that we recently purchased had an outdated built-in display case on the wall that separates my den from the kitchen. (I suspect that maybe there was a window there long ago and that the den was an addition to the house.)
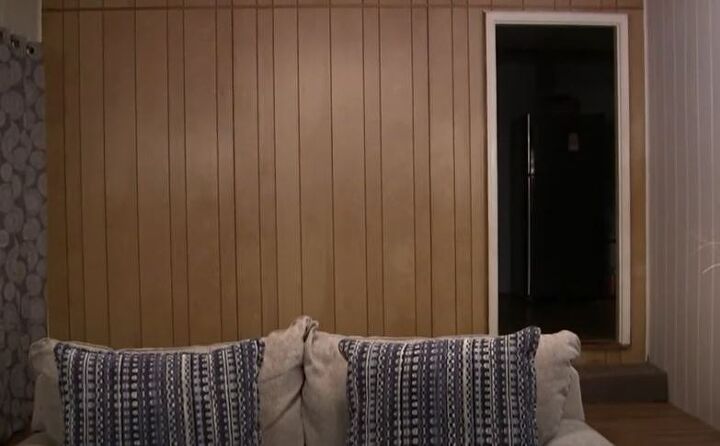
I decided to open up that wall and put a breakfast bar there. That would give us a nice view of the den's fireplace and also allow some light to flow in from the patio door.
As it turns out, there was a header above that display case, so there was no need for me to build a support wall. (For info on how to build a support wall for a passthrough, This Old House has a good video on it).
Once the job was done, it was a huge improvement. The house has a more open feel, and the views are much better!
Here is how I did it step-by-step. I've also included the YouTube video if you'd rather watch that.
Here are the "before" shots if you're interested. This first one is the view from the den:
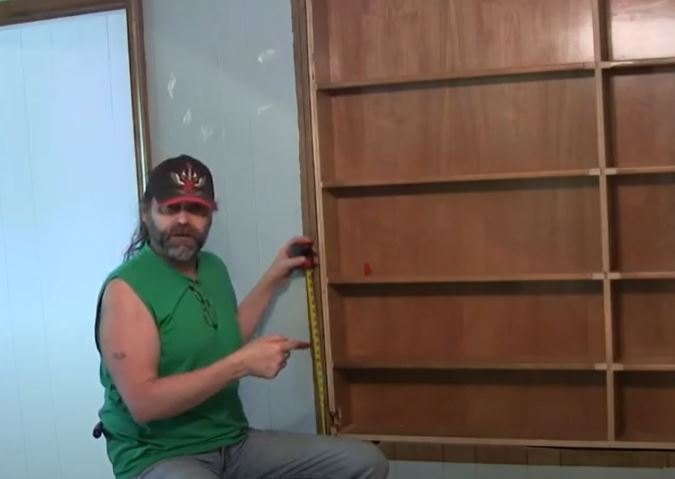
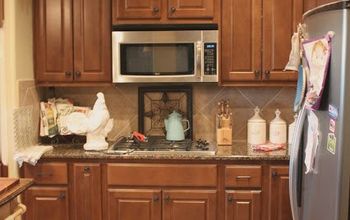
And here's the display cabinet in the kitchen:
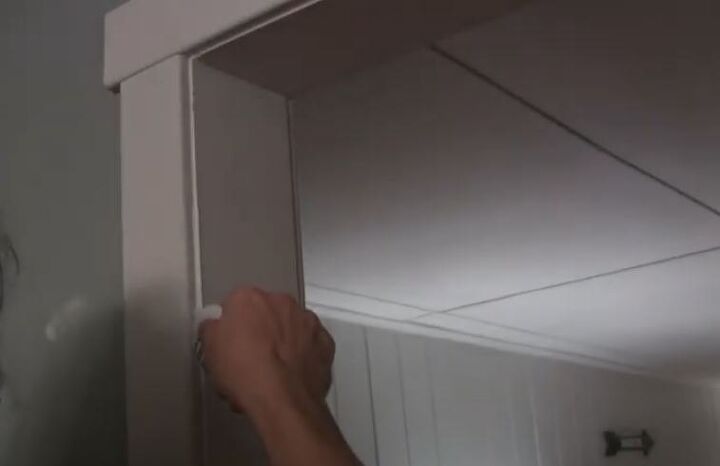
Step 1:
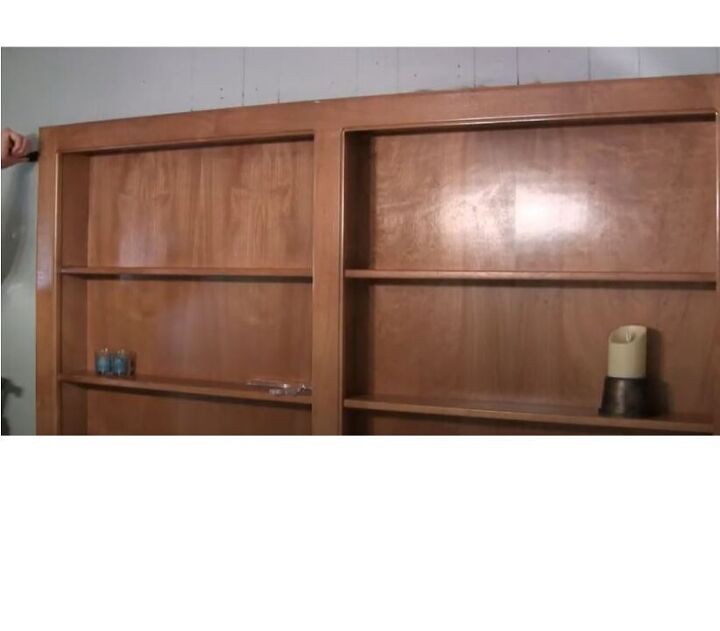
Using a small pry bar and a hammer, I pried the frame off first.
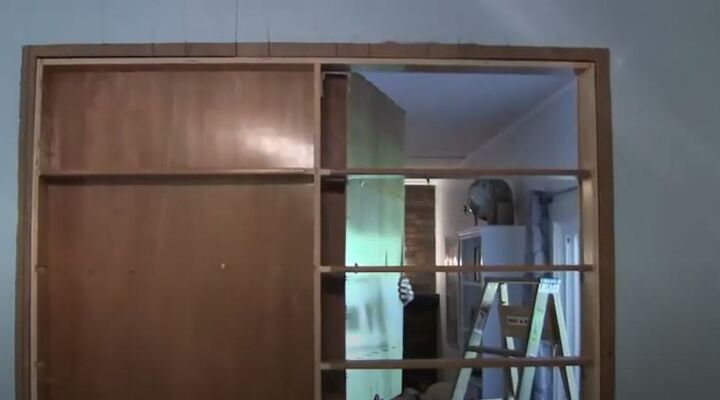
Step 2:
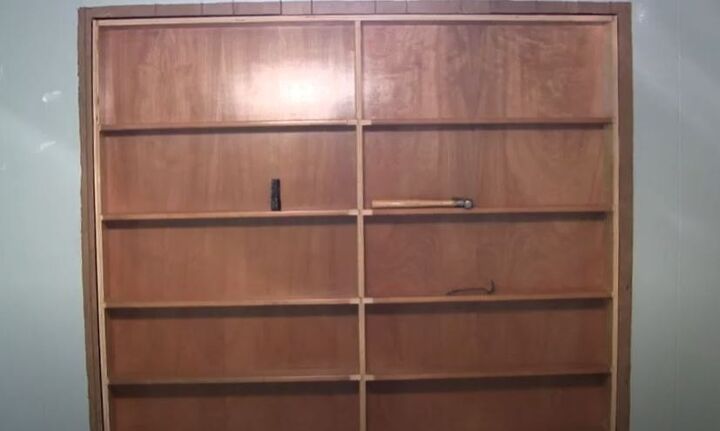
With the frame off, I was able to see that the whole display case was held in by 4 screws (2 on the left and 2 on the right). At this point, I also see that there is a header above the display case. If this had been a regular wall without a display case and header already there, I would have to build a support wall before doing any demo.
Step 3:
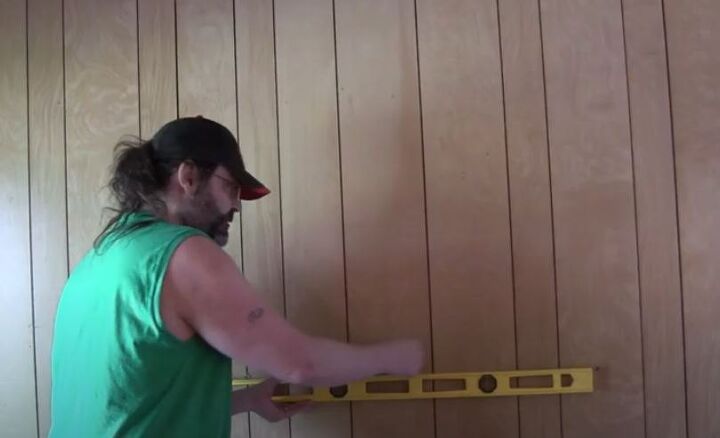
Now I'm measuring the height for the breakfast bar shelf. I decided to make it 38", a little higher than the normal counter height of 36". So, I put a mark on the wall there.
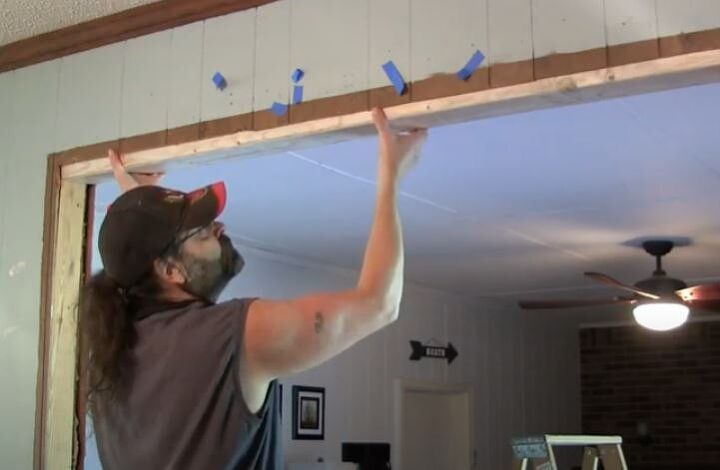
Step 4:
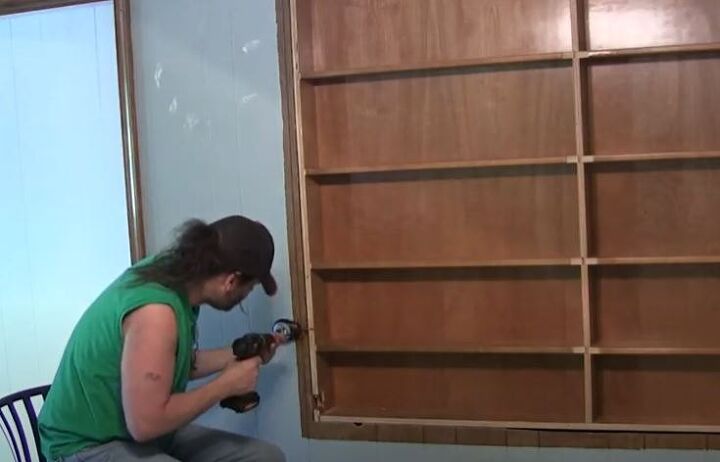
I've lined up my Ryobi laser with the mark on the wall. It'll shoot a straight line for me to follow as I drill 3 pilot holes straight across.
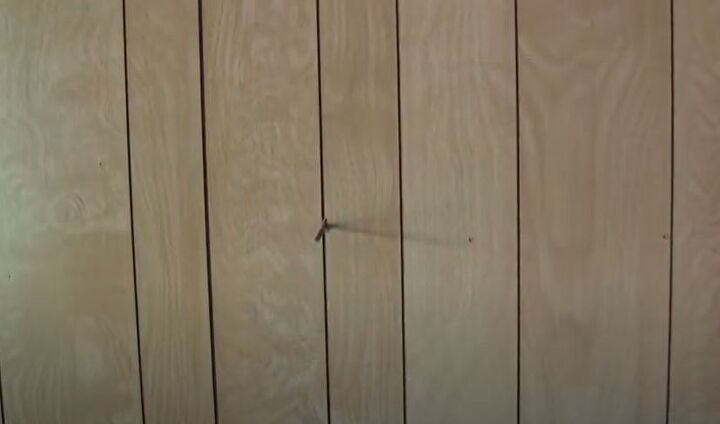
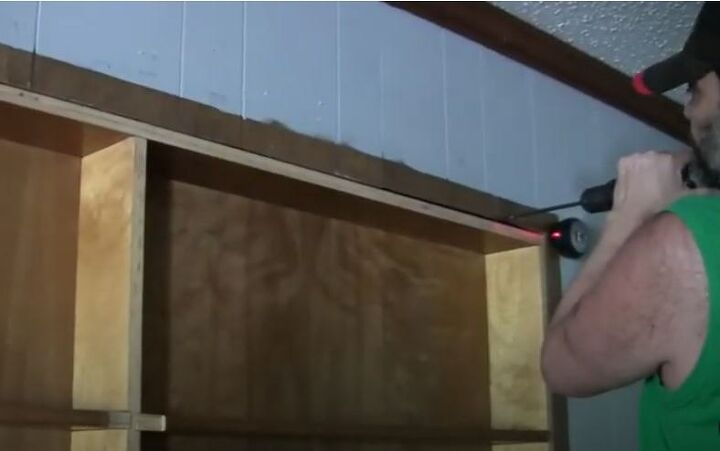
This is what it looked like on the den side of the wall as I drilled the pilot holes:
Step 5:
I'm doing the same thing at the top, which is using the Ryobi laser as a guide and drilling 3 pilot holes straight across.
Step 6:
Next, on the den side of the wall, I'm using my level and connecting the drilled holes with a pencil to give me a nice, level line. I'll also connect the pilot holes at the top and draw lines down the sides to box it out.
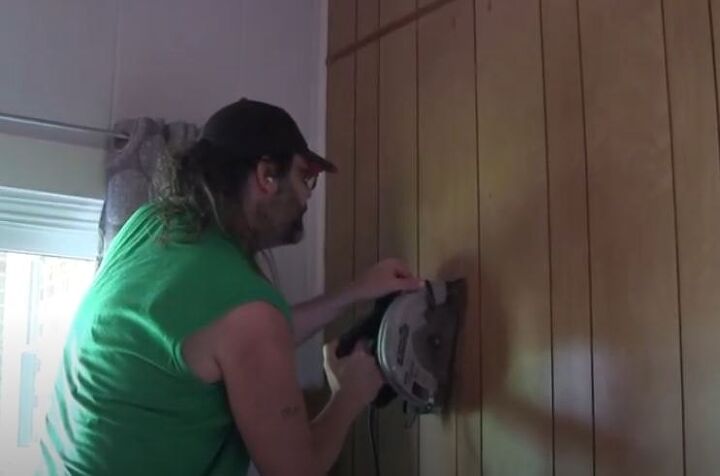
Step 7:
Now I'm using my circular saw to follow my lines. I didn't expect any wiring to be in the vicinity I was cutting in, but to be on the safe side, I shut off the outlet on that wall before sawing.
Step 8:
After a little pounding with a sledge hammer, I begin pulling the cabinet down.
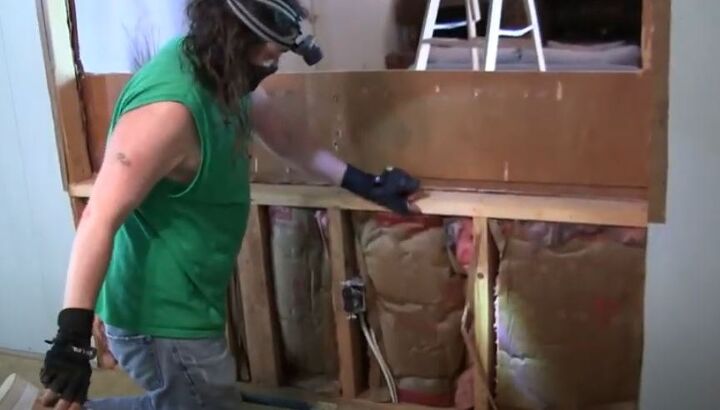
Step 9:
The paneling under the cabinet did not come up as high as our new counter height, so that would have to be replaced. For now, I pulled it off.
Step 10:
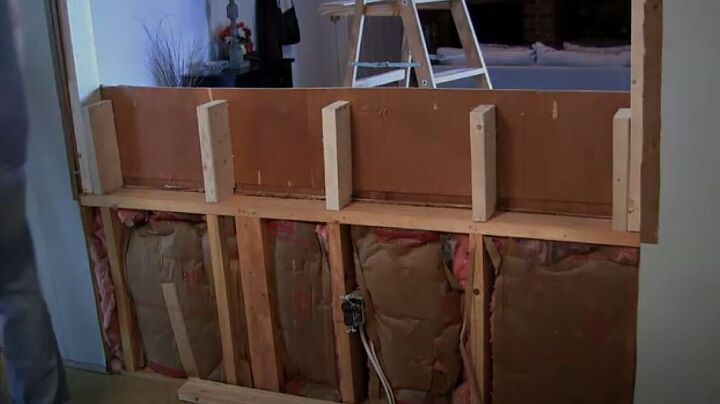
Next, I'm building up the casing. After cutting 2 x 4's, I'm fitting them and drilling in place.
Step 11:
Adding more supports for the breakfast bar.
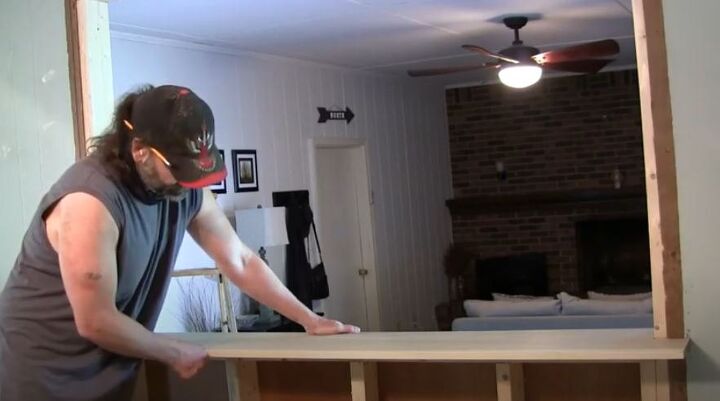
Step 12:
Fitting in the breakfast bar top.
Step 13:
Here I am using my router to put a roundover edge on the countertop.

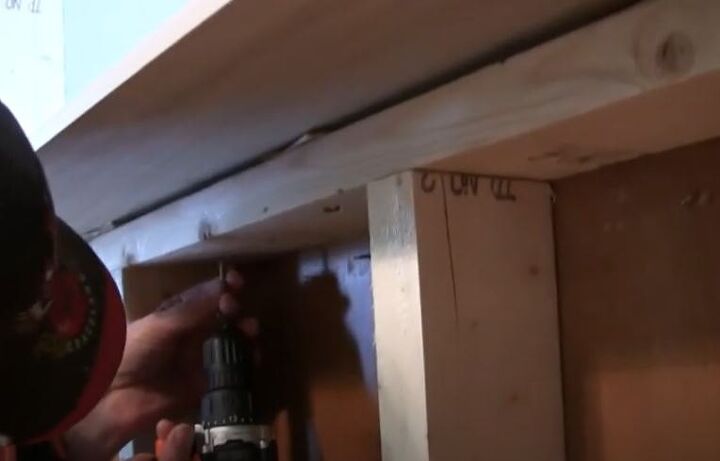
Step 14:
Here I'm screwing down the countertop with 2-1/4" screws from underneath so that you won't see them.
Step 15:
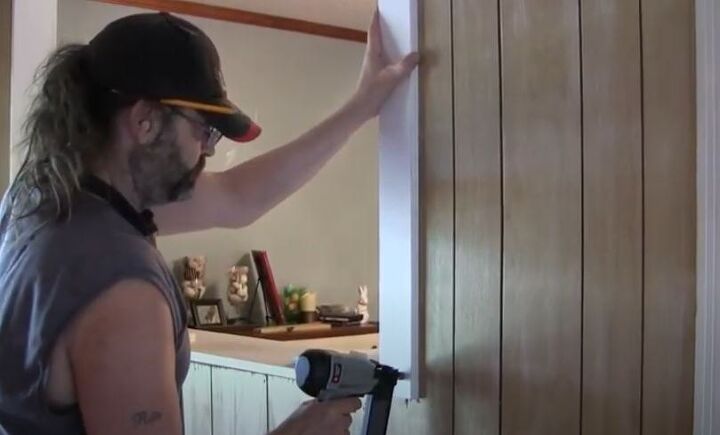
Now, I'm brad nailing the casing and molding in place.
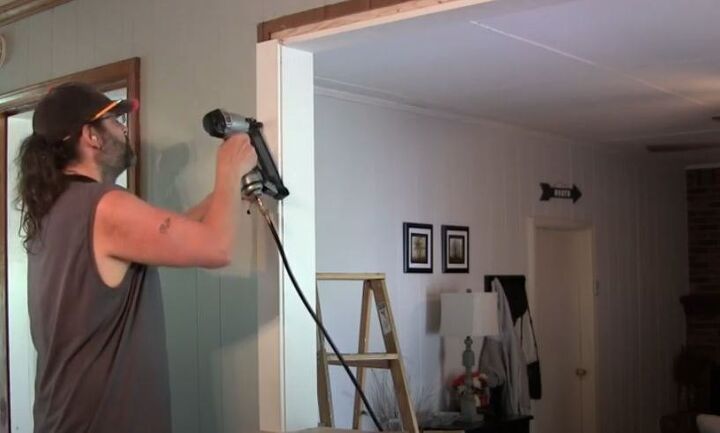
Step 16:
And now I'm brad nailing the molding on the den side...
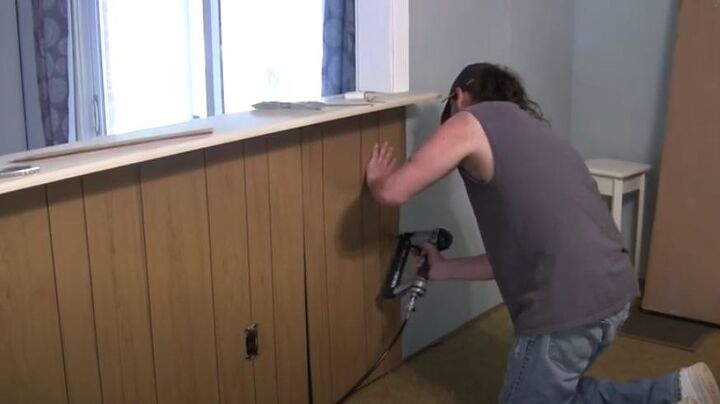
Step 17:
After cutting the paneling replacement for the bottom, I'm brad nailing it in place.
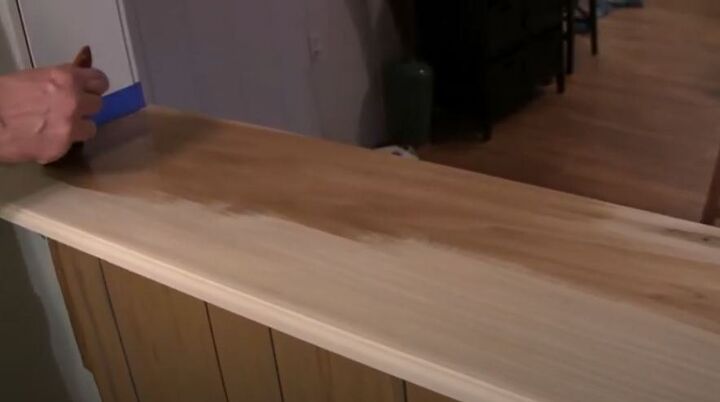
Step 18:
Now I'm applying a combination stain and top-coat to the countertop.
Step 19:
Next I'm applying caulk along the casing for a nice seamless look.
Step 20:
After painting the casing, trim, and molding, we were done! Here are a couple shots of it completed:
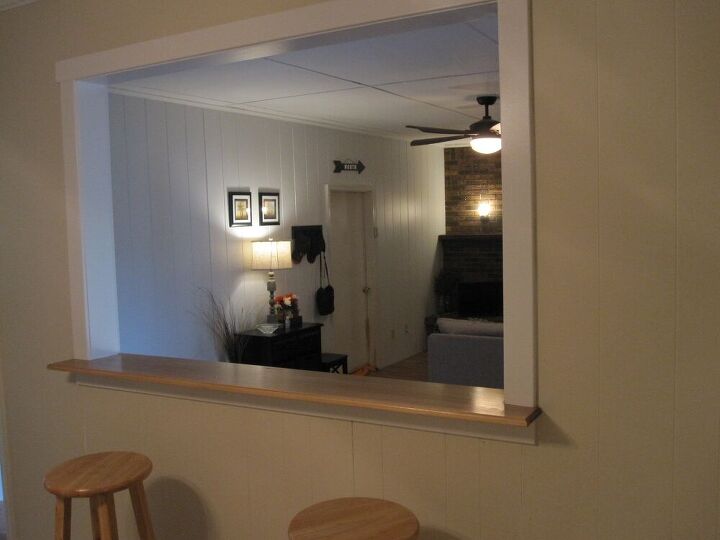
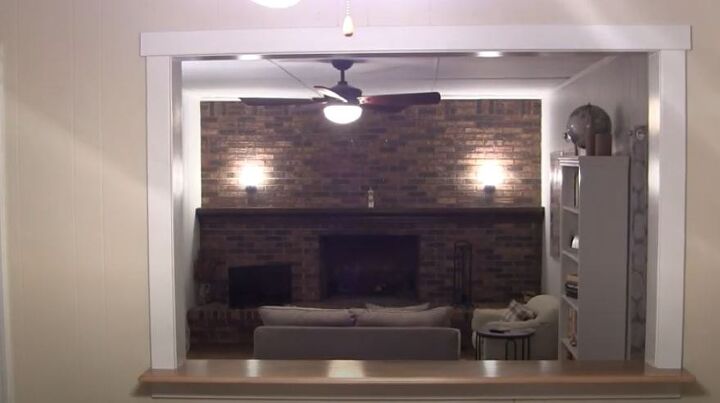
Hope you enjoyed this, and good luck with your own home improvement projects!
Resources for this project:
See all materials


Comments
Join the conversation
-
Great Job
-
I recall in some homes as kid growing up. Never understood why placed in kitchen as grease and dust collect on whatever you place on shelves ( like open shelving today). Glad you found workable solution for your needs.


Frequently asked questions
Have a question about this project?