Shower Curtain Rugs: How to Upgrade Cheap Rugs With Shower Curtains

I’m on a journey to discover my unique style for my home, and it’s been quite the adventure!
My eclectic taste spans from farmhouse rustic to modern aesthetics. However, I’ve realized that combining too many styles in one space can lead to a chaotic and gaudy look.
Lately, I’ve been gravitating towards a boho-rustic vibe. So, when I stumbled upon a funky shower curtain at Marshall’s, I knew it was the perfect opportunity to upgrade cheap rugs into something special for my kitchen!
Follow along as I show you how to make some fun shower curtain rugs.
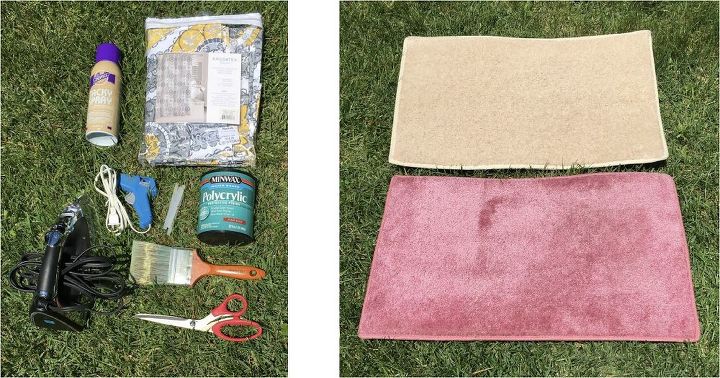
Tools and Materials:
- shower curtain
- carpet cutoffs or plain rugs
- fabric scissors
- paint brush or roller
- tacky spray
- glue gun/sticks
- Polycrylic water-based clear gloss
TIP: Before you head out to buy rugs for your project, be sure to ask your local flooring store if they have any scraps they’re willing to part with. Thanks to my husband’s family, who knows the owners of our local flooring store, I was fortunate enough to receive seven scrap rugs! You’d be amazed at the generosity of store owners.
1. Measure Your Rug
Start by flipping your rug or carpet remnant over and then measure where you want to cut your shower curtain.
For best results, leave about a 1-2 inch border around the edges. This will help prevent thick fabric buildup along the edges.
2. Cut the Curtain
Cut your shower curtain to match the shape of your rug, ensuring that you maintain that 1-2 inch border around the edges for easy adhesion.
3. Spray on Adhesive
Evenly spray the front of your rug and the back of the shower curtain with tacky spray for a strong bond.
4. Iron the Curtain
Lay the shower curtain onto your rug and quickly iron out any wrinkles for a smooth finish.
Alternatively, you can iron the entire shower curtain beforehand.
5. Secure with Hot Glue
Flip your rug over and use a hot glue gun to secure the edges of the shower curtain to the back of the rug.
You should fold your shower curtain edges snuggly over the back of your rug.
Then, press down.
Continue step 5 around your rug.
I chose to do my left and right sides (the shorter sides) first, then fold over my top and bottom sides.
6. Seal with Polycrylic
Once your edges are secure, apply a coat of Polycrylic water-based clear gloss to seal your rug.
Let it dry and add two more coats for durability.
Side Note: Please ignore the floors and cabinets—I’m not a fan of the light colors. Unfortunately, my husband would be very upset if I painted the cabinets, so for now, I’ll just have to make the best of what I have.
Ready to tackle another rug project?
Step-By-Step Tutorial: Shower Curtain Rugs
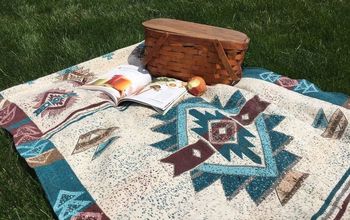
I love the difference these rugs made to my kitchen!
I may even use my old rugs (the blue ones in the top photo) to make more rugs out of this shower curtain I purchased (yes, I love it THAT much!)
Enjoyed the project?
Resources for this project:
See all materialsComments
Join the conversation
-
 Lynda Casey
on Oct 15, 2023
I was very excited about trying this project. However after reading all the questions and remarks I'm very disappointed that they went unanswered. I will not, not be trying this project!!!
-
-











Frequently asked questions
Have a question about this project?
Did you use fabric or vinyl shower curtains?
Its not so much a question as it is a statement. Who is in YOUR kitchen the most? Who cleans the kitchen the most? Who cooks in the kitchen the most? Its your kitchen and you should be able to do with your cabinets what you want! Do you get into his truck/whatever, and tell him what he can do with it or what he can't? You do what you want with YOUR kitchen.
Can you do this with any thickness of rug?