


Update Your Ugly Ceiling Fans!
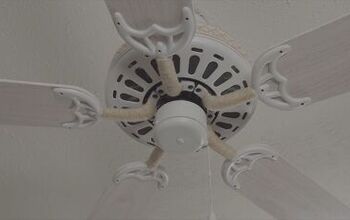
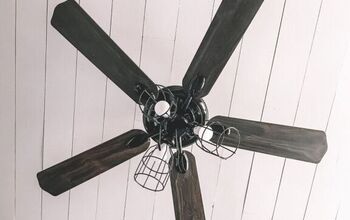
I used to open my eyes every morning after a night's sleep only to be greeted by my VERY ugly ceiling fan. Not anymore! Check out my easy updates.

I started by removing JUST THE BLADES, not the entire fan. Each blade was held on with just two screws. Who knew?
Next I dusted and and cleaned both sides of the blades with a good de-greaser like Crud Cutter. This made it possible for the paint to stick on the sides of the blades without peeling off later. Also. you will need to remove the "arms" on each blade. You can paint them if you wish. I used chalk paint which covers great and doesn't require any prep work or sanding.
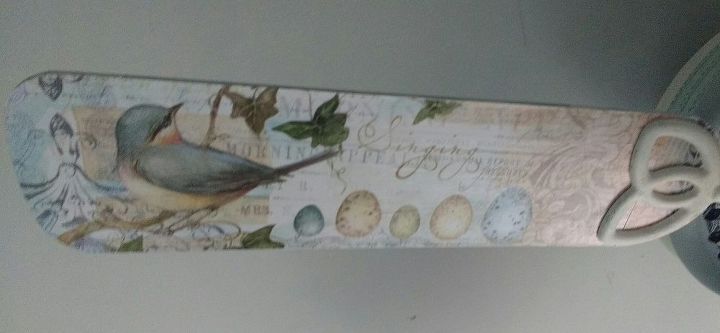
Now the fun part! I decided on a theme/color scheme. In this case bird/old-fashioned theme in turquoise and cream colors. Next I flipped through my $5 Walmart scrap booking paper books for potential candidates. If you aren't sure about what colors will match each other either do each blade the same or use paper from the same book. Most books carry pages in the same color family. In my case I used various papers I already had from other projects.
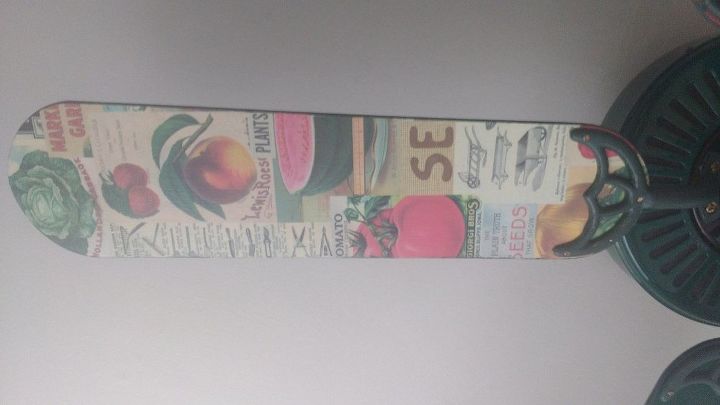
Once you have your papers, you will need to play around with them to makes sure that you have enough paper not only to cover the blade but also so match the pictures in the case your blades are longer than the standard 12 in x 12 in scrap book pages. If you don't feel comfortable having the skill to match, you can use wrapping paper, contact paper, or scrap book paper that is made up of random or repeated shapes and is already distressed looking. Here is an example of another blade from a different fan. Since the paper was already patchwork, it is harder to see the seams.

Now the work begins. Lay out the blades on each page of paper. Make sure to take into consideration the placement of any pictures. On this blade I wanted to make sure the bird was on the largest part of the blade because I thought it was the prettiest part.
Alright, by now you should have an approximate idea of placement of paper on each blade. You can skip this next step if you want to. In fact, it took me 2 fan projects to even realize this WAS a step. If your blades are those ugly fake wood like mine were, you might want to paint the edges of each blade with the color of EACH PAPER that will be place on it. If you skip this you will just have the wood peeking through on the edges of each blade. It is a matter of taste and in my case laziness! lol
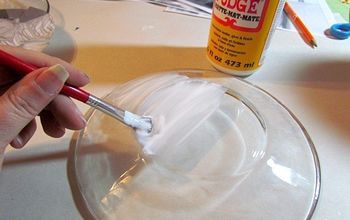
OK, now I am going to share a secret with you. This will make the difference between clean, finished edges without bubbles on the paper and a poorly cut lumpy blade. Trust me. Once I discovered this secret I redid all of my previous work and it was worth it.
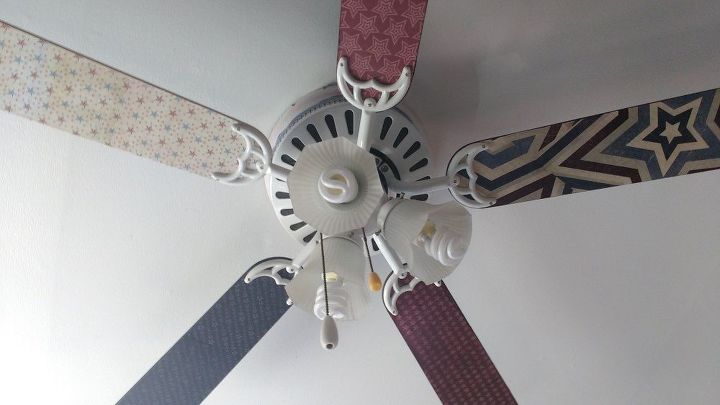
Notice how my laundry room blade doesn't look like a 2nd grader cut it? To achieve that effect you need to leave about a quarter to a half inch of over hang on each side of the blades. The second half of the secret to alleviate the bubbles is to run your paper under warm water for a second. Make sure it isn't soaking wet, just slightly damp ALL OVER. If you miss any spots, these will bubble up. Relax, your picture will not disappear off of your paper! Work on one blade at a time. While your wet paper is "curing" you can spread a thin coat of Mod Poge on the blade. Only spread on the section that is going to be covered by the ONE sheet of paper you just got wet. I always go about a half inch past the seam but no more.

After you have attached all of the paper, making sure to match up the seams if necessary, (don't overlap if possible) you can gently push down on the paper with a damp sponge. This will smooth out the paper.
Next, GENTLY use a 320 grit sanding block to lightly sand the overhang paper around each blade. That is what gives the clean edge. It is easier to do if the paper is still slightly wet. Repeat with each blade and before you know it it will be time to lightly coat the dried blades with a few sealing coats of Mod Podge, put the blades back up and enjoy your hard work!
Comments
Join the conversation
-
I will take your idea....fantastic.
-
Awesome Idea! I Love it!!


Frequently asked questions
Have a question about this project?