Modern Ranch Black House Wood Trim

by
Pigomyhrt
(IC: homeowner)
6 Materials
$175
2 Days
Easy
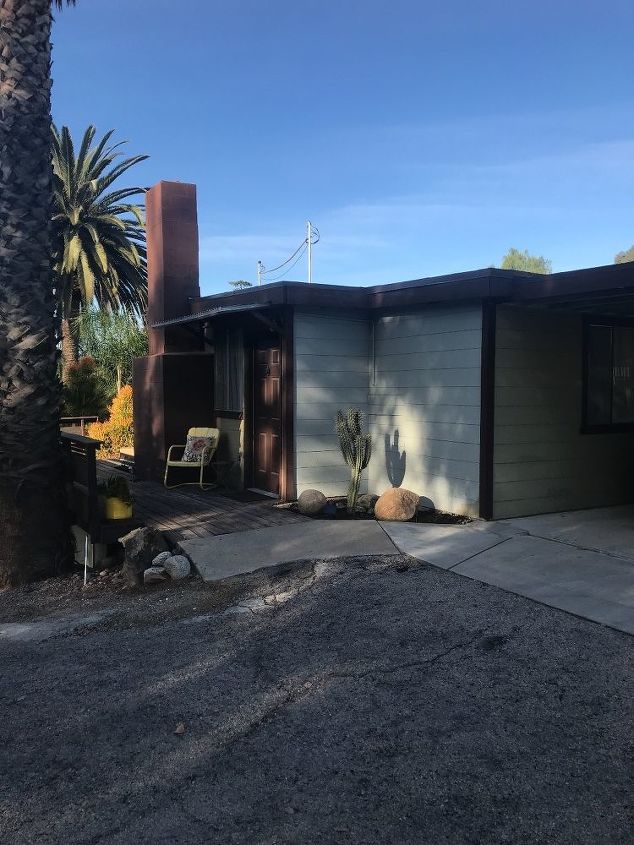
Updating our 1950 modern ranch in Sourhern California. Black House and Cedar Wood Trim.
House was green with brown trim and needed attention badly. Someone had touched up the green in many places without using a match in color so we needed paint badly. When I told the hubby we were painting the house Black he was stunned but game. I’m lucky my hubby trusts my gut. :)
Choosing the right “black” was harder than I thought. Bought about 15 samples. Ours is a deep deep black turquoise color. (Can’t remember the name but I’ll post when I look) It changes in the sunlight and I’m very happy with my pick....super deep charcoal color. 😎🖤
Front of house. Before paint.
Back entrance after paint but before wood siding. Our back entrance is really our main entrance since our driveway leads everyone closer to here. So we wanted to make it feel more prominent. We have a lot of doors!
House also came with this Don Quixote mosaic so when we had our pool retiled and pebbletek’d we had some black tile leftover so we used it to highlight and trim out the mosaic In a fresh and modern way. I can’t throw away perfectly good tile right?
I started sanding, staining and laying out Cedar Fence boards. They were 2.37 each at Home Depot and the gallon of stain was $37. I had paintbrush and sanding stuff around already. I started with an assembly line. All in all it was 45 boards we needed for our 2 locations we were adding the trim.
Black door (which is our main entry into the kitchen).
back door wood trim complete.
This is the guest house and it needed some personality as well.
Project complete. My hubby is handy with a saw and measurements. We LOVE how this has modernized the house and really upped the appeal of the design aesthetic we were going for. We had the house professionally painted ($2500) but we are Diyers at heart and sadly didn’t have the time to tackle that big of a project ourselves. But the wood trim we tackled in a solid weekend. Both of us working on it. We do have an air compressor and a brad nailer so I recommend that for a project like thisreally kept boards going up quickly. Also I should mention to always use a level on your first board and make slight adjustments as needed. My hubby used a shim between boards as a “spacer” to keep the lines uniform.
Im now thinking where else should we do this? Summer is almost here so we are building an outdoor shower next!
Enjoyed the project?
Any price and availability information displayed on [relevant Amazon Site(s), as applicable] at the time of purchase will apply to the purchase of this product.
Hometalk may collect a small share of sales from the links on this page.More info
Published May 24th, 2018 7:52 AM
Comments
Join the conversation
2 of 83 comments
-
-
 Mandy Brown
on Feb 08, 2021
Wow! What a transformation! It looks so sleek and modern now. I’m sure you just increased the value of your home a LOT with just this one update. It’s amazing how much paint and natural wood can dramatically change the look of a house.
-













Frequently asked questions
Have a question about this project?
What would a 12 x12 cost
Did you ever reveal which black you used? I could have missed it. I love it!
Kim
Interesting what a little paint and wood can do...lol! I would love to see more wood on the house, preferable right on the garage side which is basically the front of the house. That would really make a statement! I would remove any trees and go all cactus and palms, along with rocks to complete the look. It doesn’t look like it will take much more time as you really don’t need a lot. I am curious, what is the rectangular thing in the front yard to the right as you’re looking at the house? Maybe some cedar along the bottom of that?
it’s really coming along nicely!