Aging Galvanized Metal

by
John Biermacher
(IC: homeowner)
2 Materials
$30
4 Hours
Medium
The purpose of this posting is to share a method of distressing/aging galvanized metal. At the end I will share some projects that have included galvanized metal, but this post is more about the aging process, not the projects.
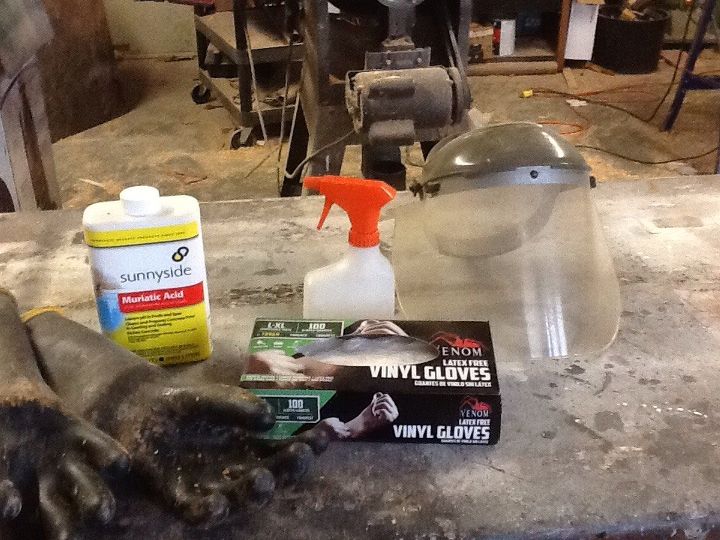
Safety is primary concern. I am a retired chemist and comfortable with chemicals yet don’t want to downplay the importance of protecting yourself from hazards material. My method uses muriatic acid, also know as hydrochloric acid. It is highly corrosive. - hazardous to the eyes, skin, and lungs. and needs to be handled with the utmost caution and requires personal protection equipment- long sleeves, long pants, gloves, safety glasses/goggles, and really good ventilation. It is used to clean and etch concrete and to lower the pH of swimming pools and is sold in most hardware stores. You must read and adhere to the handling instructions. If after reading this post, you are not comfortable with working with any or all of these chemicals then don’t attempt it. I would certainly have you consider achieving a similar look by over spraying with black and gray paint.
I usually do this type of work in warmer weather- outdoors with good ventilation. Circumstances required me to work on a coffee table with legs made from 1/2” galvanized pipe during our cold Michigan winter. I decided I would try to make this tutorial at the same time.
I like the looks of galvanized metal., but I really prefer it to have an aged look. Note that galvanized metal is steel with a zinc coating- do not confuse it with a aluminum. This process will not work with aluminum.
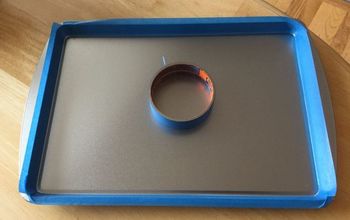
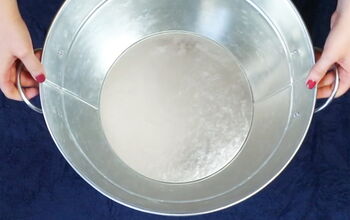
I am going to walk you through the steps with 1) a piece of galvanized flashing, also called flat stock, leftover from an earlier project; and 2) some 1/2” galvanized pipe that form the legs of a coffee table. Please note that when using pipe you can spend an inordinate amount of time:
1) standing in the aisle of a big box store determining the fittings, pipes, and nipples required;
and
2) removing the stickers from the pipe and fittings.
First step- remove any grease or oils by wiping the metal with mineral spirits/paint thinner or lacquer thinner. This step is also best done outside (or in a very well ventilated area).
Spray the metal with muriatic acid, wearing the previously mentioned safety gear. This step is also best done outside (or in a VERY well ventilated area, maybe in front of a fan with the fan blowing the fumes out the window). No matter what safety precautions you take, you must have access to running later that can be used to rinse any skin or eyes that come in contact with the muriatic acid.
The acid will react with the metal and should foam. I actually res-sprayed the flat stock because I couldn’t see any mottling. You can return any unused acid back to the container and either use a hose to rinse the metal. Since I was outside on a snow covered patio in the dead of winter I simply filled the spray bottle with water and rinsed the metal. I repeated filling the spray bottle with fresh water and spraying the metal until I was confident that all the acid/foam was rinsed away.
The change in the metal at this point is pretty subtle. the shine is gone and it has a slightly mottled appearance. Some people may choose quit at this stage. I like to darker the metal with a light overspray of darkening solution. It comes in a solution and gels from a variety of manufactures. It can be purchased from most craft stores, but I typically buy mine from a local gun shop.
Wear gloves and safety glasses when using the darkening solution. A little bit goes a long ways, so I dilute about one ounce with one ounce of water in the same spay bottle I used to treat/rinse the metal. Give the metal and overspray. You will see the effect and the metal will continue to darken upon setting. Wipe and rinse the metal with water. If there are areas that turned too dark, they can be buffed with 0000 steel wool to get the look you want.
After the metal dries, I rub on one or two coats of Polyurethane Varnish to protect the look.
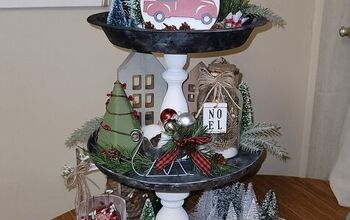
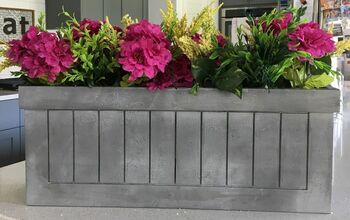
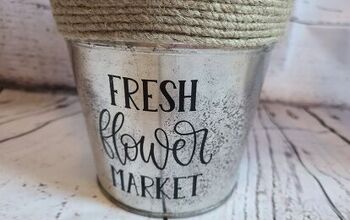
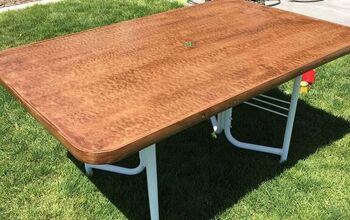
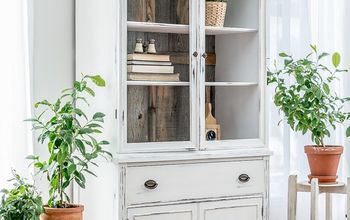
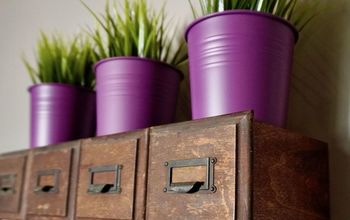
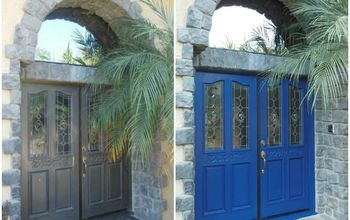
The follow are some photos of some projects where I have incorporated distressed galvanized metal.
Enjoyed the project?
Suggested materials:
- Muriatic acid (hardware store, big box store,)
- Metal darkening solution (internet, craft store, some gun shops, stained glass shops)
Published January 18th, 2018 1:27 PM
Comments
Join the conversation
2 comments
-
-
 Greeneyesss
on Aug 27, 2024
Thanks for the info! Aging galvanized metal can add a nice vintage touch to projects. Some people use a mix of household items like vinegar and salt to achieve that look. I’ve seen in SteelMaster Buildings reviews that their metal structures hold up well over time, which makes them great for long-term use. For DIY projects, getting the right technique down is important for achieving the aged effect you want. It's a fun way to give your metal items a unique, rustic appearance.
-








Frequently asked questions
Have a question about this project?
would you get the same look on plate steel that has been cleaned? And what amounts of each of the darkening solutions did you use?? Love the look!