


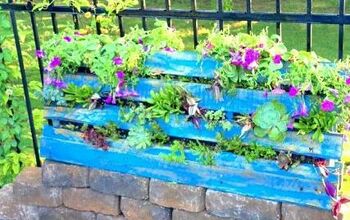
🥚Stone Garden Wall

Looking for a unique design element for your landscape? This stone wall will add beauty and function.
Hometalk Recommends!
Tools and Materials:
Disclosure: This post contains affiliate links. We may earn a small commission at no extra cost to you if you purchase through our links.
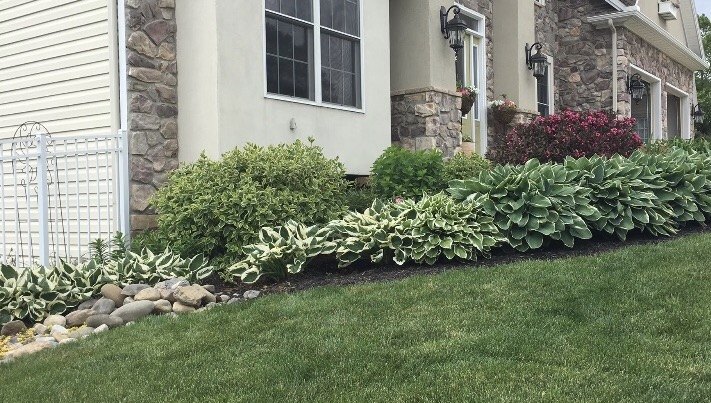
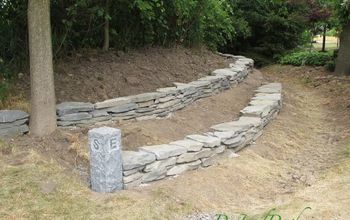
I have a sloping front yard and for years I wanted to put in a retaining wall but there was always something else that needed to be done.
I decided this year the wall was going at the top of the list.
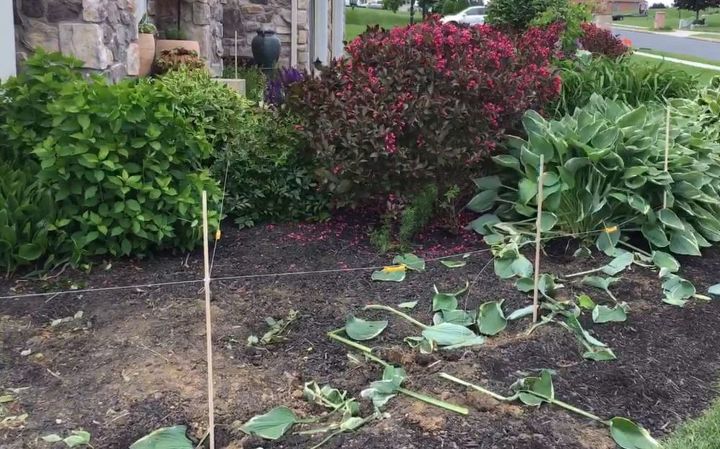
1. Clear the Area and Mark Your Wall
Start by removing any plants or landscaping features where your wall will go. You'll want a clean, unobstructed area to work with.
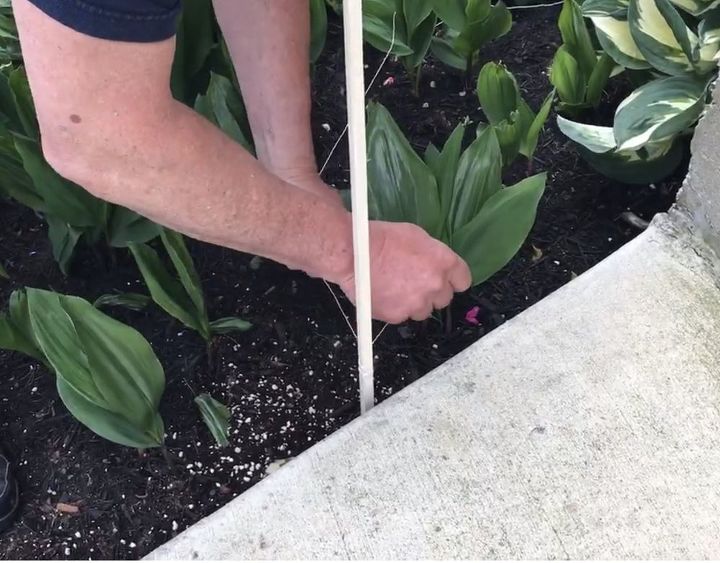
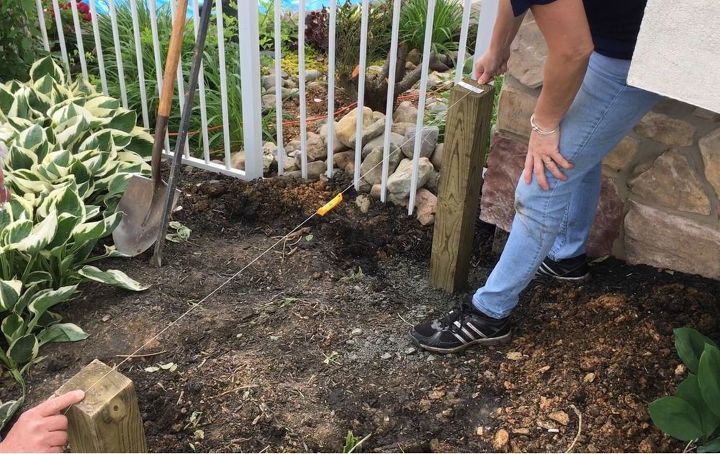
To ensure the wall is level on a slope, begin at the top—ours started near the front walkway. Push a sturdy stake into the ground at that top point. Then run a string down to the bottom of the slope where your wall will end. Use a second stake at the bottom to hold the string in place.
Use a string level to adjust the string until it’s perfectly level from top to bottom. This will be your guide for setting the height of your posts.
Our posts were spaced 4 feet apart. Once the string is level, use it as a reference to mark post locations every 4 feet using more stakes or marking flags. This keeps everything even and helps you visualize the full layout.
2. Dig and Set Your Posts
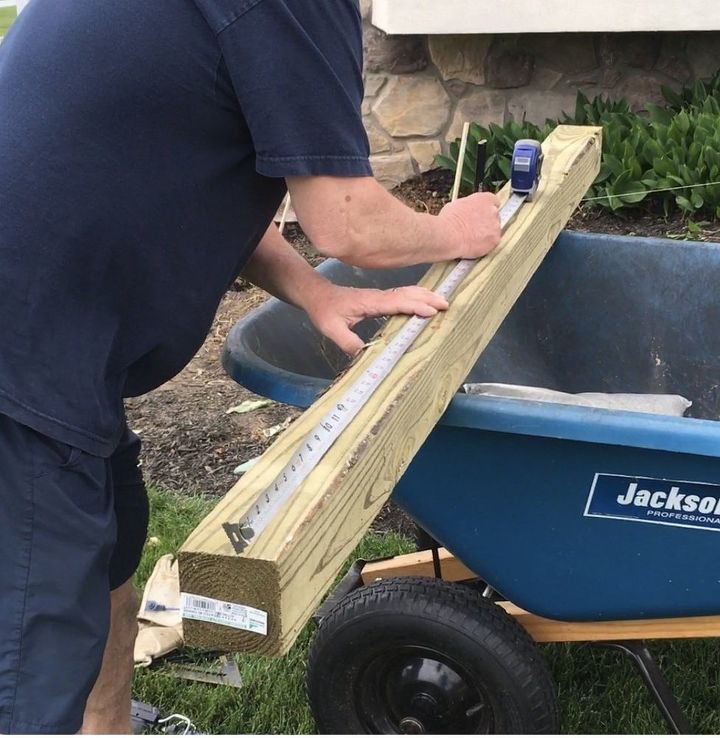
Cut all your posts to the desired height before digging. We used 4-foot spacing between posts, but you can adjust based on your wall length.

For each post, dig a 12-inch-deep hole. Add a few inches of crushed stone or paver base to the bottom of the hole for drainage and stability.
Set the post into the hole and fill it about ¾ of the way with crushed stone. Use a long level to make sure the post is perfectly upright, then tamp the stone down tightly to hold it in place.
Repeat the process for the next post: dig the hole, add crushed stone, set the post, and level it using a string line stretched from the previous post.
This ensures all posts stay aligned and even.
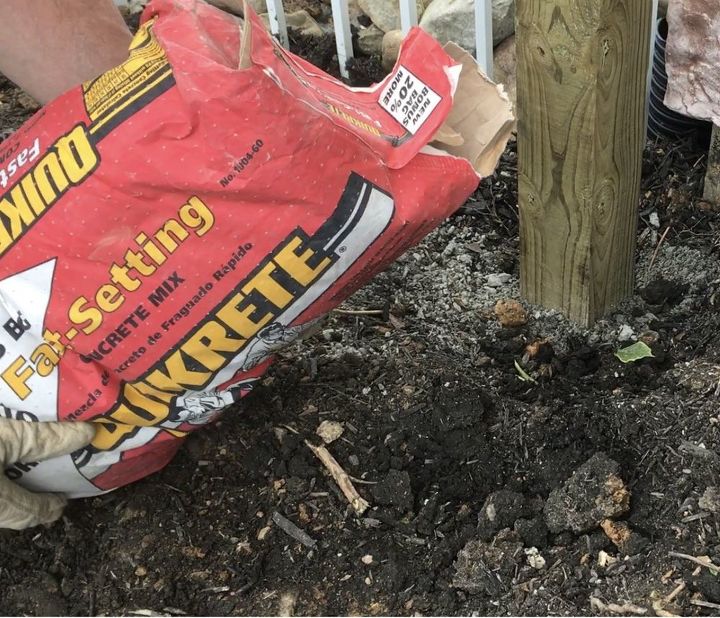
3. Add Quick-Set Concrete to Secure the Posts
Once all your posts are aligned and level, it’s time to lock them in place. Pour fast-setting concrete (like this no-mix option) directly into each post hole over the crushed stone.
No mixing is needed—just fill the hole with the dry concrete mix, pack it down gently, and then spray water on top as directed.
It sets up quickly, giving your posts a solid base without the mess of traditional concrete mixing.
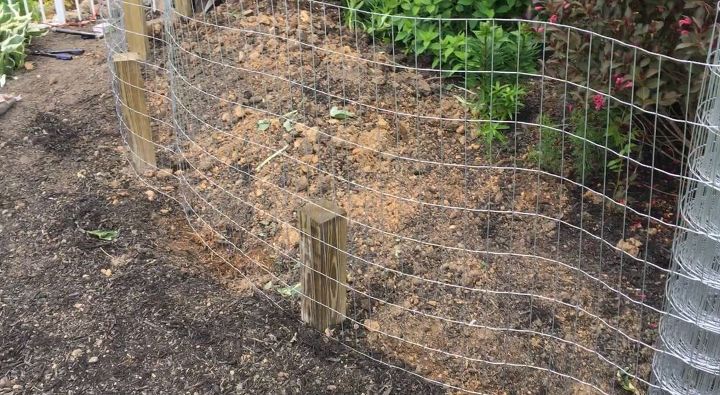
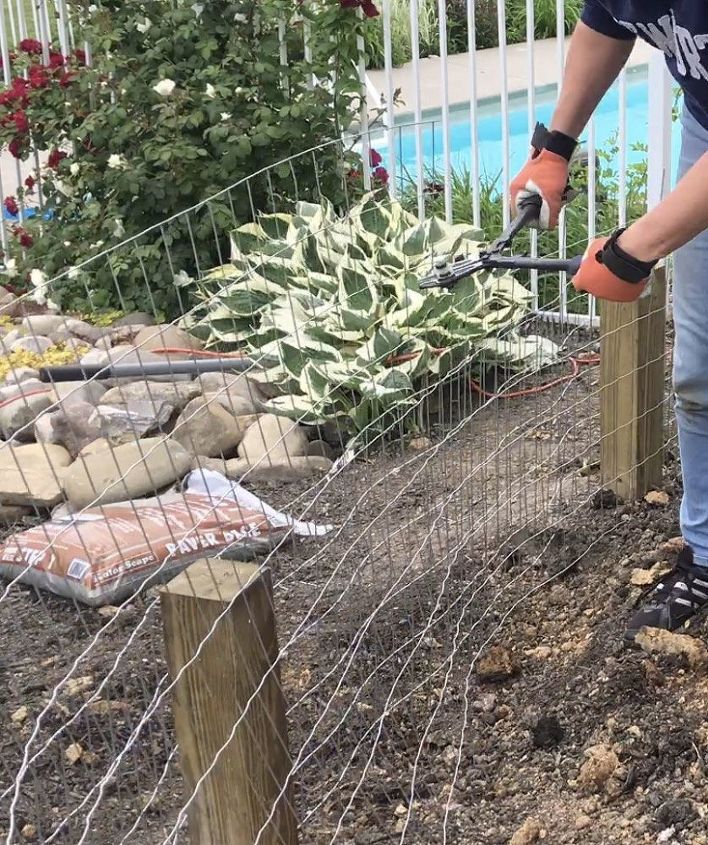
4. Add Poultry Wire to Form the Wall Frame
After the concrete has fully set, it’s time to create the structure that will hold your stone. Roll out your poultry wire along the front side of the posts and cut it to the correct length.
If the height of the wire is taller than your posts, trim the excess with wire cutters. We flipped the wire so the cut edge sat along the ground for a cleaner finish and better stability.

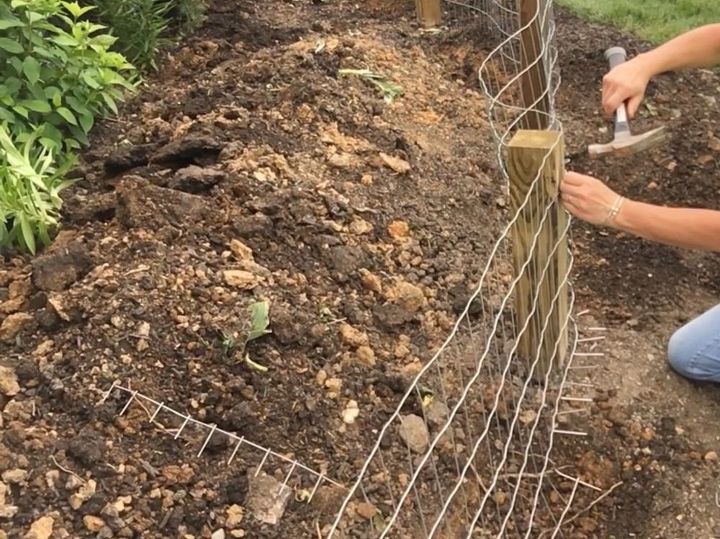
Align the top of the wire with the top of the posts and attach it using poultry net staples or heavy-duty fence staples.
Once the front is secure, repeat the process for the back of the wall—running poultry wire along the opposite side of the posts, cutting to size, and stapling it in place.
This creates a narrow trough between the front and back layers of wire—perfect for filling with stone.
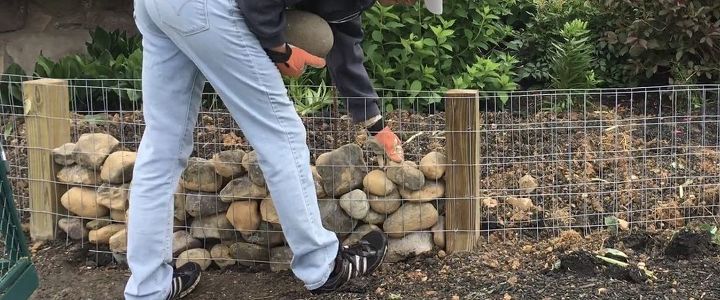
5. Fill with River Rock and Replant
Now for the fun part—filling your wall with stone! Use river rock or other decorative stones to fill the space between the front and back layers of poultry wire. Pour it in evenly and adjust as needed to keep it level all the way across.
Once filled, replant anything you removed earlier and top the area with mulch to tidy things up and help retain moisture.
After years of dreaming about this project, I finally have the low-maintenance, eye-catching stone wall I always wanted—and I couldn't be happier with how it turned out.
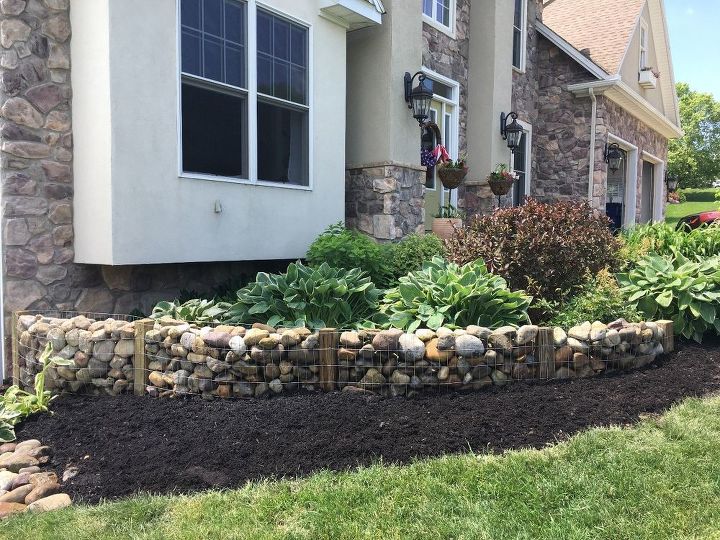
This DIY stone garden wall added both structure and beauty to my sloped front yard. It's practical, easy to maintain, and makes a big impact—without needing mortar or expensive equipment.
If you’ve been holding off on a similar project, don’t wait as long as I did! With a little time and patience, this weekend project can completely upgrade your landscaping and give you something to feel proud of every time you walk outside.


Comments
Join the conversation
-
Wow! As a landscaper, I cannot fathom this project!
-
Lovely outcome, we're along the NC coast and stone walls are not common here. Farther inland and closer to our beautiful NC mountains, they're very popular, especially on older homes. I absolutely love them!


Frequently asked questions
Have a question about this project?
One of the very best projects I’ve EVER seen on Hometalk. I’ve got the perfect place for this to go. Thanks sooo much!
How to get one of iy
You said to fill the hole around the post then fill with quick set, how is there room for it?