


DIY Cooling Rack Organizer

Create a stylish and functional organizer using items from the Dollar Tree. Perfect for storing small items in the kitchen, bathroom, or any space that needs extra storage!
This post was transcribed by a member of the Hometalk editorial team from the original HometalkTV episode.
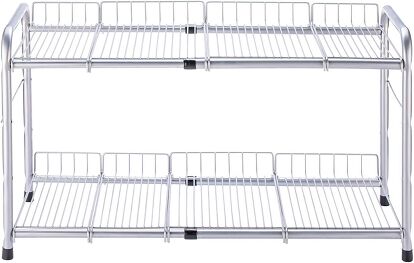
2 Tier Under Sink Organizer
Tools and materials:
- 2 Paper Towel Holders (metal)
- 2 Cooling Racks
- 2 Wood Cutting Boards
- 2 Baskets (small size)
- Zip Ties
- Hot Glue Gun (with glue sticks)
- Scissors

1. Attach cooling rack to paper towel holders
Position a cooling rack between two metal paper towel holders. Secure the cooling rack to the paper towel holders using zip ties. Tighten them to ensure the cooling rack stays firmly in place.
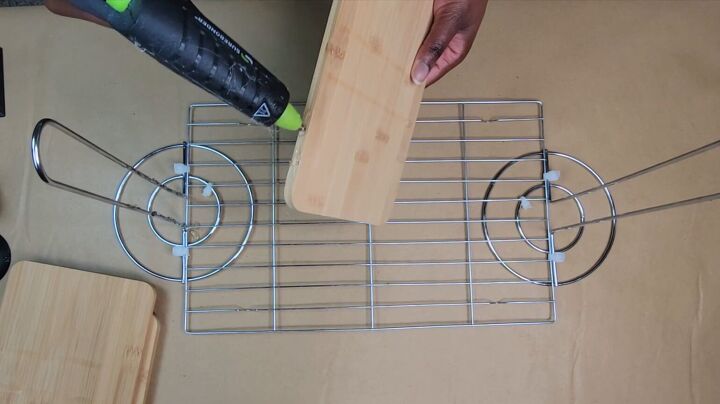
2. Glue the cutting boards
Apply glue to both paper towel holders and the bottom of the wood cutting boards. Adhere the cutting boards to the paper towel holders, one on each side.
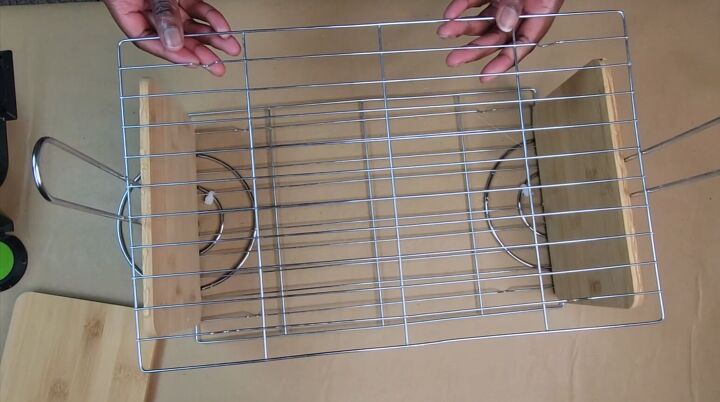
3. Attach the cooling rack to the cutting boards
Add some glue to the top of the cutting boards. Place and secure the cooling rack on top of the cutting boards.

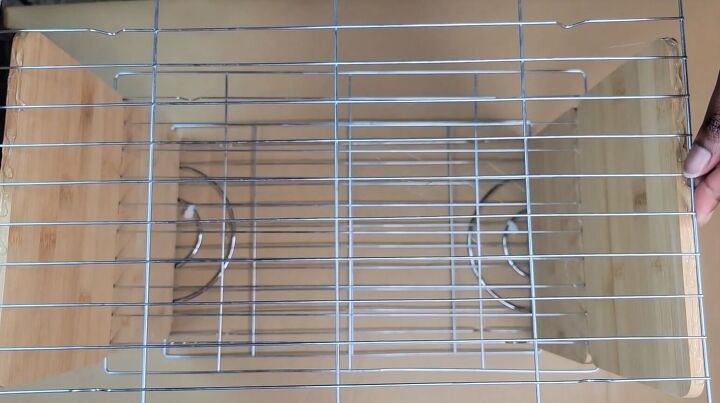
4. Add another layer of cutting boards
Apply glue to the top of the first layer of cutting boards. Stack and adhere another cutting board on top.
5. Add the final cooling rack
Add glue to the top of the second layer of cutting boards. Place the final cooling rack on top to complete the multi-layered structure.
6. Let the glue dry
Allow the glue to fully set before using the organizer. This ensures everything is securely in place.
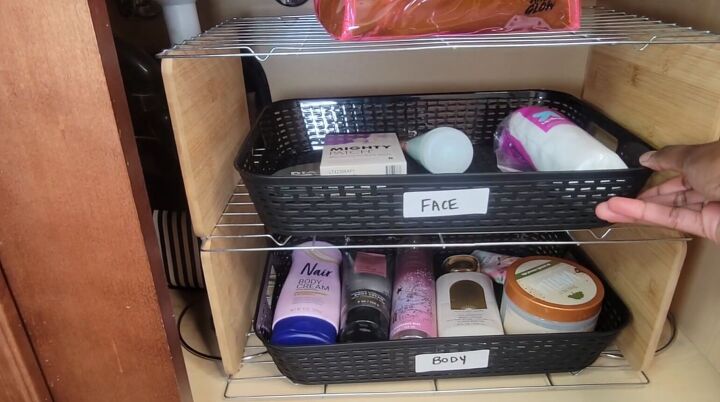
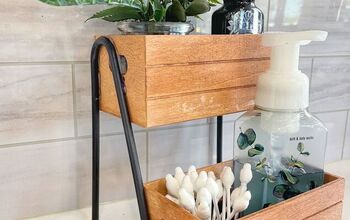
7. Add the baskets
Place small baskets onto the cooling racks. These baskets can hold smaller items, like toiletries in the bathroom or kitchen essentials.
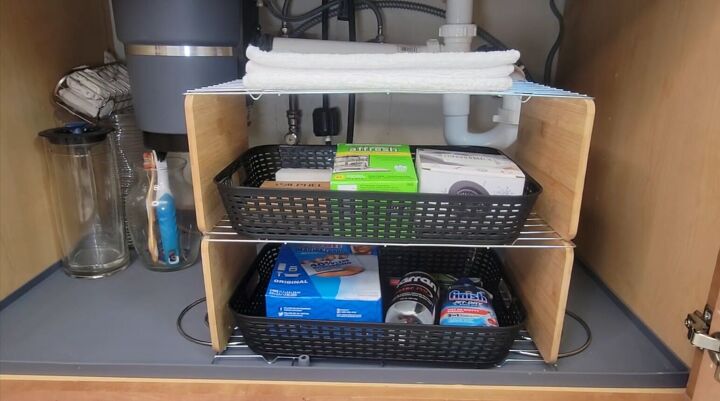
You now have a functional and stylish organizer that can be used in a variety of spaces. It’s perfect for storing bathroom essentials, kitchen tools, or even office supplies. The best part? This organizer is made from inexpensive Dollar Tree items!
Bonus Tip: You can even customize the look by painting the cutting boards or baskets to match your home decor!
If you enjoyed this tutorial, be sure to check out Cheap and Easy Home Decor Craft Ideas to Make Year Round Using Rope, for more DIY ideas.
Comments
Join the conversation
-
Looks like four cutting boards to me, though I may be wrong
-
Based on how it was constructed the shelves should last about a week. Why not drill through the side board and attach with zip ties or some other mechanical fastener. On the shelves use a screw and washer to connect the wire shelves.😁


Frequently asked questions
Have a question about this project?
Nice hack, do you have something in the back so the baskets don't fall out the back?
Wouldn’t it be easier and cheaper to buy a storage rack that fits under sink?
What are towel “hoe-durz?”