Kitchen Island Makeover

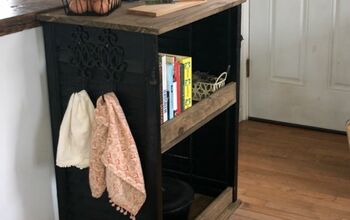
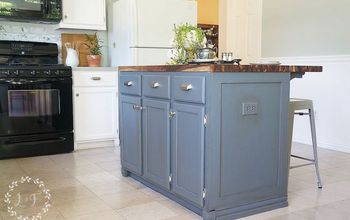
With a thrift store console table, some stain and paint, I have a beautiful new kitchen island! Watch this amazing transformation! Video is below for more details.
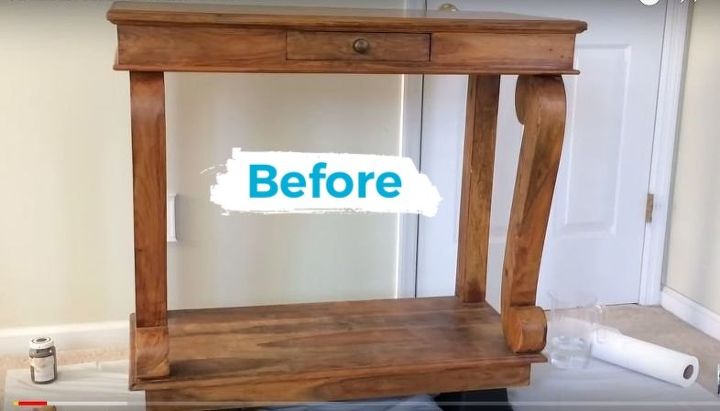
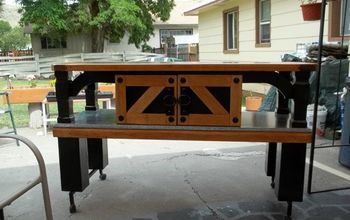
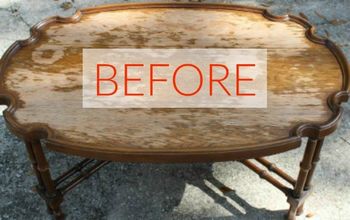
I started off with this console table I picked up at my local thrift store. It was super affordable. I cleaned it with TSP substitute to get all of the dirt off.
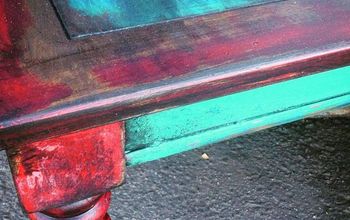
I used my favorite gel stain for the top of the island but any stain would work.
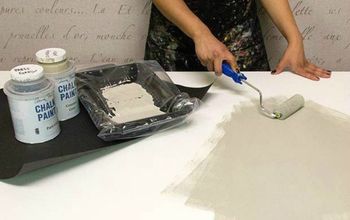
I used chalk paint for the base of the island, no sanding or priming was needed.
To apply my chalk paint, I used a chalk paint brush I picked up at Walmart. It works much better than a regular paint brush. It leaves no brush strokes.
I applied my chalk paint to the base first. I used a smaller paint brush to get into the cracks where my chalk paint brush could not fit.
This is after the first coat of chalk paint on the base. Since I want full coverage, I am going to apply a second coat. While this is drying, I will start on the top.
To cover the top, I used an old lint free rag to apply my gel stain. I have also used an old sock and that works great too.
I apply two coats of the gel stain. After the first coat, I went back and did the 2nd coat of chalk paint. Once that was dry, I applied the 2nd coat of gel stain to the top. I went back and forth to allow time for drying.
When I finished both the top and the bottom, I used my Rustoleum ultra cover in high gloss. Since this will be in the kitchen and will get a lot of use, the gloss was the best option to protect my island.










Frequently asked questions
Have a question about this project?
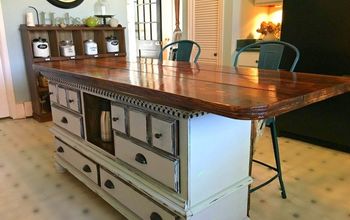
What are furniture plaques? Price and where to buy? Are those strips or single items all across. Are they just appliqué strips?
This “console” type table has a bottom to it, does it come like this or did you attach the bottom board? Is it on rollers? Very well done makeover!! I’m inspired!
Im curious to know if it was on wheels as well ?