How to Do a Desk Makeover in a Few Easy Steps
Today, I'm excited to share with you how my desk makeover was done. I transformed an old desk into a pretty pink princess dream. Let's dive into the details, shall we?
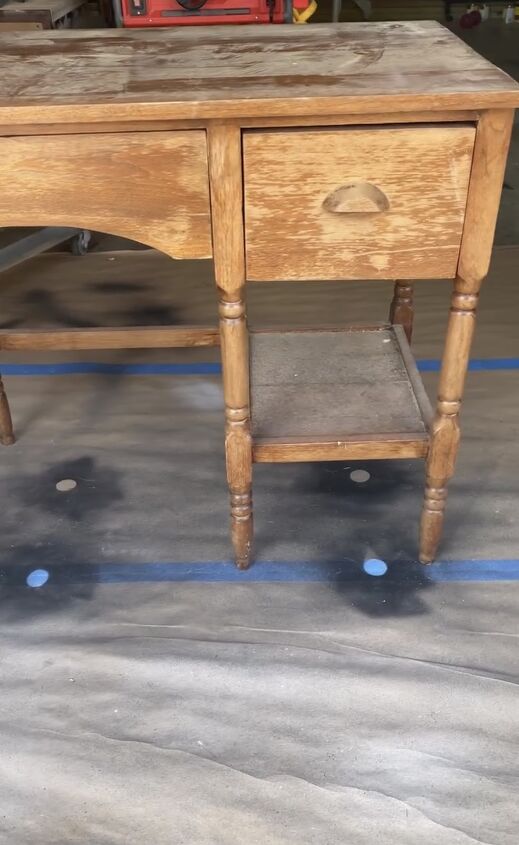
First things first, I snagged this desk for free from Facebook Marketplace.
Let’s get started with what you’ll need to do this.
Tools and materials
- Sandpaper
- Wagner paint spray gun
- Primer
- Paint sprayer or paint brushes
- Silica molds
- Resin kit
- Loctite construction adhesive
- Paint in two shades (light pink and dark pink)
- Polyacrylic sealant
- Hardware pieces from Hobby Lobby
Desk makeover steps
Step one: Sanding and priming
To kick things off, I started by sanding down the surface.
I primed the entire desk with a Wagner paint spray gun to prepare it for embellishing.
Step Two: Create the embellishments
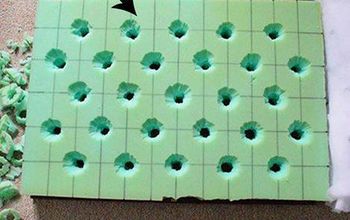
I got these cool silica molds and the resin kit from Amazon. I got inspired by someone who used them on a mirror, and I thought, "Hey, why not try it on my desk?" So, I did just that!
Tip: Take out the molds a bit early if you plan on bending them around the edges. It makes things easier.
To stick them on, I used Loctite construction adhesive, and let me tell you, they were on there solid!
Step Three: Paint the desk
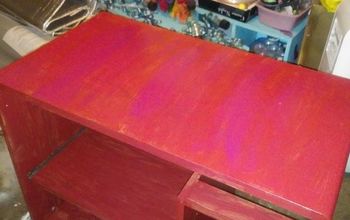
Now, onto the paint job! I wanted a blush pink color, so I mixed two different shades together until I got the perfect hue.
Then, I grabbed my Wagner spray gun and applied two coats of paint. To seal the paint, I added a layer of polyacrylic on top.
Step Four: Add hardware
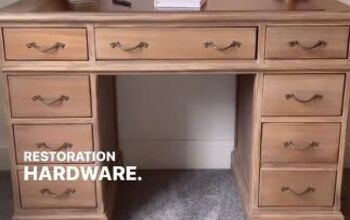
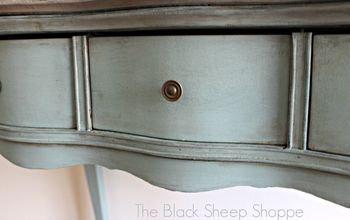
For the final touch, I added cute hardware pieces. I picked them up from Hobby Lobby.
The finished desk.
Desk makeover
With a little creativity and some elbow grease, you too can do a fabulous desk makeover. What projects are you working on? Share in the comments below.
Follow @flippedbyfaith_ on Instagram for more DIY ideas.














Frequently asked questions
Have a question about this project?