


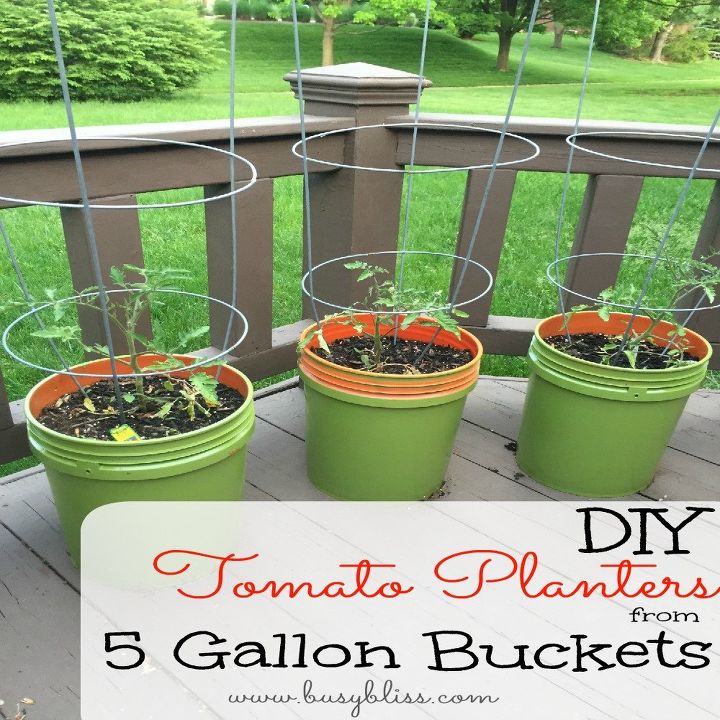
Tomato Planters From 5 Gallon Buckets

by
Amie
3 Materials
Easy
I’ve never been much of a gardener. Nope, neither of my thumbs are green and I’ve come to terms with that. I don’t particularly like yard work, so I’ve actually been quite content with my shortcomings with plant life. Gardener I am not, but I love to DIY, so I wanted to share how to make an easy DIY Tomato Planter from 5 gallon buckets.
We planted tomatoes this year, and the reason I went with containers instead of planting directly into the yard is because my hopes and dreams for these tomatoes are that I don’t have to touch them until they are ready to eat—for their own benefit, really. In order to do that, I needed them to be accessible to my husband from his wheelchair. We could also move the planters around if we wanted to make sure they were getting the best light.
I intended on buying some large flower pots, but have you ever looked at the price of these suckers? The cheapest pots were $10 apiece and they went up from there. Once I bought all the supplies, these were going to be some expensive tomatoes! Yeah, thanks but no thanks. I’ll go the DIY route.
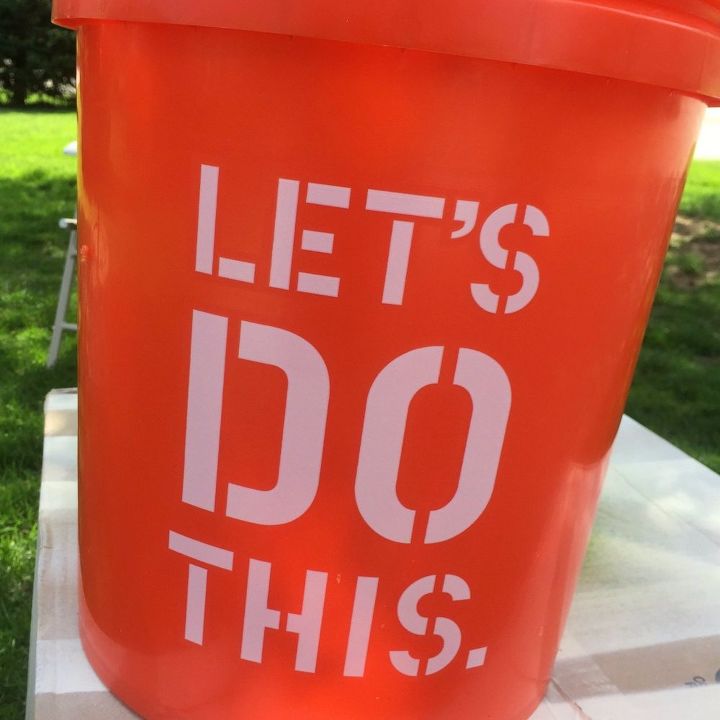
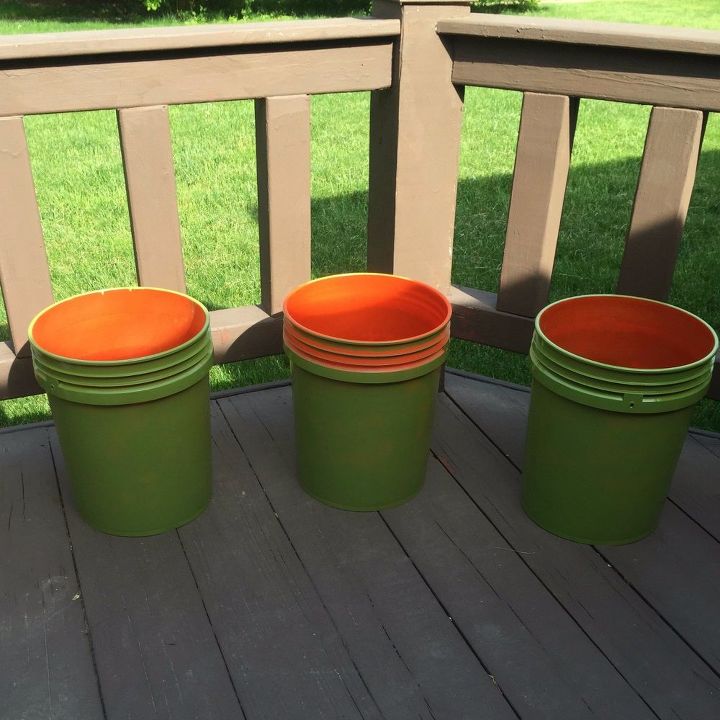
I picked up a few of those bright orange 5 gallon buckets at Home Depot and was on my way. The buckets were $2.97 each, so I paid less for three buckets than I would have for the cheapest large flower pot. In addition to the buckets, this project required spray paint and an electric drill, both of which I already had at home.
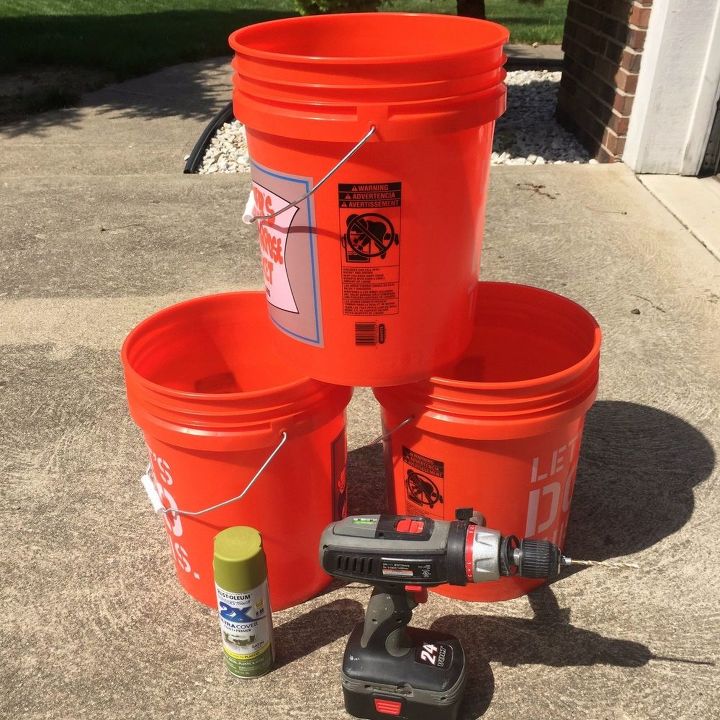
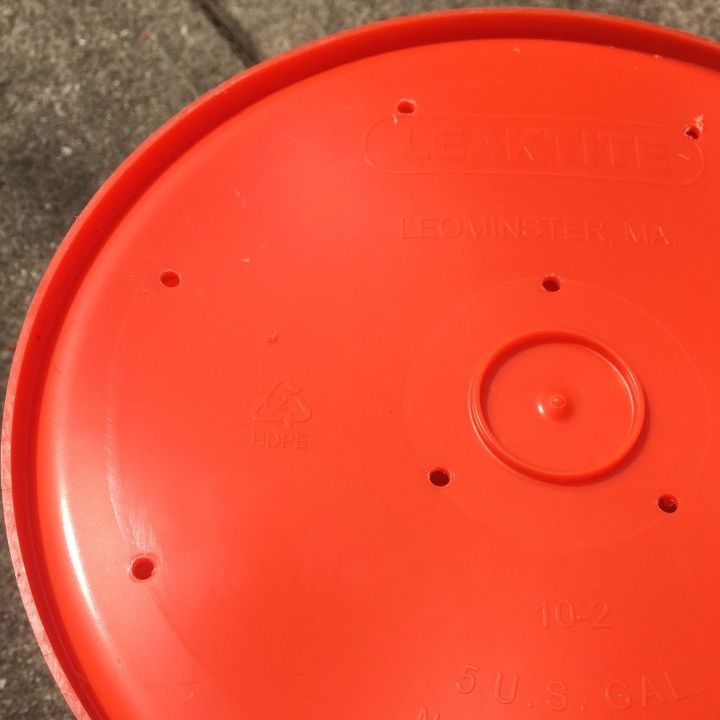
The first step is to add some drainage holes at the bottom of the buckets. This is easy enough by using an electric drill. If you don’t have a drill, you can also add holes by hammering a nail through the bottom and then removing it. I added holes about every 3 inches to make sure the bucket would drain easily. I also removed the handles.
It’s time to spray paint! You can skip this step if you are a fan of Home Depot orange (or whatever color your buckets are). I’ve been using Rustoleum Painter's Touch 2X Ultra Cover spray paints. The color I used for this is called Eden.
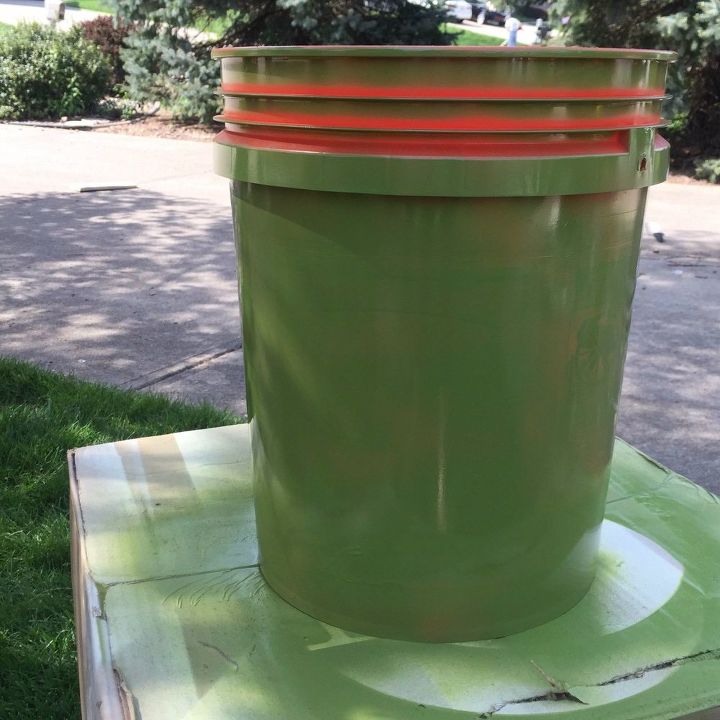
You can see that I didn’t paint the inside because I didn’t want chemicals leaching into the soil.
If you’re anything like me and can’t fathom paying $10 or $20 for something you will be filling with dirt, go buy some cheap 5 gallon buckets and spray paint and make your own! They aren't fancy, but you can’t beat spending a third of the price.
Check out my blog for this and other DIY tutorials.
Want more details about this and other DIY projects? Check out my blog post!
Comments
Join the conversation
3 of 55 comments
-
I've gone even cheaper and buy $1 trash cans from the Dollar Store and do the same thing but I add flair to each can!
-
I am so excited to see this idea! We have deer and rabbits galore, so I could use these buckets on my side porch where they don't venture. Wow....next year I'll have tomatoes of my own. Thanks for sharing.


Frequently asked questions
Have a question about this project?