How to stain wood floor?

+31
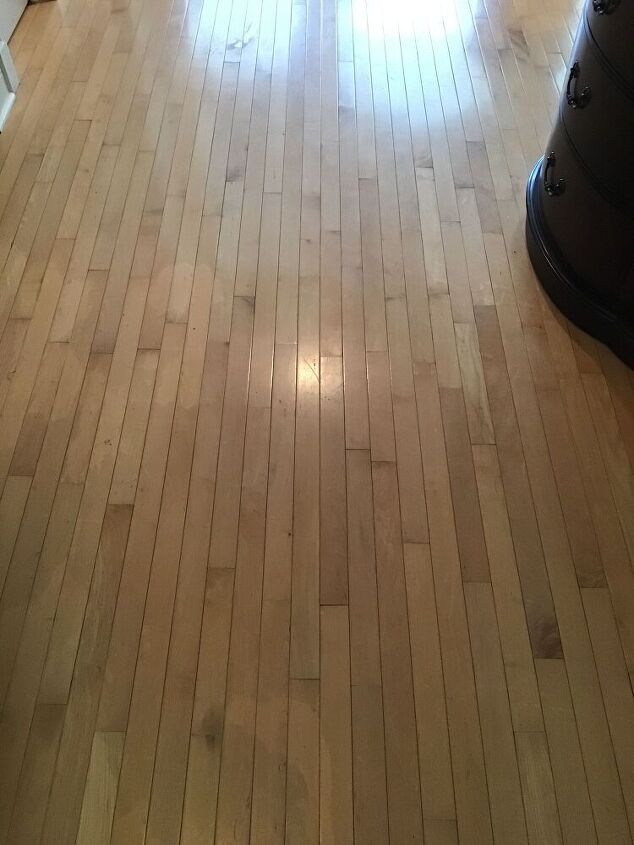
I've heard staining is a good technique for updating floors. So how do I stain my wood floor?
Related Discussions
Suggested Project Book

Hi, this is Peggy. I hope this information helps you seal your wooden floors. HOW TO STAIN AND SEAL HARDWOOD FLOORS
How to Stain and Seal Hardwood Floors - dummies
https://www.dummies.com/home.../flooring/how-to-stain-and-seal-hardwood-floors/
This article from Hometalk might be helpful Honny
https://www.hometalk.com/diy/paint/the-three-basic-steps-to-stain-wood-40626325
The Three Basic Steps to Stain Wood
A long handle and roller will save your back for applying it
Work in sections and with the grain of the wood. Wipe off excess.
Hi there, perhaps this might help: https://www.diynetwork.com/how-to/rooms-and-spaces/floors/how-to-stain-a-hardwood-floor
Vac and Wash the floors. When dry, go ahead a stain..........
If they're bare wood, you probably can. You may want to give them a light sanding to smooth any imperfections, though.
Hello, here is a great video instruction, hope it helps you out,
https://www.youtube.com/watch?v=6aoDrwXoSoQ
you would need to sand it well first so if it is a big piece i would ask proffesional to help but applying stain is easiest with cloth
These posts can help you: Home and Garden DIY Ideas | Hometalk
these can help you: Home and Garden DIY Ideas | Hometalk
Choose your stain from the DIY store. and get advice at the same time as to what you should apply it with. Start at the farthest point from your doorway and work backwards, so you don't find yourself marooned!
It is difficult process so use light stain
You have to sand it and then add the stain
You need to sand down the floor take all marks off if you want them off because with the stain you will see them more. Then after you sand it vacuumed really well .then start staining from the farthest corner and work your way out of the room. Let dry as long as the can says .If it’s not the color you want after it’s dry re stain starting the same way wearing socks only on the floor they might get stain on them start in the corner . After it’s dry totaly you need to polyurethane the floor to protect it and then every other year maybe touch up with Polly.
Keep in mind that staining a wooden floor requires a certain amount of physical agility to bend, crawl on your knees, and to reach out at awkward angles. It may not be a suitable diy project for everyone.
Clean the wood floor well, let dry. Sand with fine grit sandpaper, clean, let dry, then apply the color stain you want.
Check this link https://www.diynetwork.com/how-to/rooms-and-spaces/floors/how-to-stain-a-hardwood-floor
There are a few things to keep in mind when staining wood floors. First, you'll need to sand the floor to create a smooth surface. Next, choose the right type of stain for your flooring. Water-based stains are typically best for lighter woods, while oil-based stains work well for darker woods. Once you've chosen your stain, apply it evenly across the floor and allow it to dry completely before walking on it.
Here are the steps to stain a floor.
Hello Honny, hope this helps you out. it's important to properly prep the floor to get the best results
https://blog.cityfloorsupply.com/how-to-apply-stain-to-a-hardwood-floor-step-by-step-guide/
Here's a video for you: https://www.youtube.com/watch?v=vmeG1nF47Ik
Sand and then restain and then coat with a strong polyurethane made for floors. Here's a DIY that might help.https://www.hometalk.com/posts/kitchen-dining/refinishing-a-old-wood-floor-staining-a-kitchen-wood-floor-black-28511851
https://www.youtube.com/watch?v=Sc21HbsmXFA
There are many great posts here on Hometalk that will provide you advice about doing this. Just enter key words into the search box at top left on the homepage.
Sand, Vac, wash, dry, vac! Apply stain starting from the fathest point from the door and work backwards. Leave it to sak in and dry. Follow rest of instructions on bottle to complete task!
Hello Honny, hope this helps you.
You can also stain a wood floor without sanding if you want to refresh or darken the existing stain. To do this, you can use a liquid sander or deglosser to dull the finish so the new stain will adhere properly.
Drop something on it! Ha Ha!
Prepare the Surface – Sand the floor to remove old finish and smooth imperfections.
Clean Thoroughly – Vacuum and wipe with a damp cloth to remove dust.
Apply Pre-Stain Conditioner – Helps the wood absorb stain evenly (optional but recommended).
Apply Stain – Use a brush or cloth, working with the grain; wipe off excess.
Let It Dry – Allow the stain to dry completely (usually 24 hours).
Seal with Polyurethane – Protects the floor and adds durability (apply multiple coats).
Go to DIY. Choose Stain and Folow instructions on tin!
This is a good way to update your floors, but best left to a professional to keep it looking even. The floor needs to be sanded beforehand.
Hello Hinny, hope this helps you.
Methods for Changing Hardwood Floor Color Without Sanding:
Things to Consider:
🛠️ Supplies You’ll Need:
✅ Step-by-Step Instructions:
1. Prep the Room- Remove all furniture, rugs, and baseboards if possible.
- Seal off doorways and vents with plastic to contain dust.
- Clean the floor to remove dirt and debris.
2. Sand the Floor- Use a drum sander for the main area and an edge sander for corners and edges.
- Start with coarse grit (36), then repeat with 60, 80, and finally 100 grit.
- Vacuum thoroughly between grits to remove dust.
3. Clean the Surface- After final sanding, vacuum the entire floor carefully.
- Wipe with a damp cloth or tack cloth to pick up fine dust.
4. Apply Wood Conditioner (Optional but recommended for soft woods)- Helps the wood absorb the stain evenly.
- Apply with a brush or cloth, wait 15 minutes, and wipe off excess.
5. Stain the Floor- Work in small sections.
- Apply stain with a staining pad or lint-free cloth following the grain.
- Wipe off excess stain with a clean cloth within 5–15 minutes.
- Let dry according to the manufacturer’s directions (usually 24 hours).
6. Apply Protective Finish- After stain dries, apply polyurethane or your preferred finish with a brush or roller.
- Allow it to dry completely (typically 4–6 hours).
- Lightly sand with fine grit (220) between coats, and apply 2–3 coats.
7. Cure TimeOR...hire a professional.