


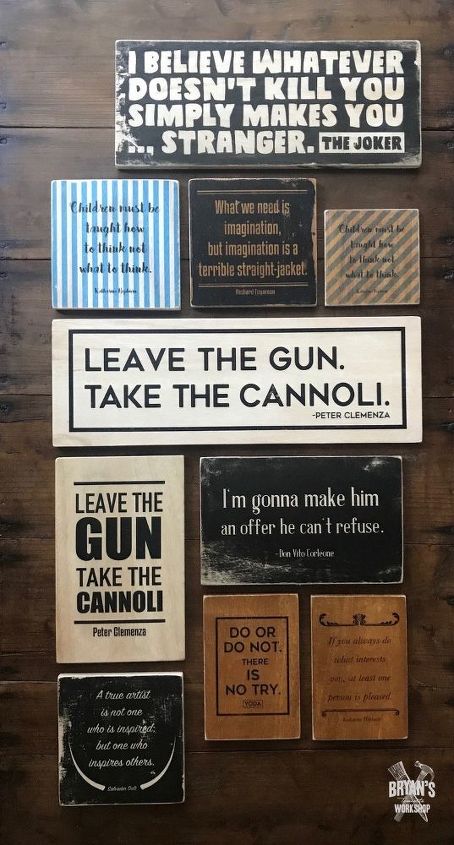
How To Make Classic Wood Tiles!!

Looking to personalize your space? You can literally make any tile you want with an easy to do image transfer. Follow my tutorial for a step by step guide to help you make your own wood tiles.
Tools and Materials
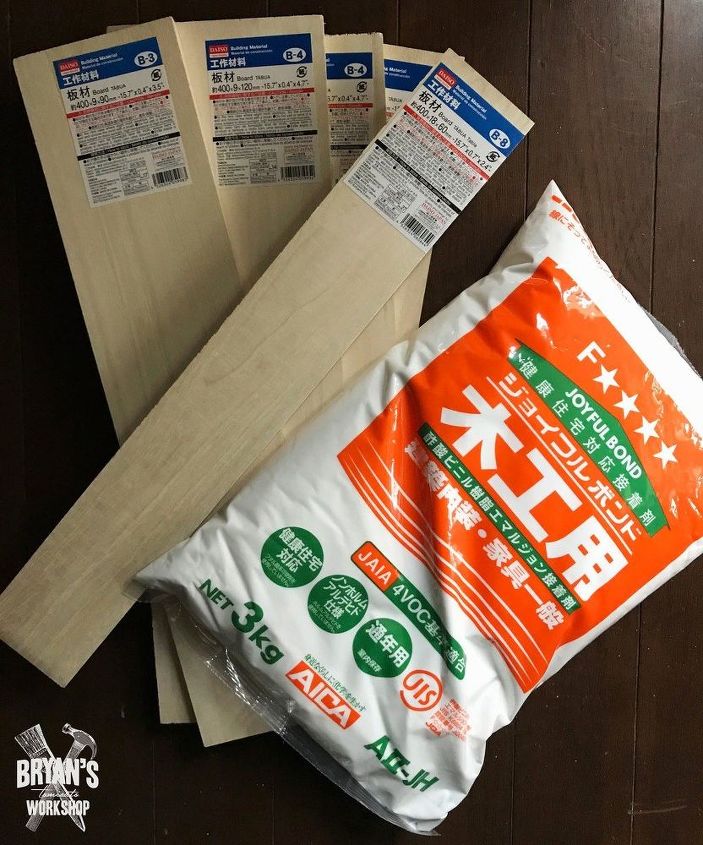
- wood
- printer paper
- laser printer
- wood glue
- sand paper
- sponge
- water
- clear top coat
Print Out Your Design
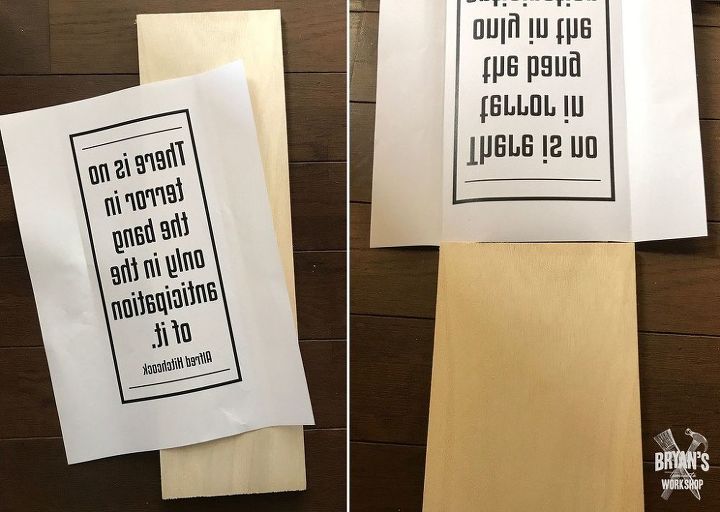
First you'll need to print out your tiles on regular printer paper using a "laser printer." You can find pictures of tiles on Pinterest or with a Google search. You can also take pictures of tiles and print them out that way. You'll need to reverse all images before printing them out so they transfer correctly. It doesn't matter with most of these tiles, but it's best to get in the habit of doing it.
Sand
You'll need to sand the surface of the wood you transfer onto very well. It should be INCREDIBLY smooth! Like Teddy Pendergrass smooth! The image will need full contact with the wood to transfer correctly. Any type of wood can be used just as long as the surface is smooth.
You'll also need wood and wood glue.
I live in Japan, so I can't recommend a wood glue, but any wood glue will work.
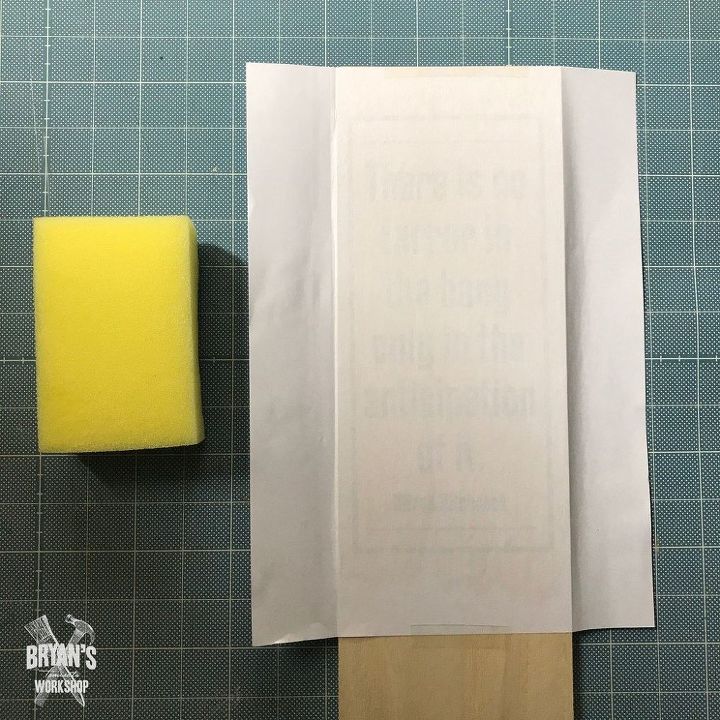
Press Image Against Wood
This was the first attempt at an image transfer using wood glue.
First, press the image against the wood to make creases so you'll know exactly where to rub on the glue. It also makes it easier to apply the image.
*Remember to reverse all images before printing.
Glue
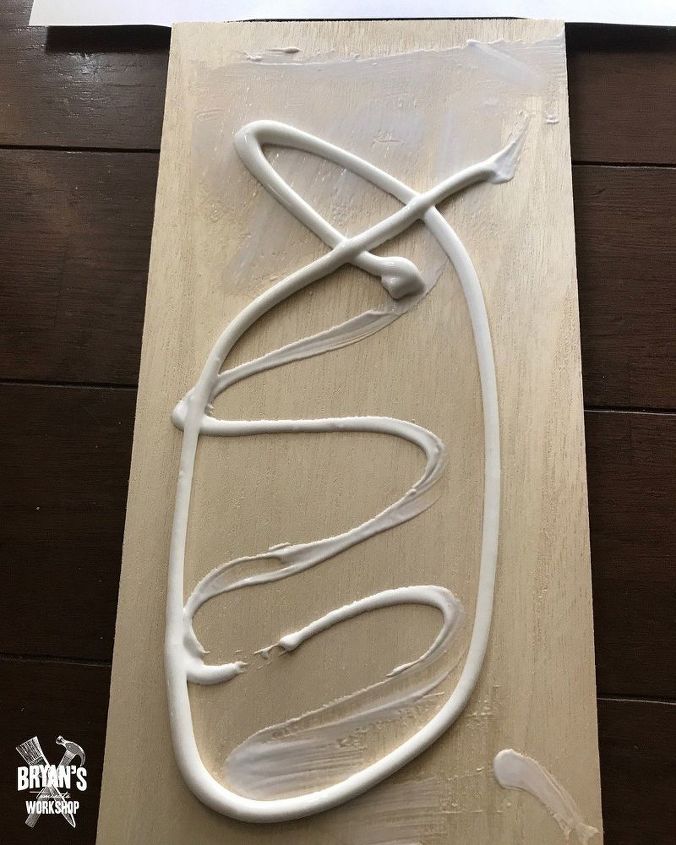
You want to use just enough glue to cover the wood.
Too much glue will ruin the transfer.
Smooth out the Glue
The glue should look like this. The ink from the image will transfer to the glue.
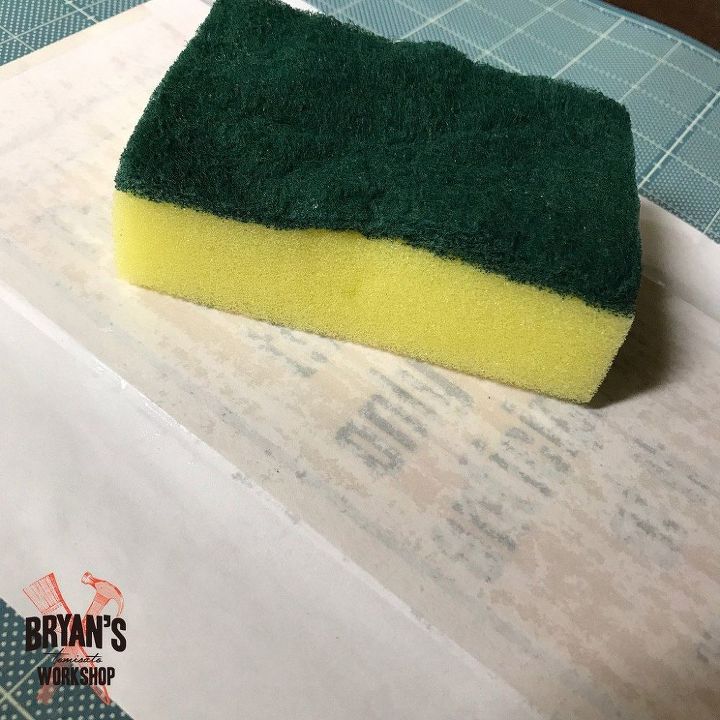
Smooth with a Sponge
Gently smooth the image out with a kitchen sponge. The image shouldn't move around on the wood. If it does, you used too much. You also used too much if it is coming out from the sides.
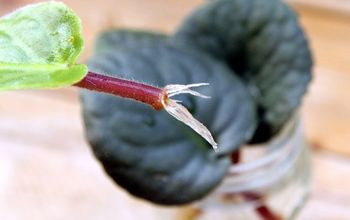
Rub off the Paper
Let the image dry to the glue for at least 24 hours.
When it is dry, dampen that kitchen sponge and gently rub the paper making it a little wet.
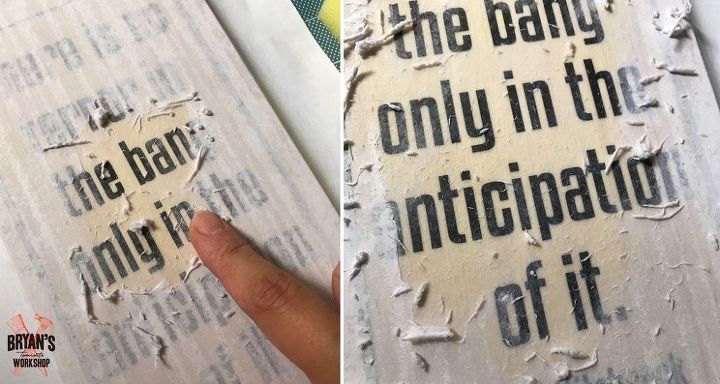
The paper will start to rub away from the image like this. Take your time using your fingers. The image is transferred, but can still be scratched off if you're too rough.
That's it! That's how you do it! 
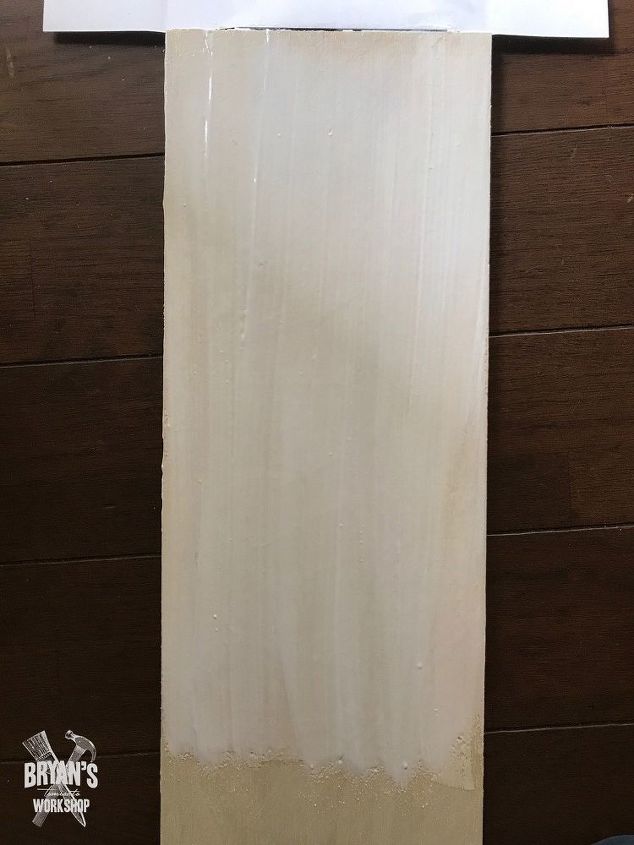
Stain (If You Want)
You can stain the wood with a water based stain before transferring your image.
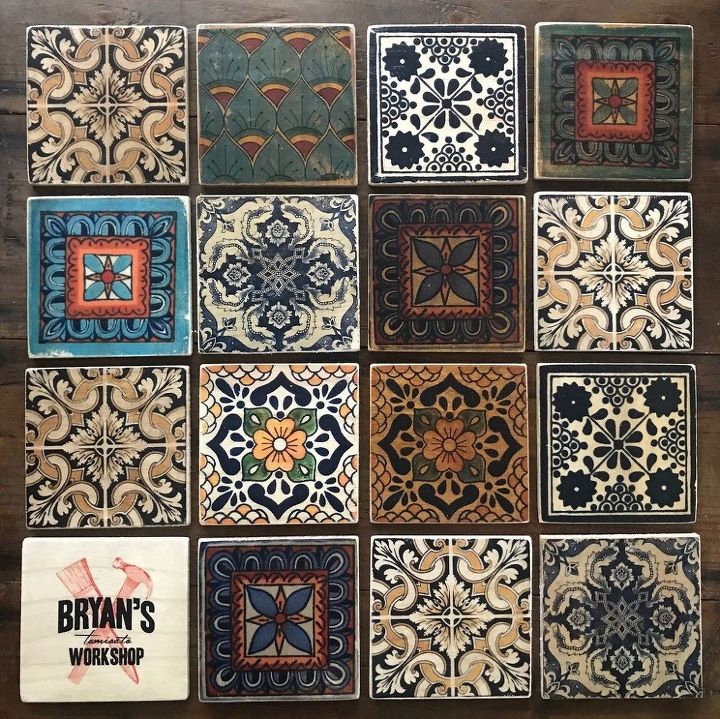
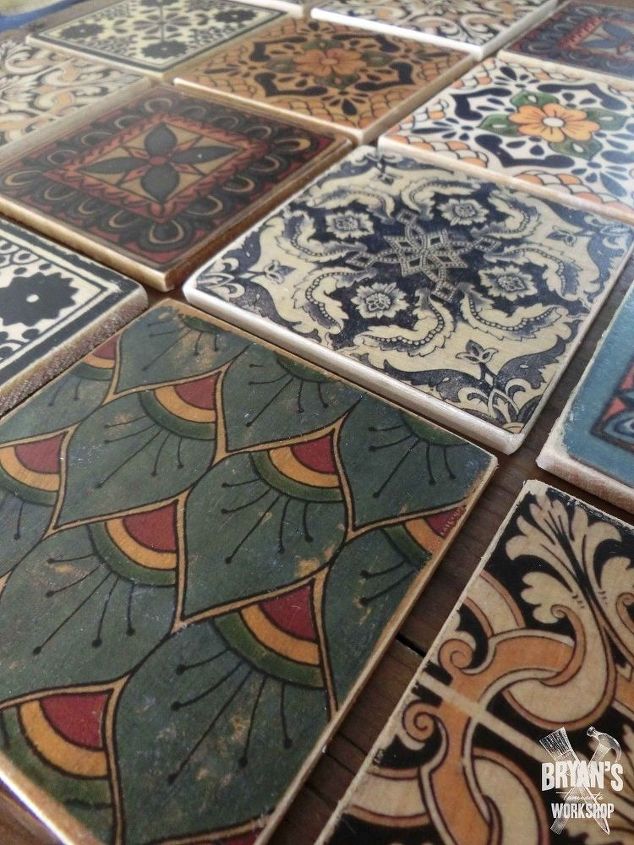
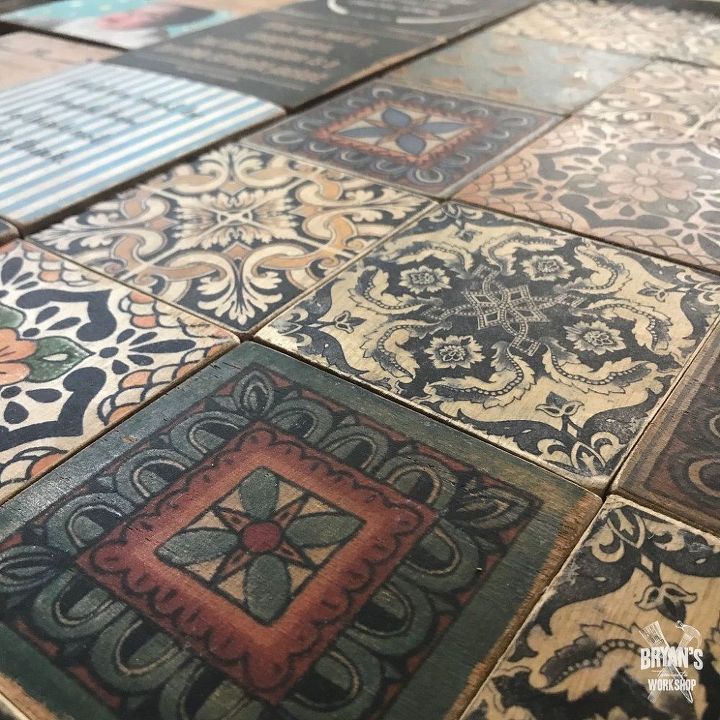
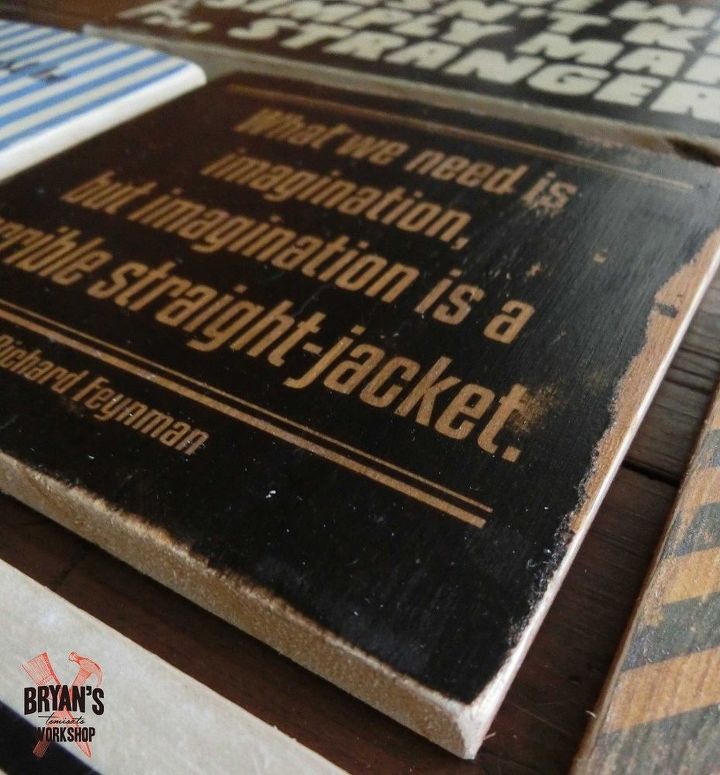
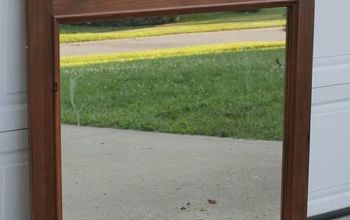
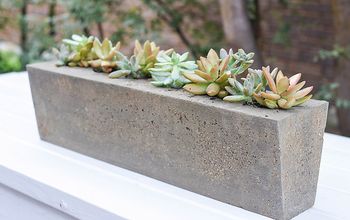
These are what the tiles looked like before a clear protective top coat.
Add a Top Coat
These tiles have a matte clear top coat on them.
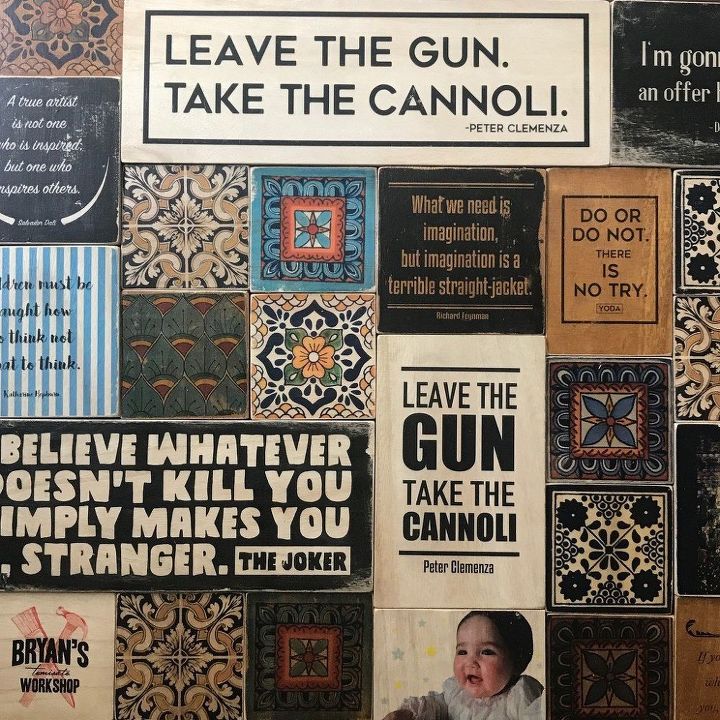
Here are two good links about copyright protection and using famous quotes on crafts you don't intend to sell.
http://fairuse.stanford.edu/2003/09/09/copyright_protection_for_short/
https://emilymcdowell.com/blogs/all/105986566-using-famous-quotes-on-products-when-is-it-ok
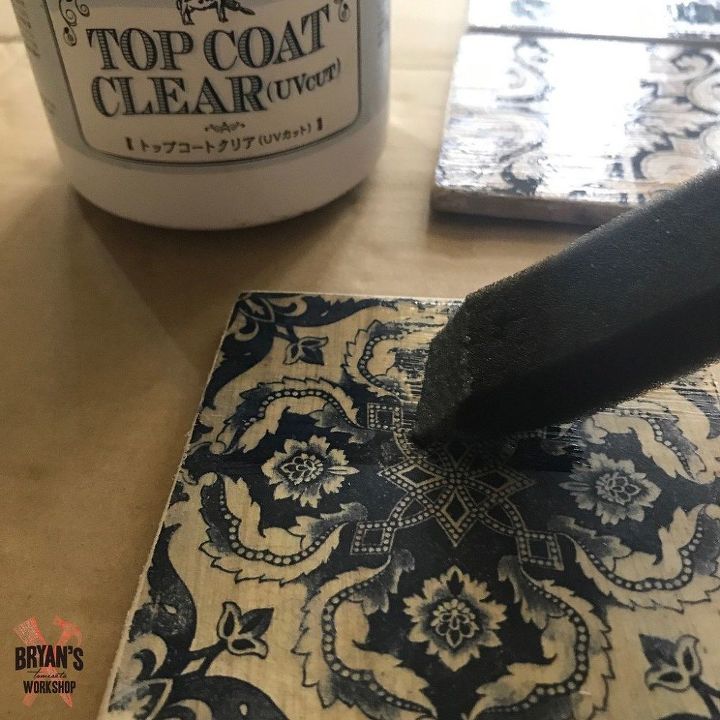
A top coat will protect and waterproof your image. It will also make the color pop.
A light sanding is a great way to distress your image.
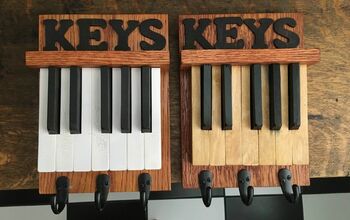
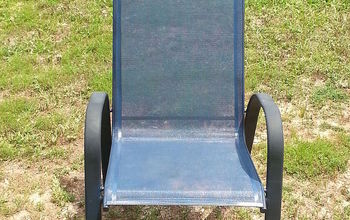
Come check out my other projects on Facebook and Instagram!
Resources for this project:
See all materials


Comments
Join the conversation
-
Love this!
-
Bryan you are AMAZINGLY talented! I love each and every project you do!! Not one bit of unchi here! Lol!


Frequently asked questions
Have a question about this project?
This is definitely one of the coolest projects I’ve seen on this website so far. I really want to try something like this, but I don’t really have any access to a laser printer. Do you know of any other decent techniques for transferring images to wood? I know there’s a million different ways but I just don’t even know where to begin
Very nice. Did you use lumber or are a thin craft type wood?
Would this work for floor tiles?