Use Twine & Wooden Beads To Transform A Plain Dollar Tree Glass Vase

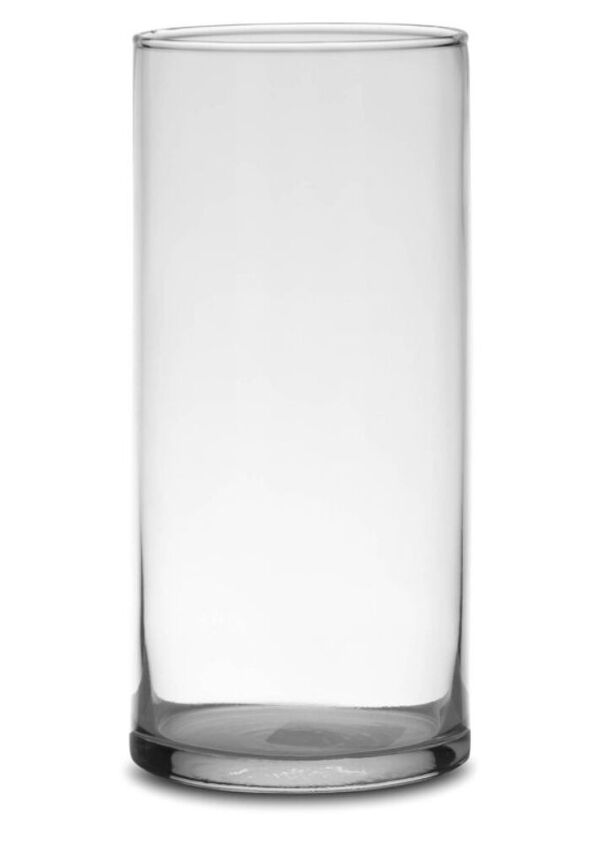
The cylinder glass vases from dollar tree are simple, plain, and perfect to use for so many projects!
This tutorial shows you how I brought a glass vase from boring to boho fabulous in less than an hour!
*Price listed is as if you had to buy everything needed including the hot glue gun. But most, if not all, of the items used in this tutorial are already in your home
Gather up your materials-
7 or 9 inch cylinder glass vase ( I used a 9 inch)
Rubbing alcohol (to clean the glass)
Jute Twine (I used a thicker twine, 3.2mm or #72
12 10mm wooden beads
Thinner twine than the 3.2mm (mine is from dollar tree)
Paper towels
Scissors
Hot glue gun and glue sticks
Optional-
Super glue
Decorative trim
Use rubbing alcohol and clean the glass really well, including the bottom and very top on the inside
Put a dab of hot glue on the end of the twine and glue it just inside over the top lip
Pull the strand straight down and cut it leaving about 1/4-1/2 inch that you can glue to the bottom
Put a dab of hot glue on the very end you just cut
And glue it to the bottom. Make sure the twine is straight up and down
You can use a rubber spatula to press the strand down and save your fingers from getting burned by the hot glue
Glue another piece of twine in the same manner on the opposite side
Now you have two pieces glued at both top and bottom directly across from each other
Now you want to glue a piece in the middle of those two
And then one across from that one
Now one in the middle of each of those
And again, hot glue a piece a jute in the middle of each string
And once more until you have 32 pieces each hot glued to just the top and bottom of the vase
Grab your thinner twine
You can see in the photo above how much thinner the twine is than the thicker twine I've been using so far
Cut off a 6-8 inch piece and slide the thin twine under 8 pieces of the larger twine.
Then, slide on 3 of the 10mm beads on one side of the string
Tightly tie (not too tight that you tear the twine off the glass vase) a double knot so that the 8 strands of thick twine somewhat bunch together and to keep the beads tight next to one another.
Cut off the excess thinner jute leaving just a little bit so that knot doesn't come undone.
Optional - at this point, you could add just a dab of super glue to the knot so that it never comes undone, but it is not necessary (I did not do it)
Shimmy the knot so that it's hidden behind the beads. This can be a bit tricky, just be careful not to pick the knot undone
Continue this process 3 more times for a total of 4 sets of 8 strands bunched together
Now for the finishing touches -
I have this braided twine that I love! I got it from Michael's. You can use any of your favorite decorative strings, trims, or even the same thicker twine that we've been using
Hot glue the decorative trim around the bottom. I did two rows
Make sure to start and end all of your finishing strands in the same area. This will be the back side of the vase
For the underside, I used the thicker twine and made a tight circle all the way around the bottom to hide the glued ends.
I made sure that the last row butted up directly next to the decorative braided twine I just applied in the previous step
At the top, I hot glued 2 rows of the braided twine, but I didn't like how the lip looked, so I also hot glued 2 rows of the thicker twine to hide that
Then I decorated!
This is totally my style and it was very inexpensive to make, and super easy too!
Wooden Beads and twine are one of my favorite combos!
You can find over 600 different products, colors and styles for all things crafty in our Etsy shop
I hope you've enjoyed this tutorial! You can find us and see more projects on our Facebook page










Frequently asked questions
Have a question about this project?
If you were to use this for live flowers, how would you wash it?