Pipe Rung Blanket Ladder

I have wanted a blanket ladder for a while now but the prices have just seemed too high for the products I have viewed. I don't own many wood cutting tools and so this version of a blanket ladder is perfect for me and anyone else who is limited on money and know-how around a wood shop. The supplies totaled less than $50 and the ladder was very simple to assemble.
Cut two 2x4's six feet long. On one end of the 2x4's measure 1 1/4 inches and mark. On the right side from the top measure down 8 5/8 inches and mark. Draw a line connecting both marks. This is where you will cut. This cut allows the blanket ladder to lean flush against the wall. At the other end of the 2x4's make a mark on the right side approximately 1 inch up. Draw a line from the 1 inch mark to the bottom left corner. This is where you will will cut allowing the blanket ladder to stand on an angle on the floor. These cuts will make your blanket ladder lean approximately 14 inches away from the wall at the bottom of the ladder. This is plenty of room to add blankets without the ladder getting in the way.
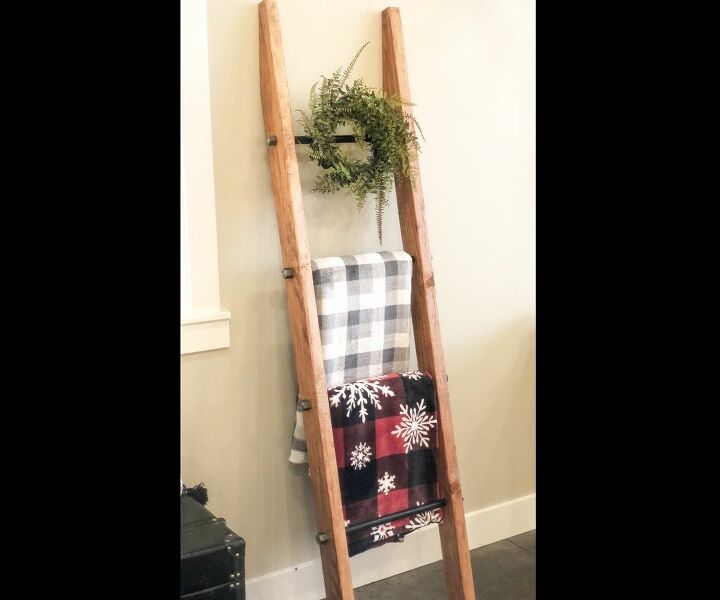
This photo shows how the ladder should look when placed against the wall after making the cuts.
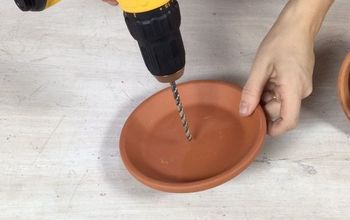
From the top of the ladder, measure down 14 inches and mark. This is where the first rung will go. Make 3 more consecutive marks, each measuring 14 inches lower than the last. I chose to do 4 rungs but you can do more or less. Just remember that the last rung will be higher because you don't want your blankets to drag on the floor. After you have marked both pieces of wood, use a 7/8 drill bit to drill holes into all four marks on each piece of wood.
After angles are cut from the tops and bottoms and holes are drilled, you are ready to stain. I sanded off any slivers and imperfections from my wood. Then I chose a beautiful walnut stain and added one thin coat. You could choose any paint color if you don't want a stained look.
For the rungs, I chose four 1/2 inch black pipes measuring 18 inches long. I also purchased eight 1/2 inch caps to screw onto the ends of the rungs to keep them in place. Simply push the pipe through the drilled holes and add the caps.
And here is the finished product! This project was so easy to complete and adds a farmhouse and rustic feel at the same time.
Enjoyed the project?
Resources for this project:
See all materialsComments
Join the conversation
-
 Joyce Collins
on Nov 24, 2019
I love it! Thank you for sharing.
-
 Crista | oliveushome
on Nov 25, 2019
Thank you so much!
-
-
-
 Rosie
on Mar 24, 2024
Thanks for the instructions. I used wooden dowels on mine, cut the cost considerably.
-
 Crista | oliveushome
on Mar 24, 2024
That’s a great idea!
-
-
















Frequently asked questions
Have a question about this project?
How far from the wall is the base of the ladder?
Would galvanized pipes work? Then no worry at all of rusting.
What keeps the wood from sliding around on the pipe?