124K Views
5 Brilliant Ways to Use Paint Stirrers to Make Home Decor!

by
Abbie M
(IC: employee)
10 Materials
$20
1 Hour
Easy
Turn ordinary paint stirrers into extraordinary home decor with these genius ideas! 


Check out the video for the materials & how-to's!
{
"id": "5094401",
"alt": "",
"title": "",
"video_library_id": "6255",
"thumbnail": "https://cdn-fastly.hometalk.com/media/2018/09/20/5094401/5-brilliant-ways-to-use-paint-stirrers-to-make-home-decor.jpg"
}
{
"width": 634,
"height": 357,
"showRelated": true,
"noautoplay": ""
}
[{"sources":[{"type":"video\/mp4","src":"https:\/\/video-cdn-prod.b-cdn.net\/hometalk\/2024\/02\/21\/33238\/33238_source-406.mp4","label":"406p"},{"type":"video\/mp4","src":"https:\/\/video-cdn-prod.b-cdn.net\/hometalk\/2024\/02\/21\/33238\/33238_source-720.mp4","label":"720p"},{"type":"video\/mp4","src":"https:\/\/video-cdn-prod.b-cdn.net\/hometalk\/2024\/02\/21\/33238\/33238_source-1080.mp4","label":"1080p"}],"poster":"https:\/\/cdn-fastly.hometalk.com\/media\/videos\/2024\/02\/21\/33238\/thumbnail.jpg","media":{"video_library_id":33238,"thumbnail":"https:\/\/cdn-fastly.hometalk.com\/media\/videos\/2024\/02\/21\/33238\/thumbnail.jpg"}},{"sources":[{"type":"video\/mp4","src":"https:\/\/video-cdn-prod.b-cdn.net\/hometalk\/2023\/03\/23\/25087\/25087_source-406.mp4","label":"406p"},{"type":"video\/mp4","src":"https:\/\/video-cdn-prod.b-cdn.net\/hometalk\/2023\/03\/23\/25087\/25087_source-720.mp4","label":"720p"},{"type":"video\/mp4","src":"https:\/\/video-cdn-prod.b-cdn.net\/hometalk\/2023\/03\/23\/25087\/25087_source-1080.mp4","label":"1080p"}],"poster":"https:\/\/cdn-fastly.hometalk.com\/media\/videos\/2023\/03\/23\/25087\/thumbnail.jpg","media":{"video_library_id":25087,"thumbnail":"https:\/\/cdn-fastly.hometalk.com\/media\/videos\/2023\/03\/23\/25087\/thumbnail.jpg"}},{"sources":[{"type":"video\/mp4","src":"https:\/\/video-cdn-prod.b-cdn.net\/hometalk\/2022\/03\/17\/16742\/16742_source-406.mp4","label":"406p"},{"type":"video\/mp4","src":"https:\/\/video-cdn-prod.b-cdn.net\/hometalk\/2022\/03\/17\/16742\/16742_source-720.mp4","label":"720p"},{"type":"video\/mp4","src":"https:\/\/video-cdn-prod.b-cdn.net\/hometalk\/2022\/03\/17\/16742\/16742_source-1080.mp4","label":"1080p"}],"poster":"https:\/\/cdn-fastly.hometalk.com\/media\/videos\/2022\/03\/17\/16742\/thumbnail.jpg","media":{"video_library_id":16742,"thumbnail":"https:\/\/cdn-fastly.hometalk.com\/media\/videos\/2022\/03\/17\/16742\/thumbnail.jpg"}},{"sources":[{"type":"video\/mp4","src":"https:\/\/video-cdn-prod.b-cdn.net\/hometalk\/2024\/04\/16\/34360\/34360_source-406.mp4","label":"406p"},{"type":"video\/mp4","src":"https:\/\/video-cdn-prod.b-cdn.net\/hometalk\/2024\/04\/16\/34360\/34360_source-720.mp4","label":"720p"},{"type":"video\/mp4","src":"https:\/\/video-cdn-prod.b-cdn.net\/hometalk\/2024\/04\/16\/34360\/34360_source-1080.mp4","label":"1080p"}],"poster":"https:\/\/cdn-fastly.hometalk.com\/media\/videos\/2024\/04\/16\/34360\/thumbnail.jpg","media":{"video_library_id":34360,"thumbnail":"https:\/\/cdn-fastly.hometalk.com\/media\/videos\/2024\/04\/16\/34360\/thumbnail.jpg"}},{"sources":[{"type":"video\/mp4","src":"https:\/\/video-cdn-prod.b-cdn.net\/hometalk\/2024\/04\/16\/34339\/34339_source-406.mp4","label":"406p"},{"type":"video\/mp4","src":"https:\/\/video-cdn-prod.b-cdn.net\/hometalk\/2024\/04\/16\/34339\/34339_source-720.mp4","label":"720p"},{"type":"video\/mp4","src":"https:\/\/video-cdn-prod.b-cdn.net\/hometalk\/2024\/04\/16\/34339\/34339_source-1080.mp4","label":"1080p"}],"poster":"https:\/\/cdn-fastly.hometalk.com\/media\/videos\/2024\/04\/16\/34339\/thumbnail.jpg","media":{"video_library_id":34339,"thumbnail":"https:\/\/cdn-fastly.hometalk.com\/media\/videos\/2024\/04\/16\/34339\/thumbnail.jpg"}}]
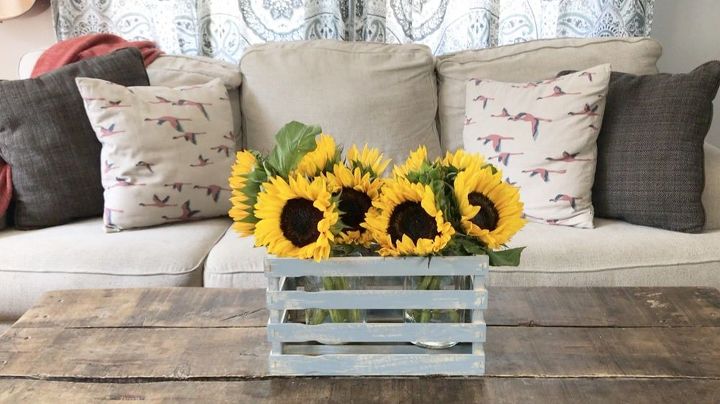
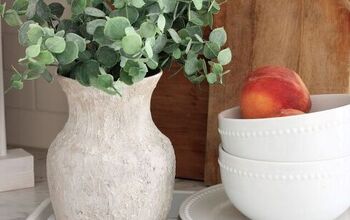
First lay out your paint stirrers and two square wooden dowels. Cut the paint stirrers in half and cut the dowels in 4 equal sections.
Next, staple 4 cut stirrers onto two cut wooden dowels. Creating a mini pallet shape. Repeat this two times.
After that, staple 4 regular sized paint stirrers onto the two ends you just created. Repeat this on both sides.
Next, staple two regular sized stirrers onto the bottom & glue two more stirrers on the inside.
After that, add paint stain, or leave it raw!
Now you have a mini- crate to display flowers in!
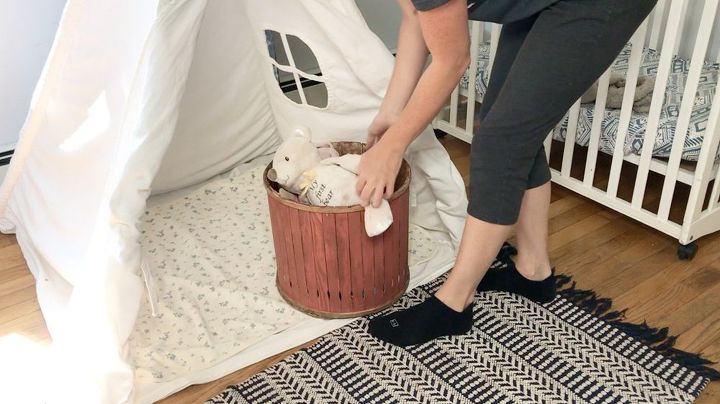
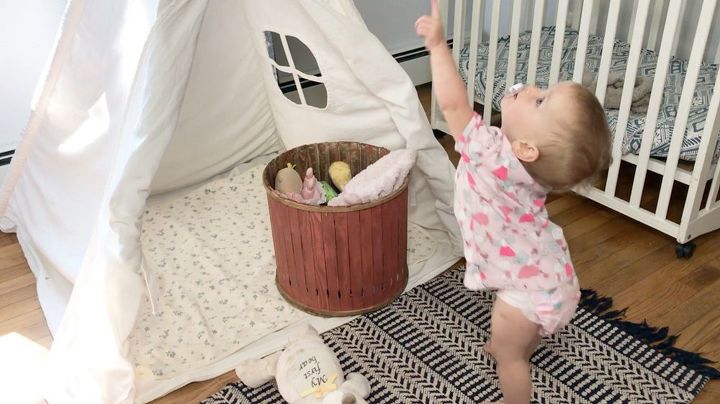
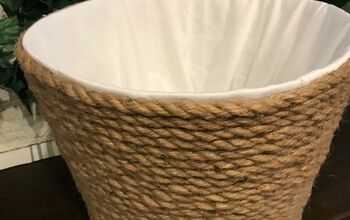
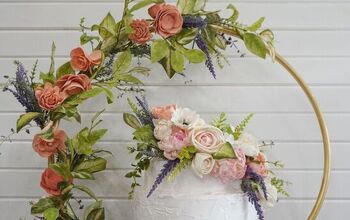
First, paint full sized paint stirrers a color of your choice.
Next, grab an embroidery hoop and stable them all the way around.
After that, grab a second embroidery hoop & staple the stirrers onto that one as well.
Next, add some stain!
After that, grab a piece of cardboard and trace the bottom. Cut out the circle with a craft knife, and hot glue it to secure.
Now you have a basket to store toys, blankets, the possibilities are endless!
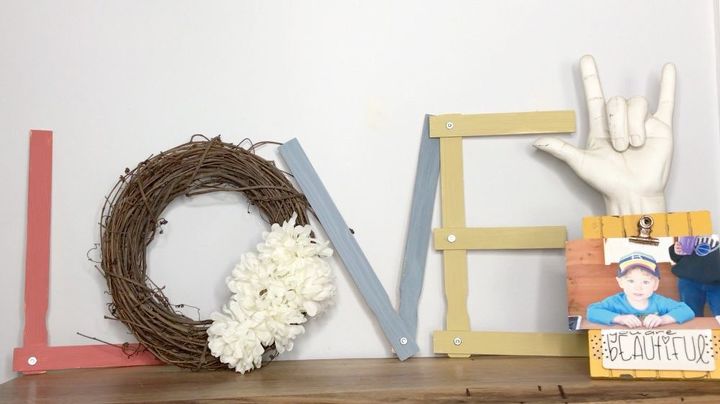
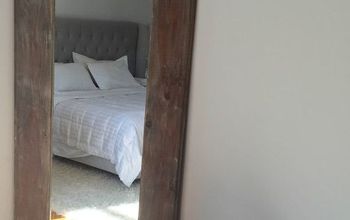
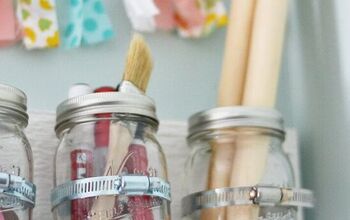
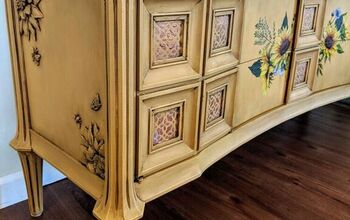
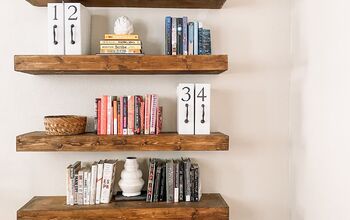
First, line up your stirrers & mark them.
Next, cut them to size and drill holes to attach.
After that, paint stain or leave them raw & attach using nuts and bolts.
To create the letter "O" I used a grapevine wreath that I also added flowers too.
Now you have a rustic word display to dress up any bland mantle or shelf!
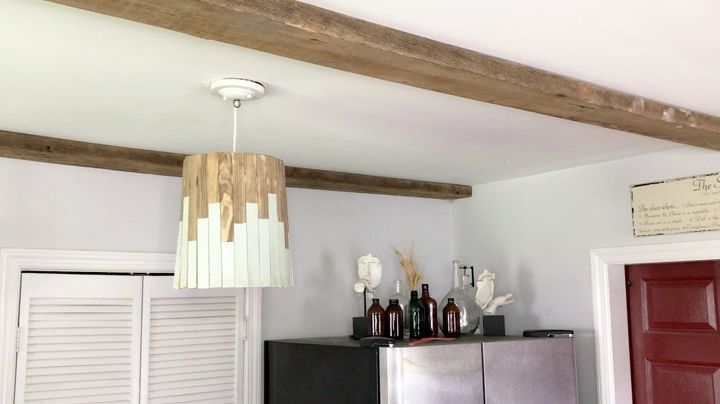
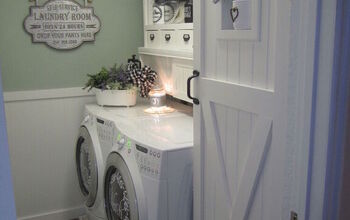
First, paint the edges of the paint stirrers.
Next, add some stain!
After they've dried, hot glue the stirrers to a lampshade.
Now you have a one of a kind lampshade!
I hope this inspires you to look at ordinary objects and turn them into extraordinary home decor!
Enjoyed the project?
Resources for this project:
See all materials
Any price and availability information displayed on [relevant Amazon Site(s), as applicable] at the time of purchase will apply to the purchase of this product.
Hometalk may collect a small share of sales from the links on this page.More info
Published September 10th, 2018 12:50 PM
Comments
Join the conversation
2 of 9 comments
-
Kelly Denoyer Russell on Nov 16, 2018
I would never make the crate. You can buy it made for cheaper at Michaels. $10 full price and much sturdier but the other ideas are unique.
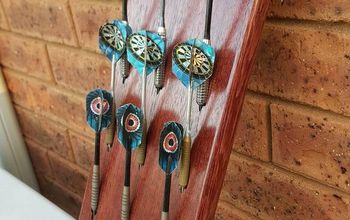
-
-
Frequently asked questions
Have a question about this project?
Where can i find the instructions to make the hanging light?
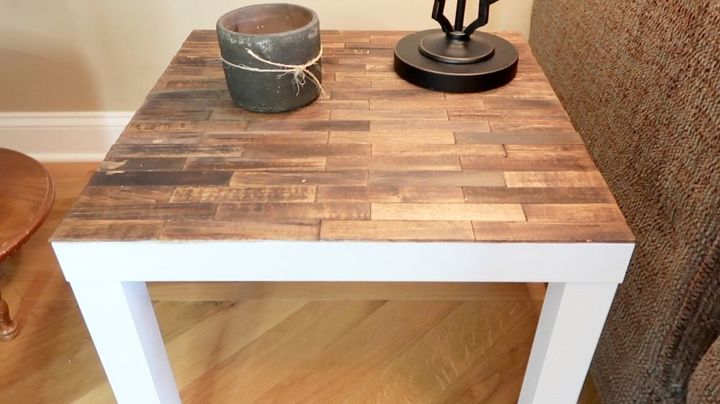
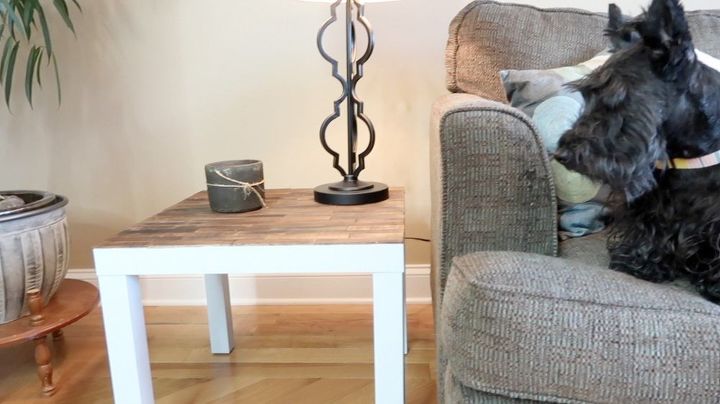
I would love to try the table project. What else did you use?
Do you have the instructions/info on the table top. I have a end table that I have been trying to figure out what to do the top of it and this would be perfect.