This Easy Mirror Wall DIY Hack Uses Cheap Mirrors From IKEA

Today I want to share a mirror wall DIY. Industrial mirrors can make your space look a lot bigger, so they are excellent for small rooms. This is a very easy, cheap, and fun DIY to do, so let’s dive in.
Tools and materials:
- IKEA LOTS mirrors
- Wood sticks
- Spray paint
- Silicon
- Silicon gun
- Hand saw
- Leveler
1. Measure the wall
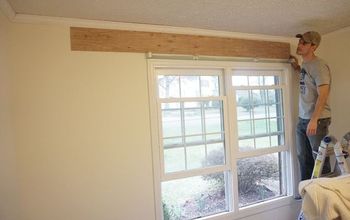
Clear the entire wall of anything you have hanging on it. Measure your wall and do the calculations of how many LOTS mirrors to order.
2. Stick the mirrors on the walls
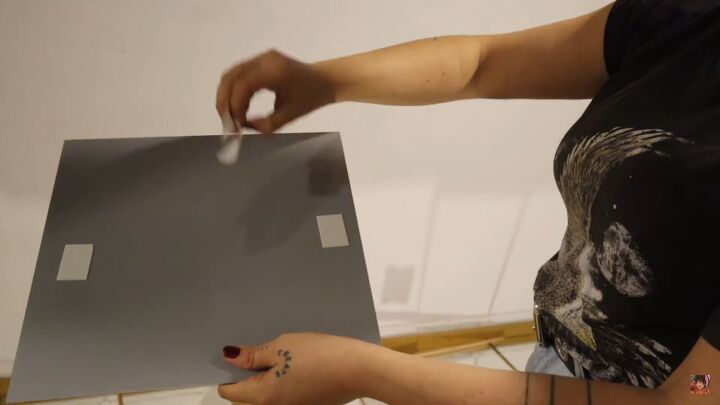
The LOTS mirrors come with rectangular stickers of double tape. Place two of them on the back of the mirror, one on each side.
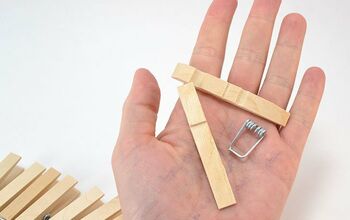
Using one of the sticks as your base, place the mirrors on the wall. Make sure to leave space for the wood in between the mirrors. In order to do that simply and without making unnecessary measurements, just place the second stick vertically between the mirrors each time you stick a new one on the wall. You can break the stick to make it more convenient to use.
For the second row, use a piece of the same double tape to secure a stick on the wall horizontally, to mark the space between the first and second row. Once you are done with the first mirror of the second row, you can move the stick to the side to continue.
Just continue to make as many rows as you find suitable. I recommend going to the very ceiling as it will create a visual illusion of a higher ceiling. Use your knee to keep mirrors in place when needed.
3. Prepare the sticks
We are done with the mirrors! The next step is to chop the wood sticks as needed. Place the sticks vertically first, and then place the rest horizontally right on top. Mark where you need to cut them.
Chop the sticks! You may use a jigsaw or a handsaw for this.
Spray paint all the sticks. You could also leave them in their natural color, but I think it looks more industrial. I am painting mine black.
4. Place the sticks on the wall
Fix the sticks on the wall in between the mirrors using silicone. Start with the long vertical sticks. Make sure to put silicone on the gaps on the wall, not on the sticks themselves - that way it will be much less messy.
Put the silicone inside, put in the stick, press on it, and repeat between all the mirrors. Make sure to also get the sticks on the outside, to create a sort of frame.
Fill the horizontal gaps in with the shorter sticks, using the same technique.
Mirror wall DIY
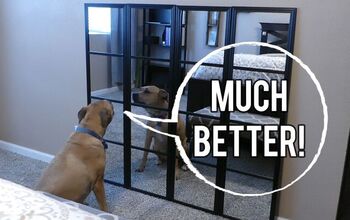
This is it! Let’s see the before and after. My room looks so much more spacious now, as well as brighter and taller. Have fun installing your own industrial mirror wall and let me know how it goes in the comments!
Enjoyed the project?
Suggested materials:
- IKEA LOTS mirrors
- Wood sticks (https://www.amazon.com/gp/product/B01C6BMJ72/ref=as_li_tl?ie=UTF8&camp)
- Spray paint (https://www.amazon.com/gp/product/B002BWORSG/ref=as_li_tl?ie=UTF8&camp)
- Silicon gun (https://www.amazon.com/gp/product/B002YC3W48/ref=as_li_tl?ie=UTF8&camp)
- Silicon (https://www.amazon.com/gp/product/B01NCSN5AS/ref=as_li_tl?ie=UTF8&camp)
- Hand saw (https://www.amazon.com/gp/product/B000B3AR04/ref=as_li_tl?ie=UTF8&camp)
- Leveler (https://www.amazon.com/gp/product/B00002N5NT/ref=as_li_tl?ie=UTF8&camp)
Comments
Join the conversation
-
 Emily Harris
on Jun 08, 2025
Looks awesome!
-
-
 Omaifi
on Jun 08, 2025
I absolutely love this idea, it's simple, affordable, and the transformation is seriously impressive! I did something similar last year using the IKEA LOTS mirrors in a narrow hallway, and it instantly made the space feel twice as wide. I paired it with a fresh laminate install (after reading tons of Fifty Floor reviews, they helped me choose the right style!), and now that space feels like a boutique hotel corridor.
-











Frequently asked questions
Have a question about this project?
What are the dimensions of the sticks? Did you measure the room to place the mirrors centered evenly on the wall? What if you have a small gap at the ceiling or adjoining walls, i.e., less than the measurement of a full mirror? Did you leave the gap? Did you cut the mirrors to fill the entire wall?
How did you work around electric outlets and wall switches?
Love love love it!