Easy DIY Snowman's Hat

Make a DIY Snowman's Hat using items from a thrift store. It's an easy craft that is great for holiday tabletop decor or as a centerpiece.
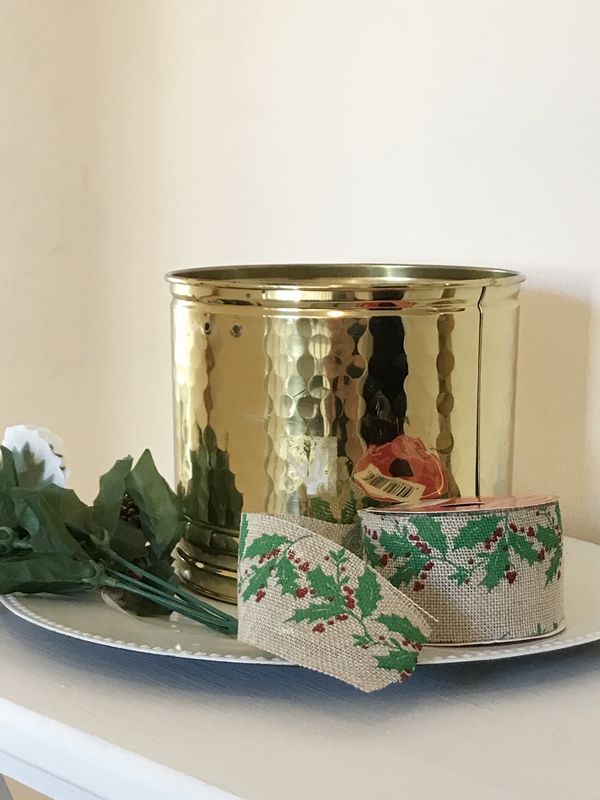
I went to Goodwill specifically to find items that would work for a snowman hat. I found a brass planter and a charger that were both just the right size for this. Painting and adding some Dollar Tree items was all it took to make this cute holiday decor piece.
I gave the planter one coat of black spray paint + primer. After it dried, it got another coat. Since I’ll be using this indoors, I didn’t give it a protective coat.
The charger is black on the bottom, so it didn’t need to be painted. I ran a bead of hot glue along the bottom rim of the charger and then held the planter in place for a minute until it was adhered.
The ribbon I bought was a bit too wide for the look I wanted. I folded it over, adding a few staples to hold it together. Starting at the back center, I added small dots of hot glue around the planter while wrapping the ribbon around.
The fun part of making a snowman's hat is deciding on what kind of embellishments to us. I found some glittery picks at The Dollar Tree. After removing the stems, I glued three of them to the base of the hat.
I removed the stems from pine cone floral picks and glued a few of them in place. The gold snowflake used as a hat pin is an ornament hanger that also came from The Dollar Tree.
I added a berry pick and another of the red floral picks to the top of the hat.
Using more Dollar Tree Ribbon, I tied a small bow and hot glued it onto the red stems.
A snowman's hat has to have some snow, right? I used part of a bag of fine snow that I had on hand and craft glue. Mod Podge could also be used.
I used an old paint brush to spread the glue onto the hat. Placing the hat inside of a large cardboard box helped keep the mess to a minimum as I sprinkled the snow over the glue, working in small sections until I had the coverage I liked.
The cost of this was very low and I’m happy with how it turned out. It's an easy project that is a fun addition to our holiday decor.
To see this and more easy holiday crafts, visit us at Across the Blvd!
Enjoyed the project?
Resources for this project:
See all materials










Frequently asked questions
Have a question about this project?
It looks really cute but I don't understand what the charger is for or how you would use it. Can you explain please? Thanks
Is a charger a plate?
Love this ....Will definitely do this project. Did you turn the planter upside down....if not how did you the top of the hat?