DIY Cone Christmas Trees

Seems like every year when I’m decorating for Christmas, I have leftover spots here and there that need a little holiday attention. This year was no exception so I did some shopping. I saw a lot of cone Christmas trees at the store but none really fit my decor. After spending some time on Pinterest, I realized DIY cone Christmas trees would be inexpensive and easy to make myself, plus I could choose my own colors and patterns. A win/win combo!! I am going with red, green and white this year (see my ribbon Christmas tree ornaments and Christmas gift tags) and I loved the choices I had of ribbon and paper.
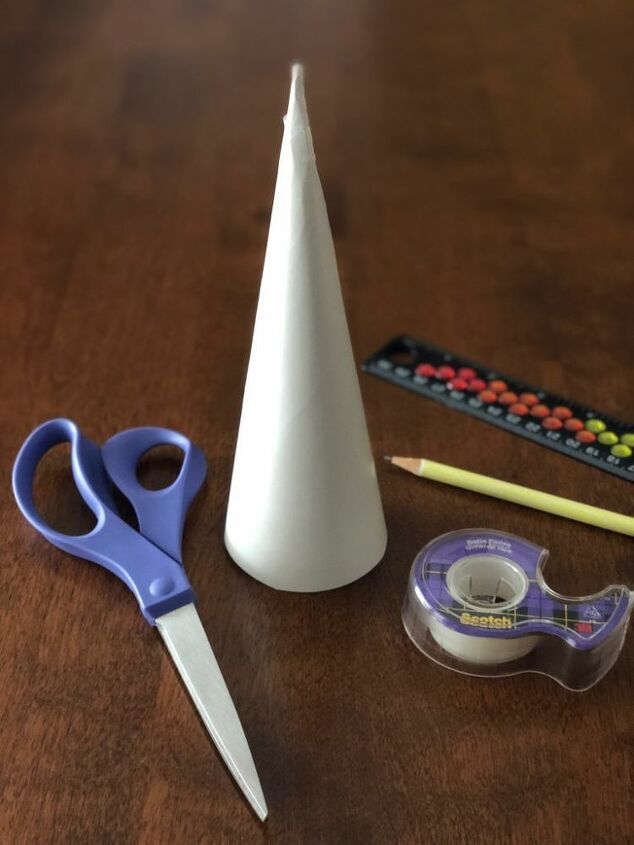
Here is what you’ll need:
- Poster board–you can get 2-4 cones out of 1 board depending on the size you want
- Tools to assemble the cones—scissors, tape, hot glue gun, pencil, ruler
- Materials to cover the cone—scrapbook paper, ribbon, twine, wrapping paper or fabric
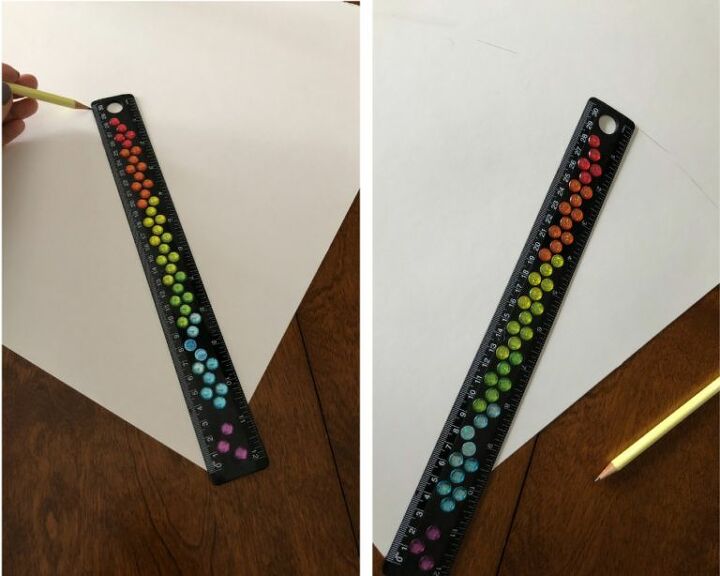
There are a couple ways to make draw out your cones. One way I used with my 8″ and 12″ cones was to mark the edge of the poster board at the length I wanted. I kept the bottom of the ruler still and moved the top of the ruler while marking the same length across the poster board from one edge to the adjacent edge. Then I connected the marks and cut out the shape.
For the 16″ cone, I took a piece of ribbon and tied my pencil around one end. Then I cut the ribbon to 16″ and held down the loose end to the corner of the poster board while I drug the pencil end from the side edge of the board to the bottom edge, creating an arc.
Next, assemble the cone. First squeeze the tip to make a point and then start slowly rolling it into a cone. THIS MAKE TAKE A FEW TRIES, don’t worry, it WILL form. You can try rubbing it along the edge of your countertop to help it curl a bit. Once you are happy with your cone shape, tape the seam. I put the first piece at the tip and worked my way down. At the bottom I folded the tape under to catch the bottom of the inside of the seam for more support.
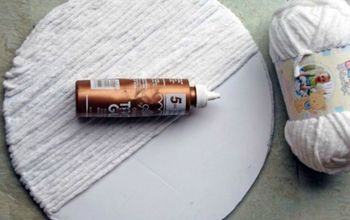
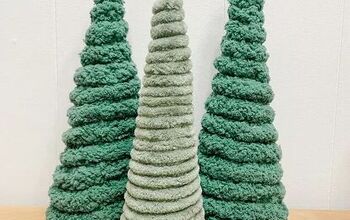
Once you have assembled your cones, you are ready to decorate. I really like texture so I started by hot gluing some green twisted cording I found in the Christmas ribbon section at Joann’s. I love how it turned out!
Once you have assembled your cones, you are ready to decorate. I really like texture so I started by hot gluing some green twisted cording I found in the Christmas ribbon section at Joann’s. I love how it turned out!
I found scrapbook paper for a couple of my other trees. Start with the tip in one of the corners and roll the paper around it, then tape it.
Depending on the size of your cone, you may have to
trim off some the excess paper.
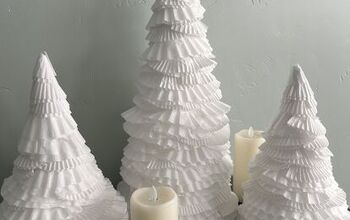
I used wrapping paper for my tallest Christmas cone tree and ribbon and string to add color to my solid trees.
Your options are endless. You can use beads and glitter for a fancier version or burlap and twine for a more rustic feel. Whatever you end up using, I hope you have fun making these!
Enjoyed the project?
Resources for this project:
See all materials
Comments
Join the conversation
-
-
 Deb55097247
on Nov 30, 2021
You can make some that look even better than the festive glam silver or gold paper or foam trees with silver or gold yarn which I have only found at Hobby Lobby. It was only around $5.00 with 30% off. Now these are great faux trees!
-















Frequently asked questions
Have a question about this project?
Your idea is beautiful! Just a suggestion: Why can’t you use Christmas wrapping paper instead of card stock. Most of us have plenty of that on hand. Wouldn’t you agree?
I have a couple of foam cones on hand. Will the paper hot glue to them well?
about how much ribbon or yarn do you need to cover say a 7'' cone-and if using foam how do you use the hot glue-do you need toplace it in spot of the cord or just dots around foam but be sure not to touch glue gun to the foam