Make a Jaw Dropping Floral Swag

The last swag I made was a lot of pale pinks for Valentine’s Day. I have enjoyed that one on my front door, but I was ready for a change. I considered Easter Lilies, but I was thought if I went with some different lilies, I could leave the swag up a little longer. It can be difficult to follow along the step by step adding of the flowers and foliage, so I have included a video for this one! You can see more of my crafts and creations here.
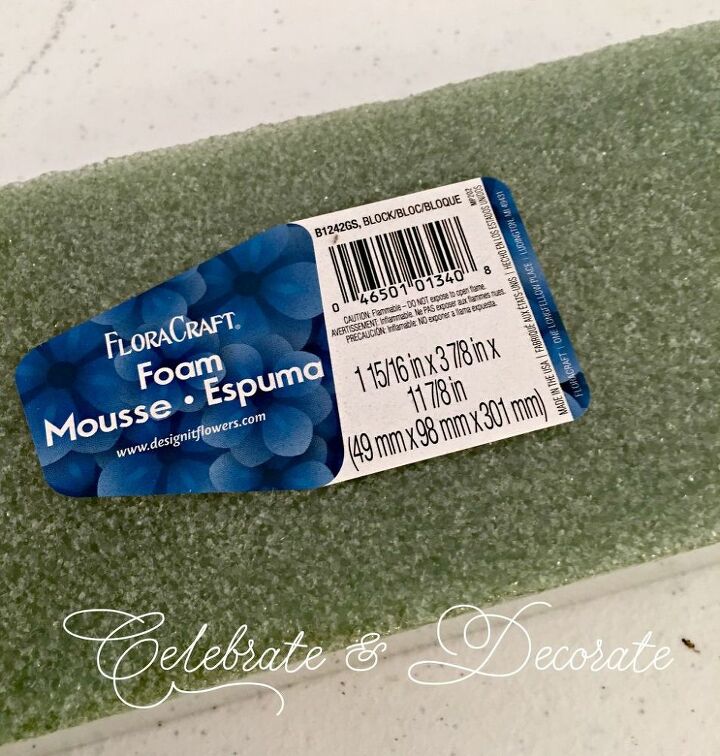
I begin all of my swags with a block of styrofoam. This is a standard size that is about 2 inches by 4 inches by 12 inches.
The first step to making your swag is to give yourself a hanger to hang it from the door where you will be displaying it. I like to use a paper wrapped wire. Push both ends of the wire through the foam, but DO NOT pull it all the way down tight agains the foam. If you do, it can cut right through the foam.
Cut a pipe cleaner in half. Bend each half into a little "M" or "W" shape.
Take that squiggly piece of pipe cleaner and put it down beneath the wire and then you can pull the wire tight. That pipe cleaner will keep the wire from cutting through your foam.
Use the other half of the pipe cleaner on the back of your foam and then twist the ends of the wire and make a circle to hang your swag on a hook on your door.
You can make a swag like this without a Steelpix machine, but it sure makes everything easier! The alternative is to use wood wired sticks. Prepare to begin making your swag by using wire cutters to cut the flowers and greenery you are going to use off of the bushes or stems they come on and then adding a steel pick or a wood wired stick to each piece.
Greenery and flowers are ready to use!
Time to start having fun and designing a beautiful floral swag for your front door! If you would like, you can just follow along on the video below or follow these steps. Begin with a few green leaves.
I usually start my swags with more greenery, but I really wanted these three lilies to be the stars of this swag and I didn’t want to waste greenery behind the lilies when it was not going to show at all.
After adding the lilies, I began shaping the swag with longer pieces of greenery to the bottom and some smaller pieces to the top.
Don’t overlook any of the foliage from the stems of flowers. For this swag I added lily leaves to coordinate with the lilies used in the swag.
Time to add additional flowers! For length I selected white wisteria. You can add as many different flowers and whatever colors you would prefer for your swag.
Almost finished! Incorporating more white blooms and some variegated A few more tweaks and the swag is ready to hang on the front door!
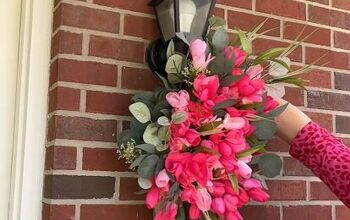
My door is decked for Spring with beautiful white lilies and yours can be too! I would love to have you stop by my blog, Celebrate & Decorate for the full tutorial as well as sign up for my latest creations, posts, recipes, exclusives, and more...
Enjoyed the project?
Resources for this project:
See all materials
Comments
Join the conversation
-
-
 Lily
on Mar 26, 2020
You video was awesome. I made one just like it with flowers I had around the house everyone said it looks great
-
 Chloe Crabtree
on Mar 27, 2020
I am so glad Lily! I am sure it is beautiful! If you want to see more of my videos you can follow me on Hometalk TV: https://www.hometalk.com/tv/member/2303646/chloecrabtree1
-
-













Frequently asked questions
Have a question about this project?
How much am I looking at budgeting for this project? It's absolutely beautiful.
I'm gonna try this project. Any ideas for a summer look?
what if you dont have a steel pick thing. can you just put them in. will it work that way