How to Create a Cute DIY Fall Vase Decor Piece For Autumn

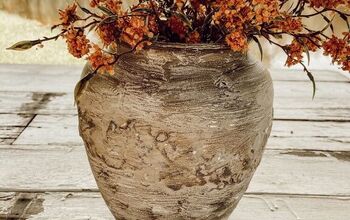
Transforming a simple vase into a stunning fall vase décor piece is easier than you think! In this step-by-step tutorial, I’ll guide you through creating your own DIY fall vase decor using clay, spray paint, and some creative touches. Let’s get started!
Tools and materials
- Clay
- Cheap and simple vase (you can find one at a dollar store)
- Rolling pin or cup
- Leaf (wooden or real)
- Knife
- White spray paint
- Stone texture spray paint
- Paintbrushes
- Copper brown paint
- Fall stems or foliage
DIY fall vase decor
Step 1: Prepare the Clay
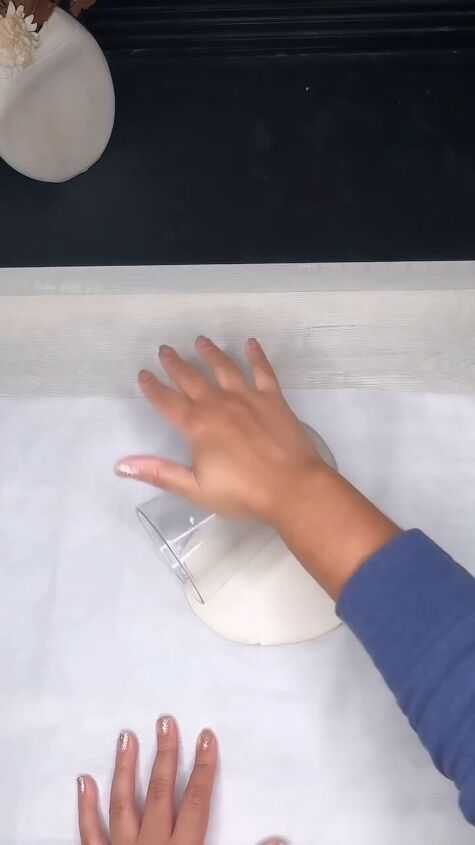
Start by grabbing some clay and rolling it into a ball. Then, flatten it out using a rolling pin or a cup until it forms a thin, even layer.
Step 2: Trace and Cut the Leaf Shape
Take your chosen leaf – whether it’s wooden or real – and place it on the clay. Trace around the leaf with a knife to imprint its shape onto the clay. Carefully cut out the leaf shape from the clay using the knife.
Step 3: Add Details to the Clay Leaf
To give your clay leaf a more realistic look, add some veins using the knife. You can gently press the knife into the clay to create these vein lines.
Step 4: Attach the Clay Leaf to the Vase
Press the clay leaf onto the surface of your vase, positioning it wherever you desire. Ensure that it adheres well to the vase’s surface. Let the clay dry for about 2 days to ensure it sets properly.
Step 5: Apply Base Coat of Spray Paint
Once the clay is dry, it’s time to paint! Begin by spray painting the entire vase, including the clay leaf, with a white base coat. This will provide a good foundation for the colors to come.
Step 6: Add Texture with Stone Spray Paint
After the white base coat has dried, apply a stone texture spray paint over the surface of the vase. This will give it a rustic and textured appearance, perfect for fall décor.
Step 7: Paint the Leaf and Veins
Once the stone texture paint has dried, use a paintbrush to carefully apply copper brown paint to the clay leaf. Add some white paint over the veins and blend it in for a more realistic look.
Step 8: Add Fall Stems
Once all the paint has dried completely, it’s time to add the finishing touches! Arrange your chosen fall stems or foliage inside the vase, filling it up to your liking.
Fall vase decor
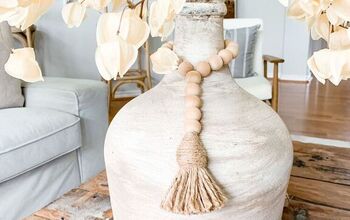
You’ve just created a beautiful DIY fall vase decor piece that’s perfect for adding a touch of autumn warmth to your home.
I hope you like these fall vase ideas. Feel free to customize this tutorial with your preferred colors, textures, and embellishments to suit your personal style and home décor theme. Leave me a comment and let me know how you fall vase came out.
Follow @rosaenidn on Instagram for more DIY ideas.










Frequently asked questions
Have a question about this project?