


How to Make a Bunny Topiary for Easter Decor

Looking for a fun and festive way to celebrate Easter?
This DIY bunny topiary is the perfect addition to your holiday decor! Inspired by ChicOnTheCheap, I decided to give it a try.
With materials easily found at Dollar Tree and Hobby Lobby, this project is simple, fun, and cost-effective.
Here’s how to create your own bunny decoration in just a few easy steps.
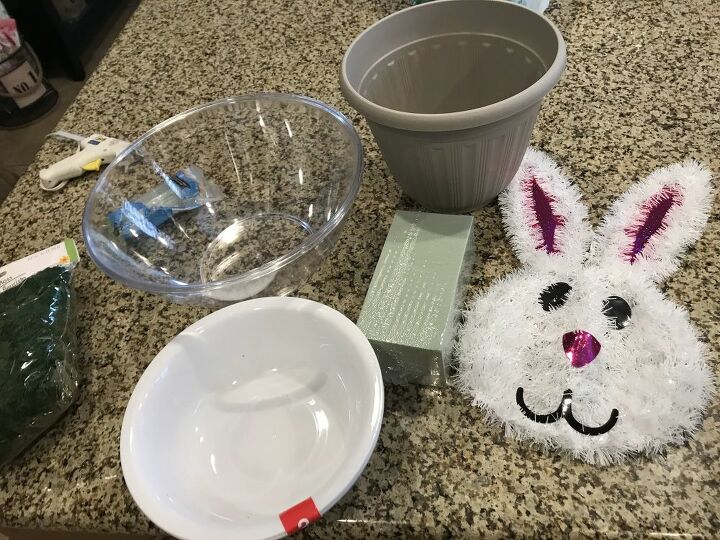
Tools and Materials:
- Bunny ears
- 2 Large clear bowls
- 2 White bowls
- E6000 glue
- Hot glue gun
- Floral foam
- Moss
- Spray paint (green)
- Small pot (for base)
- Rocks (for weight)
- Sweet bow (optional for decoration)
Hometalk may receive a small affiliate commission from purchases made via Amazon links in this article but at no cost to you.
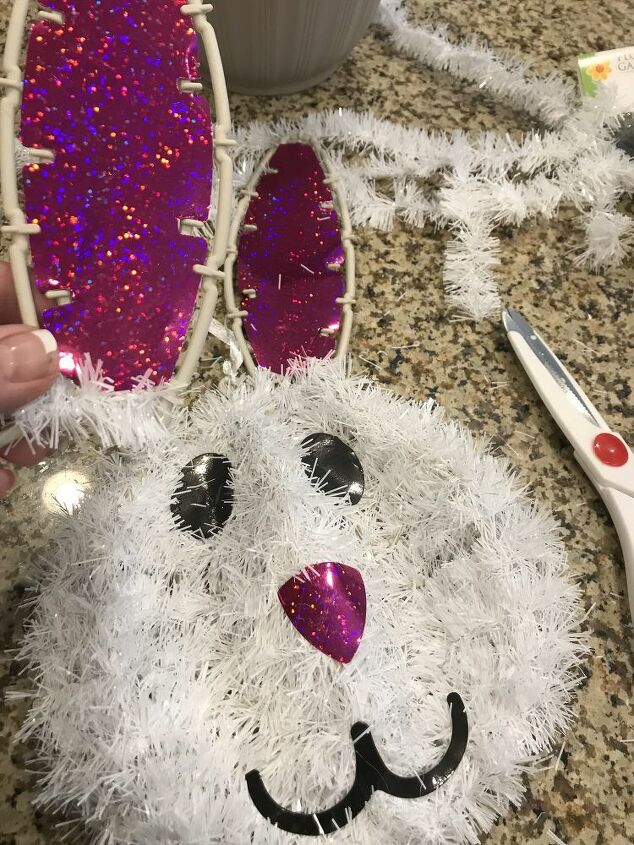
1. Prepare the Bunny Ears
Start by removing the ears from the bunny face. They should snap off easily!
Don’t throw away the tinsel; it’s perfect for a future fall pumpkin craft.
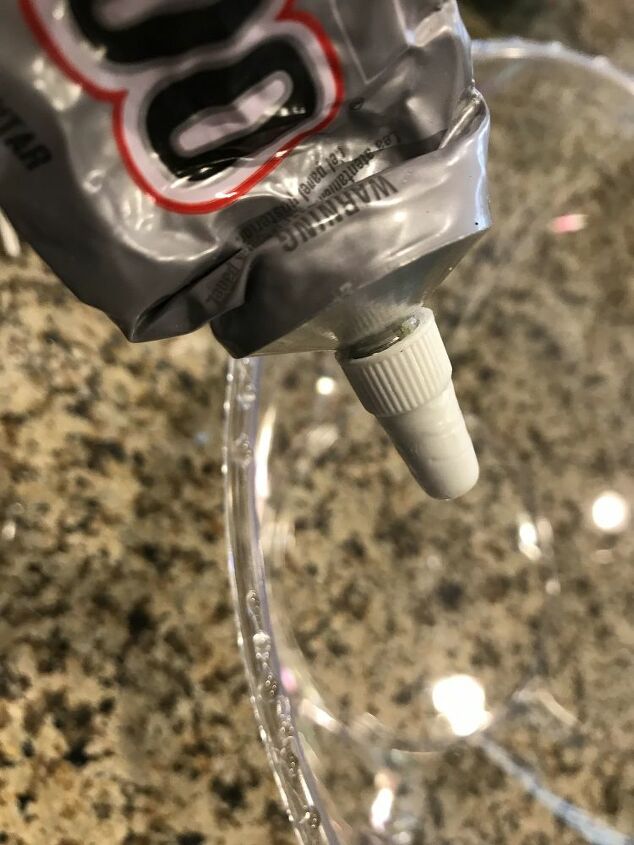
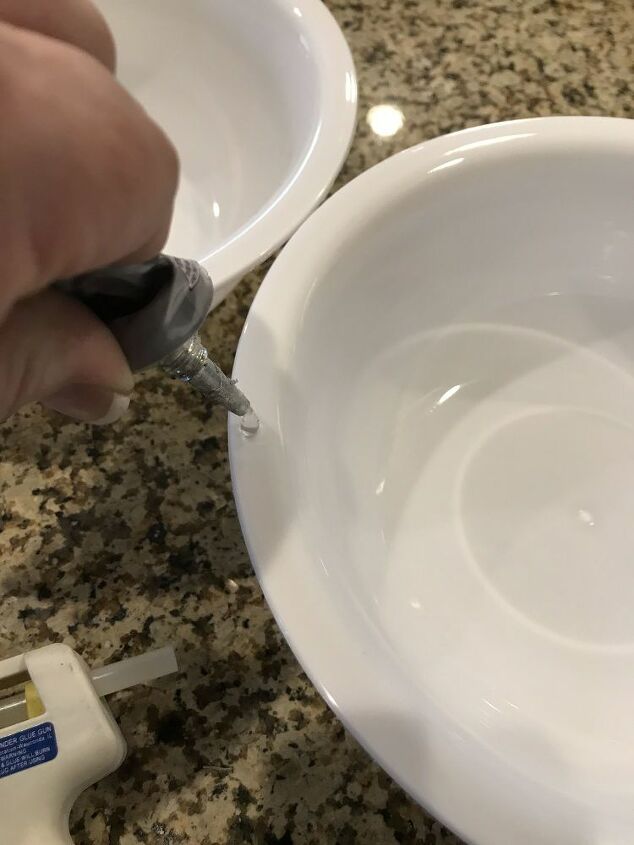
2. Create the Bunny Body
Take the two large clear bowls and glue the rims together using E6000 glue.
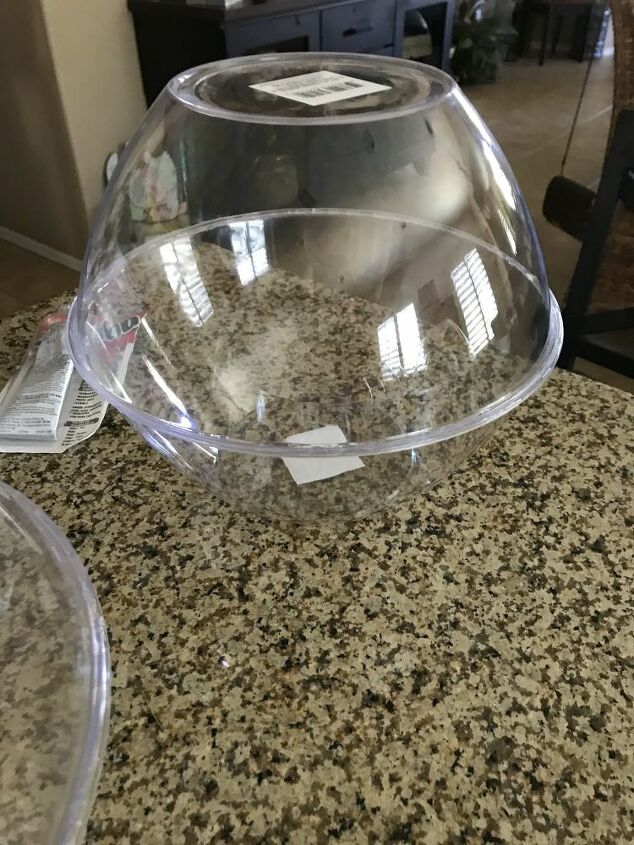
This will form the bunny’s body (it won’t be perfectly round, but that’s okay!).
Let the glue dry.
3. Prepare the Bunny Head
Next, take the two white bowls and repeat the same process.
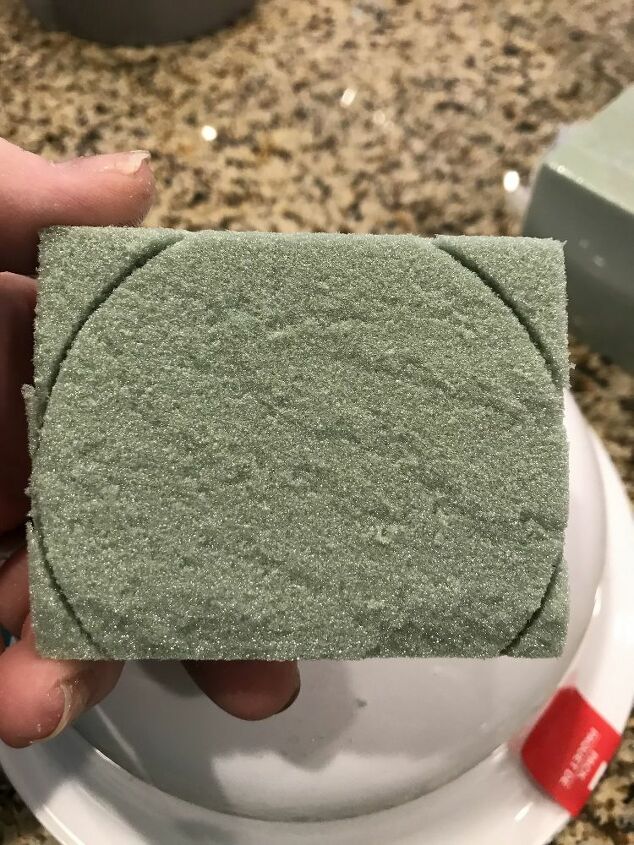
Then, place some floral foam at the top of the white ball.
Push the foam around the bowl to get an impression, then remove it and trim to fit.
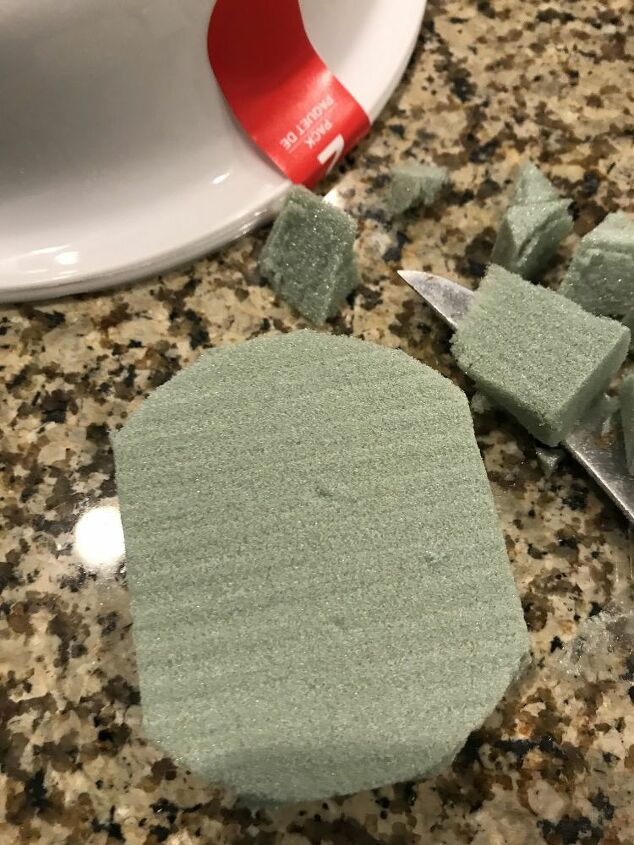
Glue the foam securely onto the top of the ball.
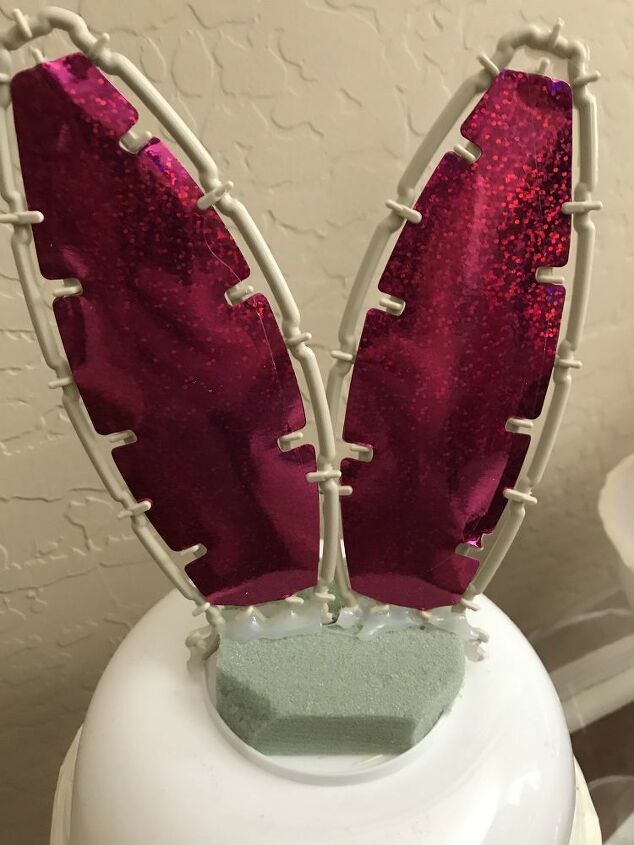
4. Attach the Bunny Ears
Insert the bunny ears into the foam at the top of the head.
Use both E6000 glue and hot glue to ensure the ears are securely attached.
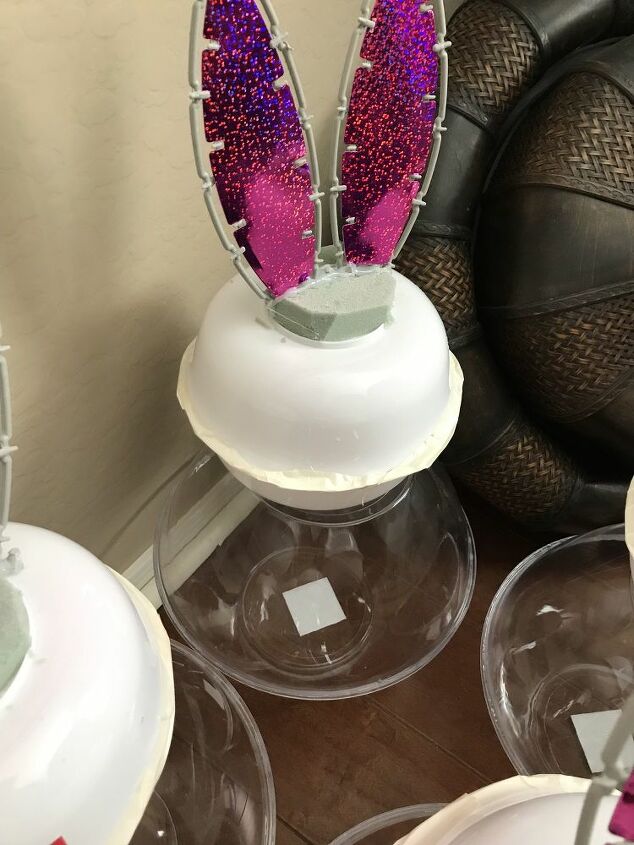
5. Join the Bunny Head and Body
Now it’s time to attach the head to the body. Glue the smaller ball (the head with the ears) to the larger ball (the body).
If you’re in a hurry and need some extra stability, you can add tape around the bowls while they dry.
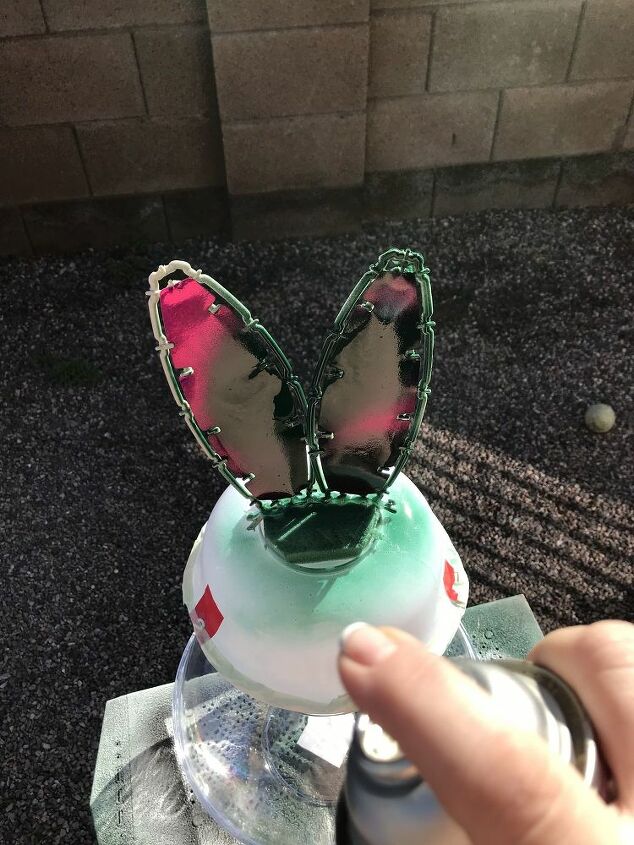
6. Spray Paint the Topiary
Once the body and head are glued together, take the topiary outside and spray paint it green.
This step ensures that if any spots are missed with the moss, the bowls won’t be visible underneath.
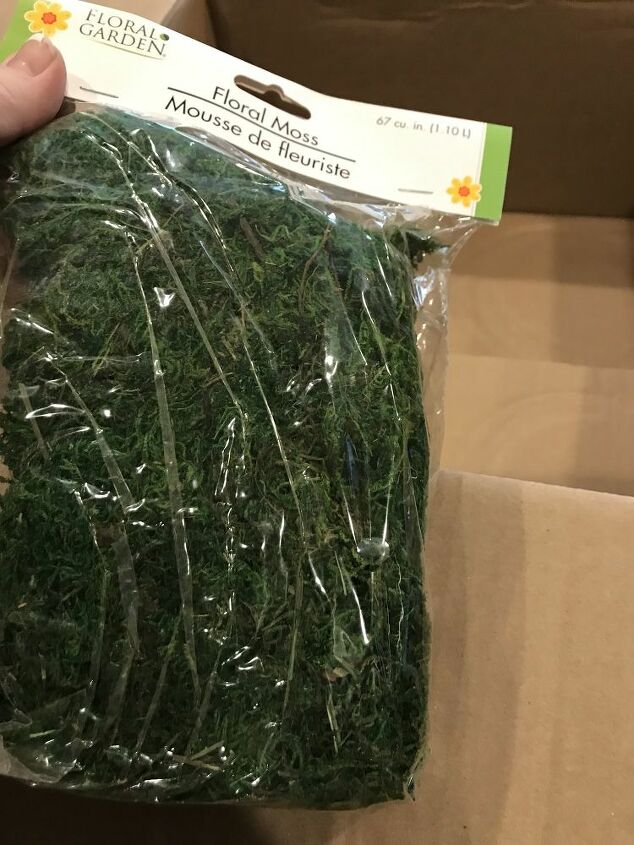
7. Add the Moss
This step can take a bit of time, but it’s worth it for the final look. Break up the moss in a shoe box to avoid a mess.
Then, begin hot gluing the moss to the topiary. This part of the process took me about an hour and a half to complete.
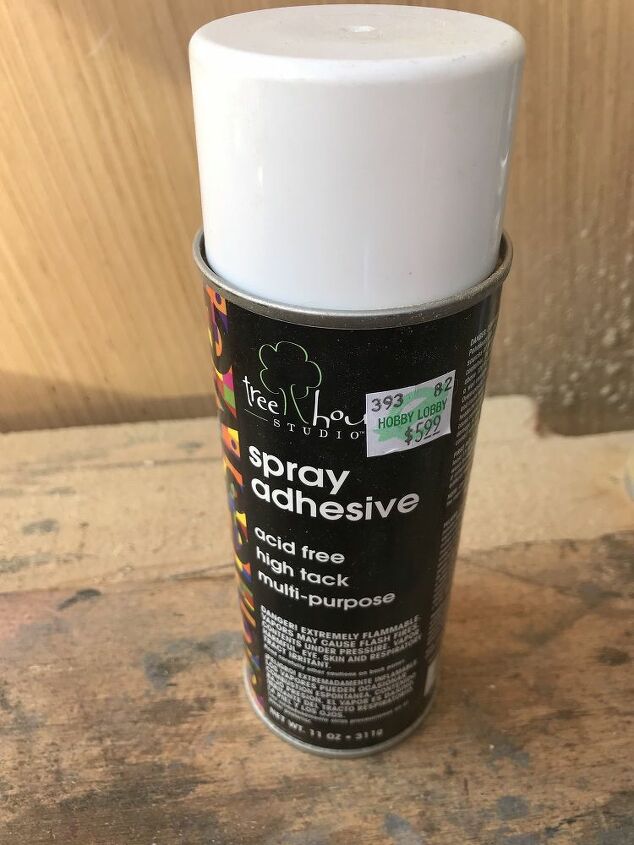
8. Secure the Moss
Once the moss is fully applied, spray it with adhesive to make sure it sticks, and let it dry completely.
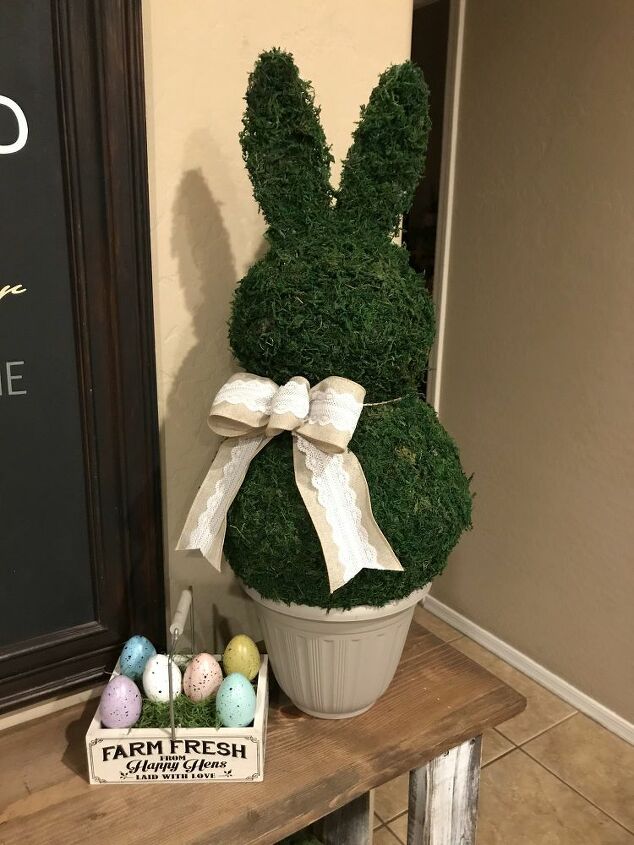
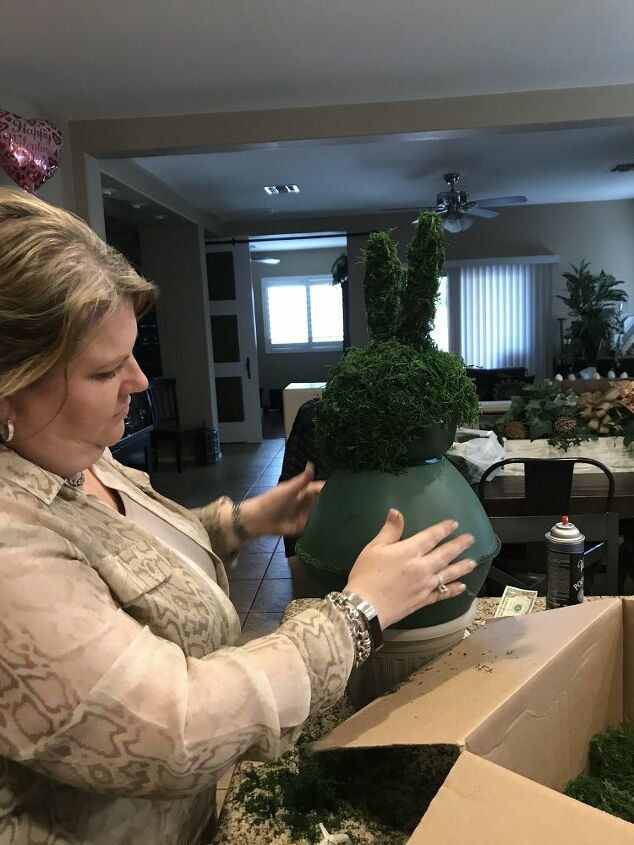
9. Finishing Touches
To complete the bunny project, add a sweet bow to the neck for a decorative touch.
If you’re planning to display the topiary outdoors, fill the pot with rocks to weigh it down. This will help prevent the topiary from blowing over in the wind.
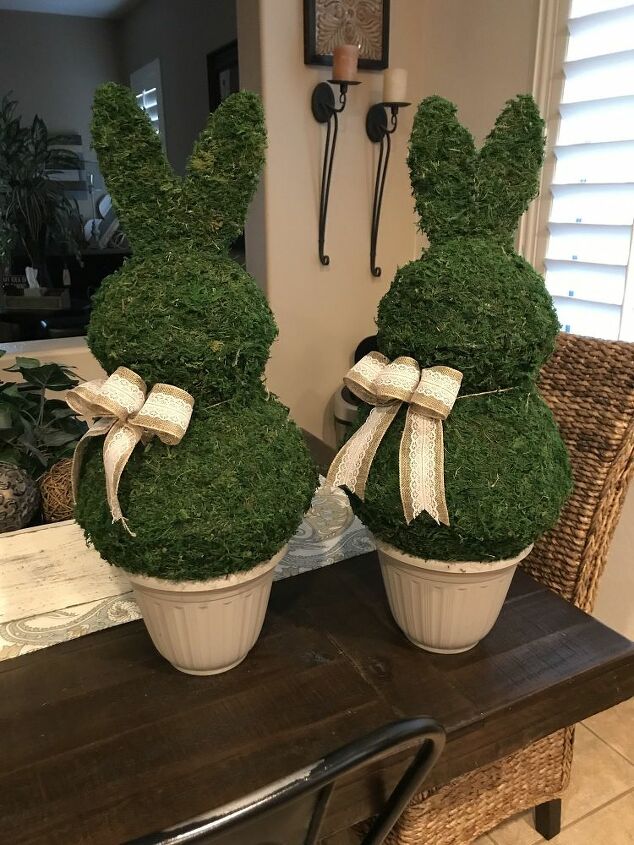
Bunny Topiary for Your Easter Decor
There you have it—your very own bunny topiary to brighten up your holiday space!
This simple DIY project adds a touch of fun to your Easter decorations and is sure to be a conversation starter.
If you’d like to see more of my DIY projects, be sure to check out my Facebook page!
Happy crafting!
Resources for this project:
See all materials


Comments
Join the conversation
-
Hi Chris Papuga I used 4 table cloth from dollar tree cut in 2x2 take two pieces over lap to make one piece put over a pencil to form shape dip in hot glue place on bowls and no I did not paint them
-
Confession. Reading thru and looking at pictures thinking um nope. Then finished project I’m all in Creative, not budget buster and sweet accent to Easter brunch. Thanks for sharing


Frequently asked questions
Have a question about this project?
How tall do they end up
Love it what's the dollar for? in the picture where the head is done but the body isn't. LOL for some reason it stuck out to me. I love the bunnies though so cute!!
How have I missed this since it was posted in 2020? Perfect, as always, Shelly!!!!! Love this and will definitely make one, or more, for next Easter!