Removing Kitchen Sink Stains & Preventing Them From Coming Back

by
Matthew Gingerella
(IC: homeowner)
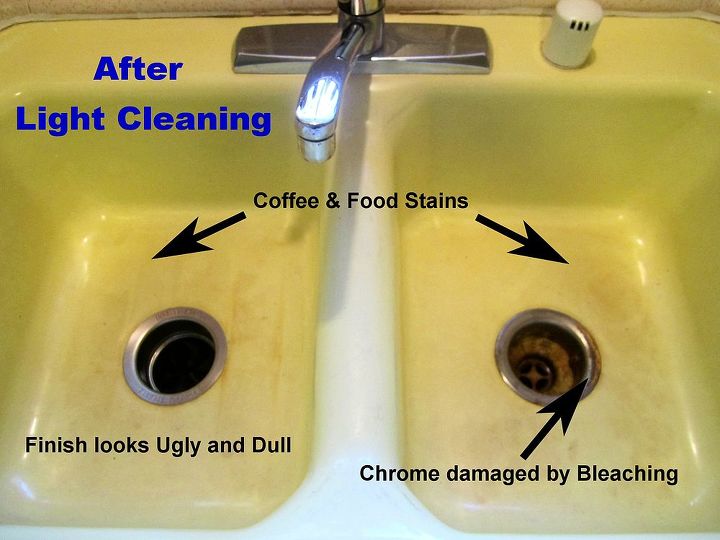
I have an old original, yellow, double-sided kitchen sink that has drove me crazy for over 10+ years because it is constantly stained by coffee and food. It recently got to the point of ugliness that makes me perform a deep cleaning on it.
The following is a case study on how I got rid of the stains in the sink and also on the adjacent tile counter top, as well as, how I made sure that this was the LAST time that I would never have to perform that tedious, frustrating deep cleaning process, again!
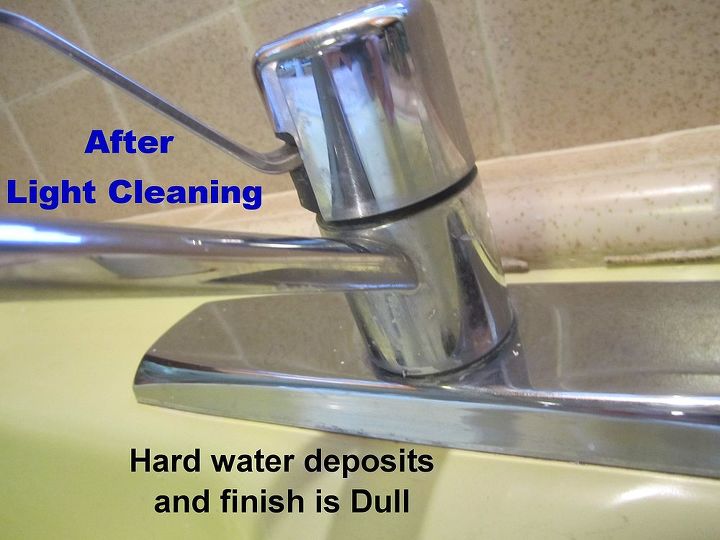
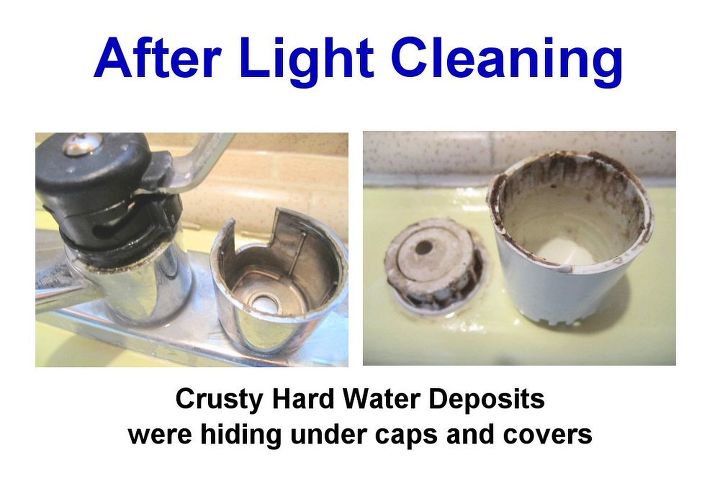
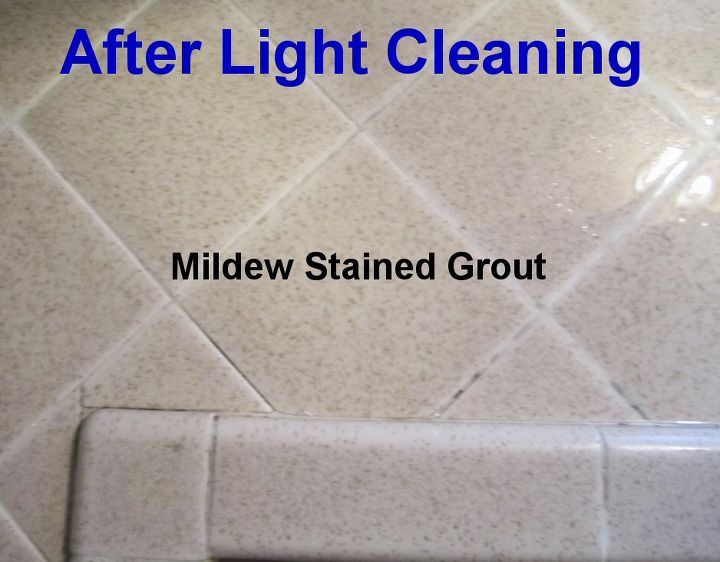
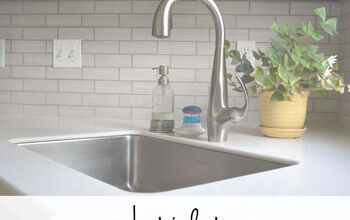
The first set of photos labeled "After Light Cleaning" show the state of the sink and tile after a normal soap and water wash down. Notice the terrible brown coffee stains in what supposed to be a "Yellow" sink. On top of that, I found crusty hard water deposits under the faucet cover and dishwasher machine drain cap. And, the other problem shown is mildew stains in the adjacent tile grout from have a dishwasher strainer sitting on top of it.
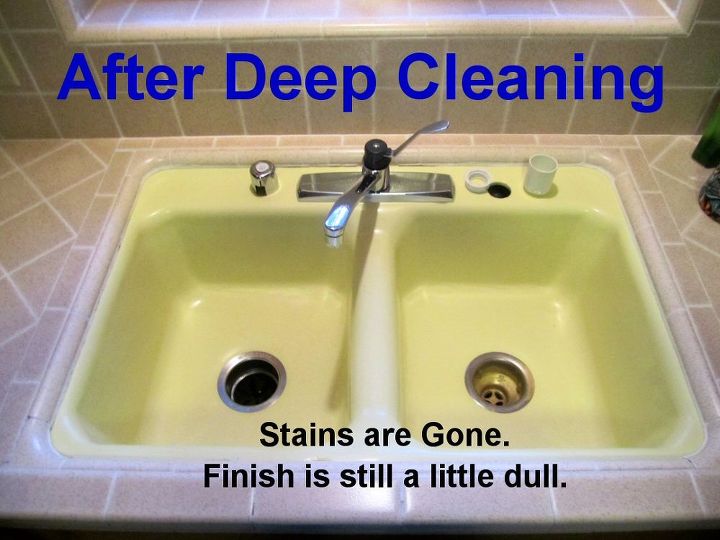
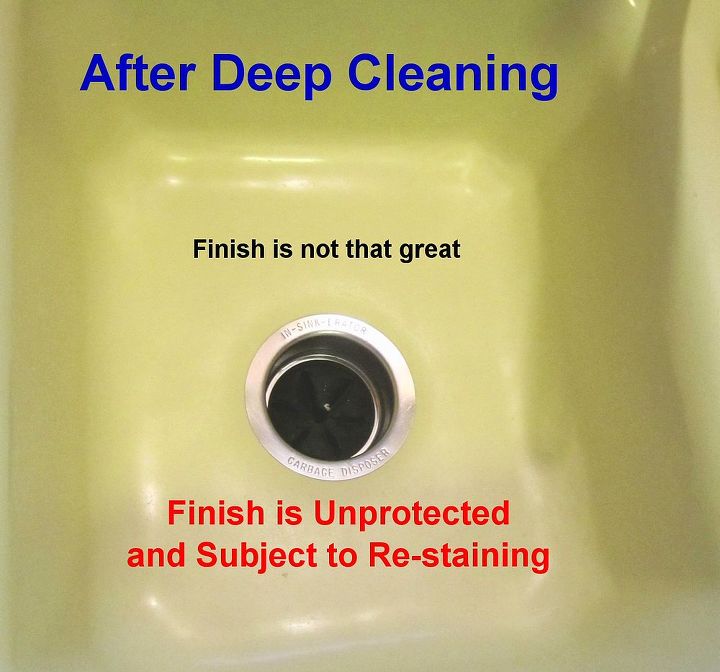
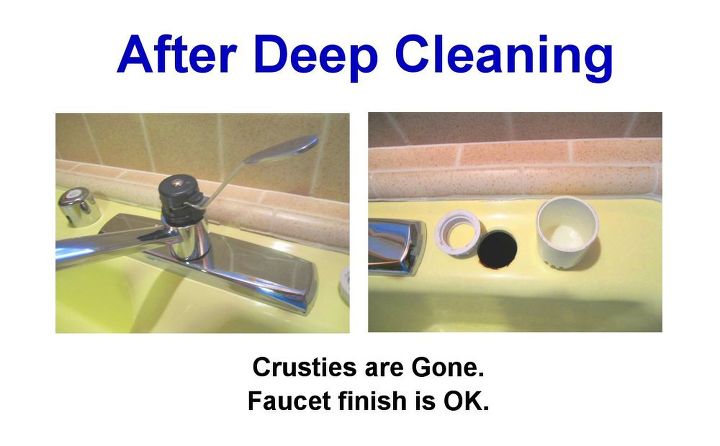
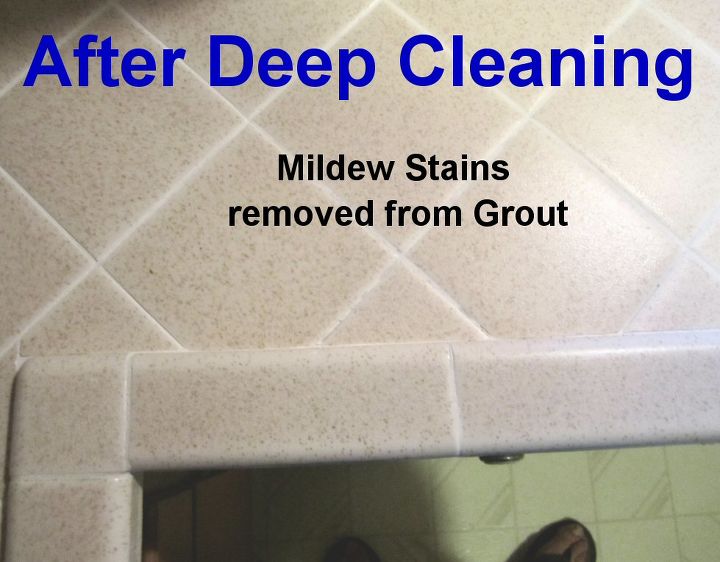
The second set of photos labeled "After Deep Cleaning" show the results of my detailed cleaning efforts. The procedure is listed below.
DEEP-CLEANING PROCEDURE
STEP-1: Remove the Stains
a. I took the suggestions of my friends in this forum and used Barkeeper's Best Friend powder to scrub away most of the stains (sink and on tile and grout).
b. I followed up with a bleach soak of the sinks and on the tile and grout.
STEP-2: Remove Crusty Hard Water Deposits
a. Multiple applications of Lime-Away ®, scrubbing and scraping were required to remove all of the hard water deposits on the faucet & its cover, on the dishwasher overflow valve & cap, and around the rim of the sink.
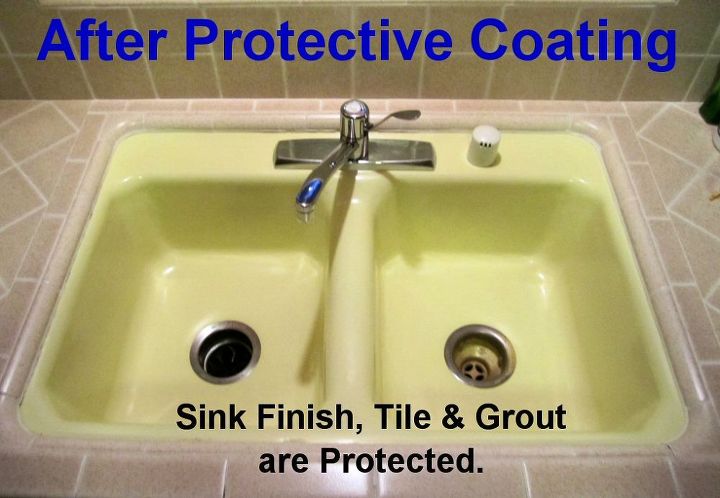
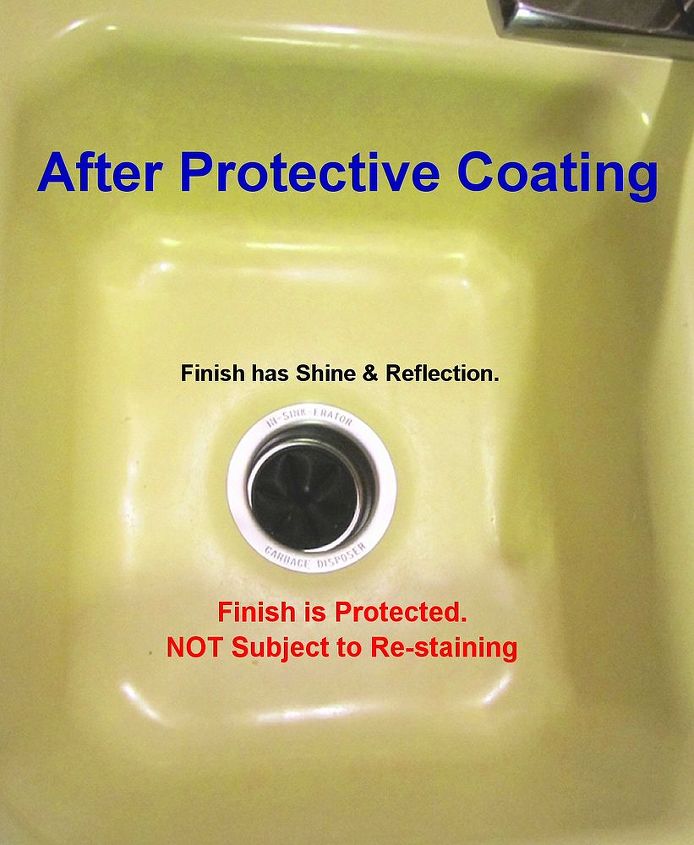
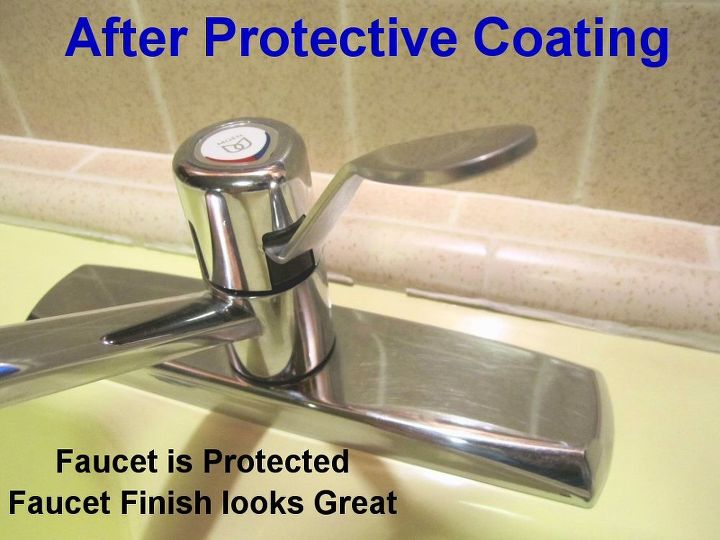
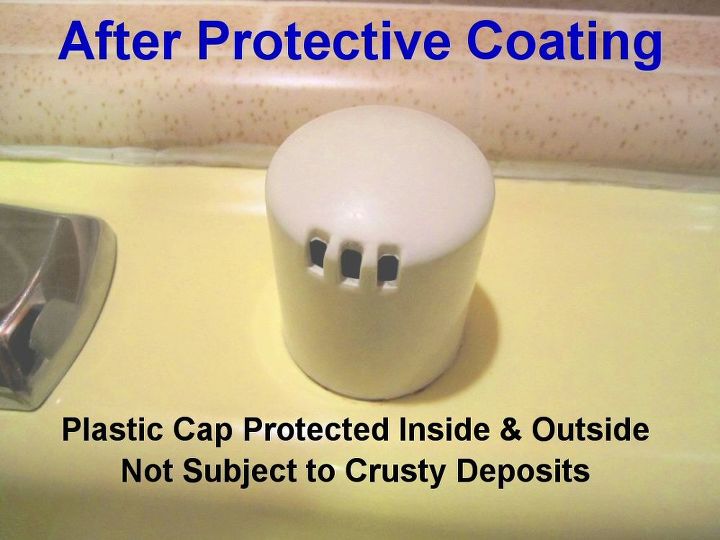
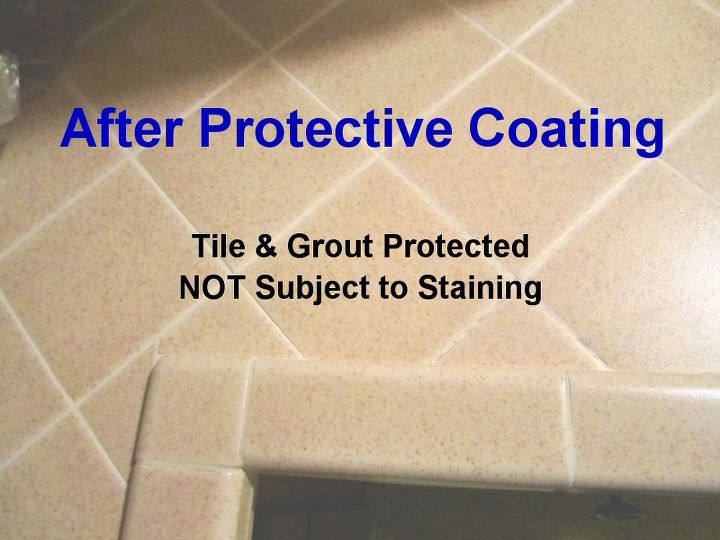
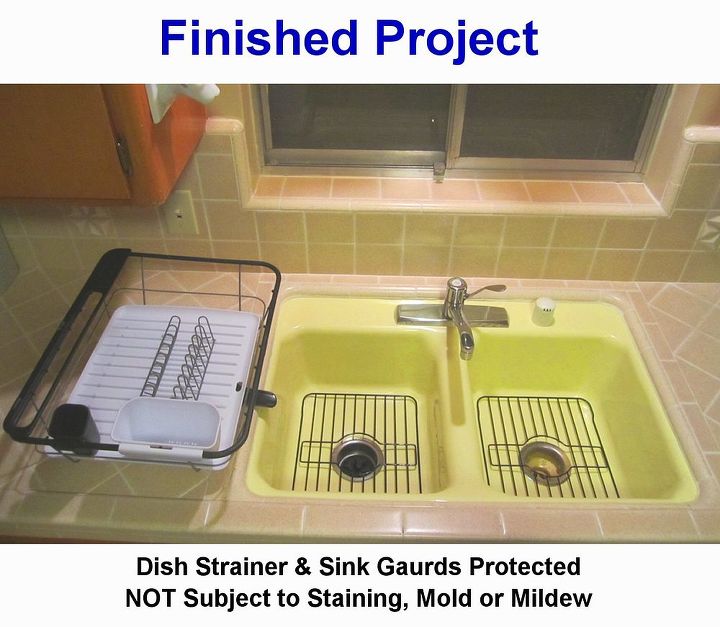
The third set of photos labeled "After Protective Coating" show the results of after applying Self-Cleen ST3 Coating. The procedure is listed below.
PROTECTIVE COATING PROCEDURE
STEP-3: Apply Protective Coating
a. I applied Self-Cleen ST3 Self-Cleaning Protective Coating to all surfaces: sink, faucet, fixtures, plastic, tile, grout, dish strainer and sink guards. It can be found at SelfCleen.com
Per product instructions:
i. I sprayed on Coating (Part-1)
ii. I sprayed Coating (Part-2) over the top of Coating (Part-1)
iii. I swirled them together with a microfiber cloth (provided)
iv. After 30 seconds, I wiped off the excess coatings with a 2nd microfiber cloth (provided)
The coating's self-cleaning properties last about 6-months, so I have upgraded to a short, easy coating procedure to be performed every 6-months - in place of the constant deep-cleaning battle and stained sink problems.
TIME FRAME
Deep-Cleaning the Sink, Fixtures, Tile and Grout: Over 1.5 hours
Applying Protective Coating: About 15 min.
RESULTS
My kitchen sink, faucet, tile and grout look better than ever. The sink actually has a finish that shines and reflects.
I don't have to worry about stains from coffee or food. The sink finish is protected from scratching from pans, etc.
Cleaning is simple - just wipe-down with a light cleaning solution from now on.
No hard water deposit build-up.
No worries about bacteria, mold or mildew growth.
Life is Good and my Project is DONE!
I look forward to any questions that you may have.
Enjoyed the project?
Published August 1st, 2013 8:04 PM
Comments
Join the conversation
2 of 12 comments
-
 Rebecca Sciandra
on Aug 02, 2019
Why beekeepers best friend as opposed to regular scowering powder cleansers
This is an awesome share! Just moved into my house and have a white sink that I have to scrub forever to look clean
-
-
 R Miel
on May 21, 2022
I had the water coming back up problem and found it very disappointing. After researching some tutorials I solved it successfully and shared my experience in this article https://sinkformula.com/water-coming-back-up-kitchen-sink/
-











Frequently asked questions
Have a question about this project?
Where did you purchase the dish drainer and sink racks