


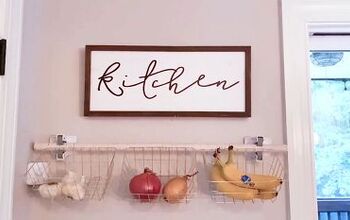
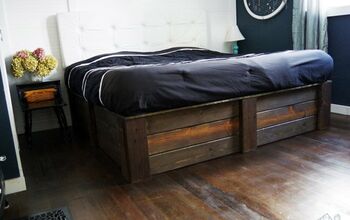
Built-in Kitchen Wall Shelves!

I spent my winter vacation building these shelves into the wall of my little kitchen. It's a fun project if you're looking to upgrade your kitchen and have a couple days to burn.
Best stud finder!
Tools and Materials
- Stud finder (Mine decided it was on vacation for this particular project)
- Jigsaw
- Mini craft saw
- Cedar wood
- Stain
- Sandpaper
- Plywood
- Wax
- Nail gun
- Nails
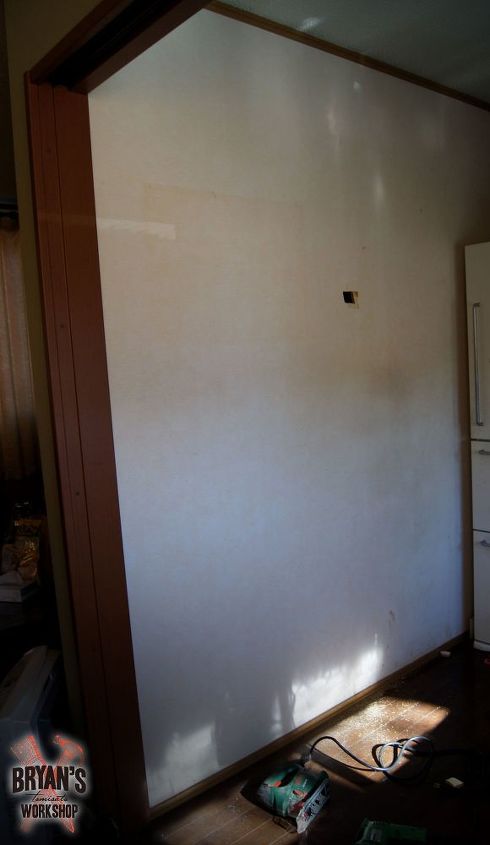
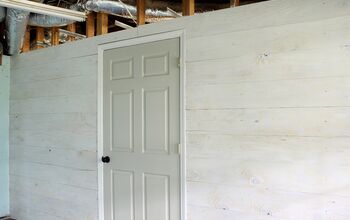
Jigsaw a Hole to Find Studs
This is my lovely non-load-bearing "interior" kitchen wall. I jigsawed out a peephole to check where in the world my studs are hiding. My stud finder was acting bonkers on me.
Be extra cautious of wires in the wall!
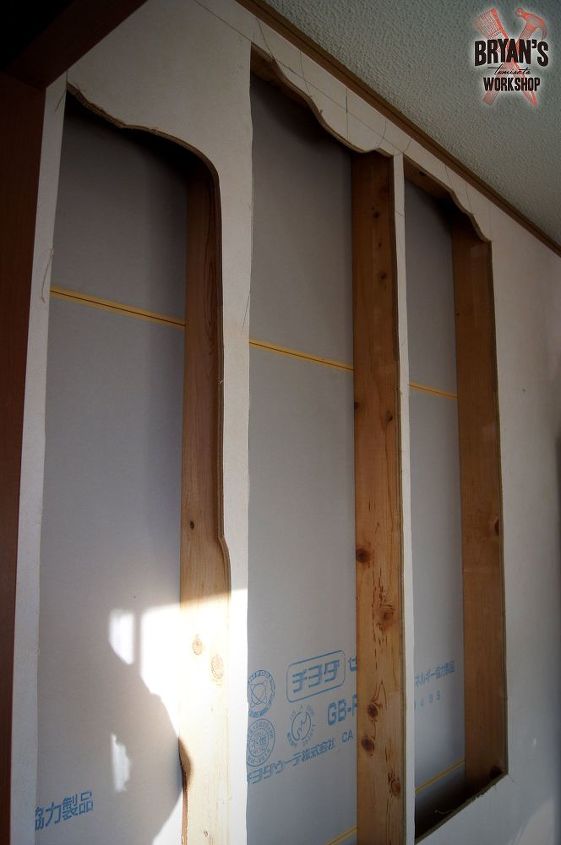
Cut Along Studs
Found you guys! The opposite side of this wall is your everyday drywall. The side you see is plywood. I used a jigsaw, a mini craft saw and all my patience to cut along the studs.
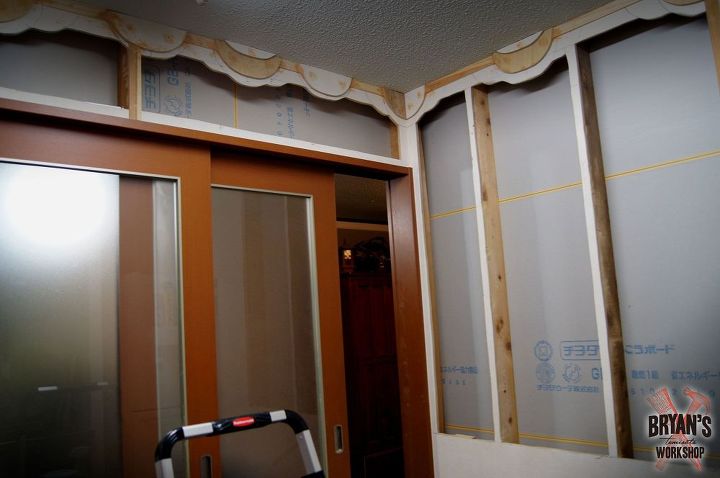
Add Molding
I cut a "molding" type pattern in the wall and used the scrap wood from the wall to cut more pieces. The trim is cedar wood I bought for the shelving.
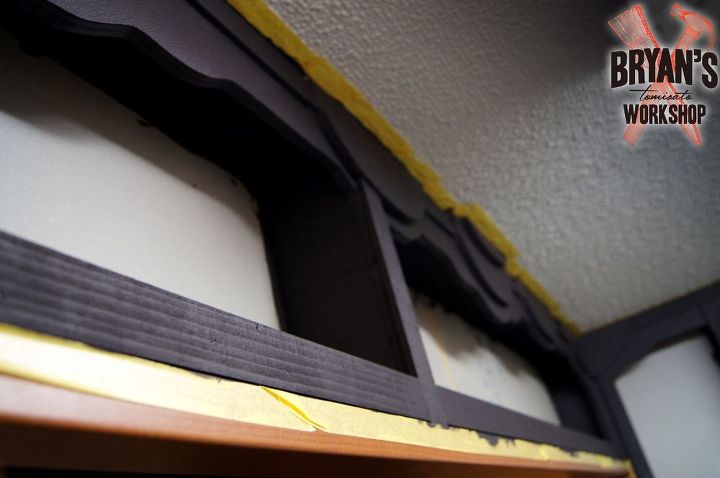
Stain
I went with one coat of a black and brown mixture and then lightly sanded it for a distressed look.
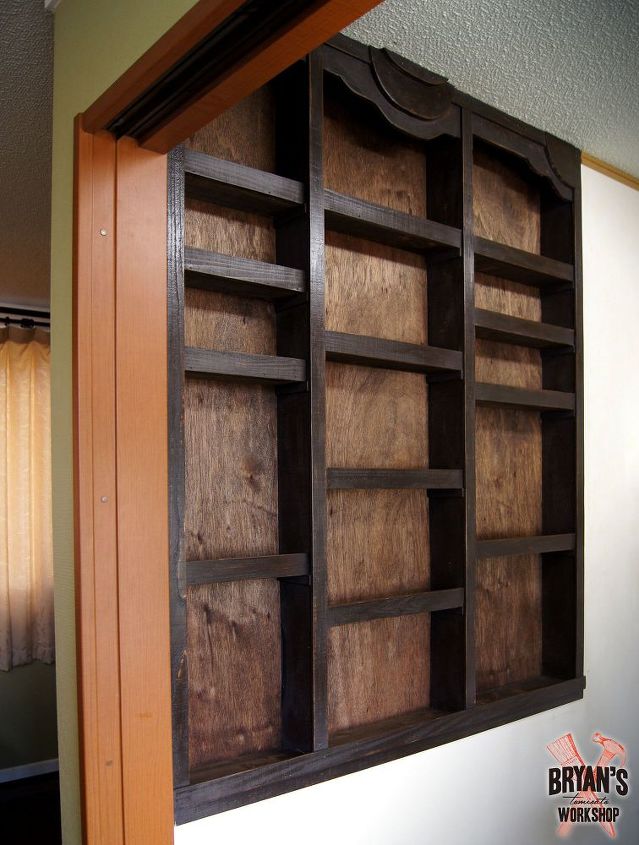
Add Backing
I stained some thin grainy plywood for the back of the shelves and then waxed the whole thing with teak.
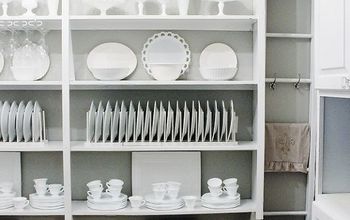
Add Shelves
My wife had an idea of what she wanted on each shelf, so I measured accordingly.
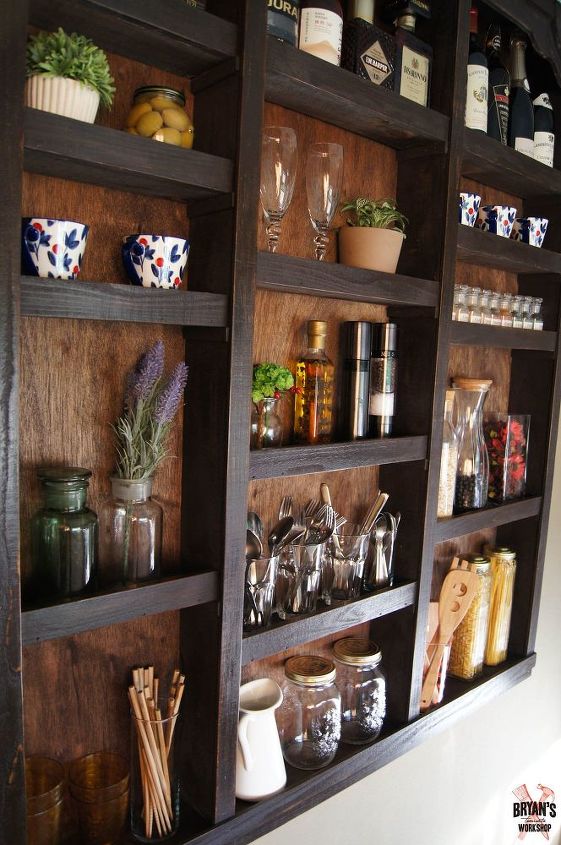
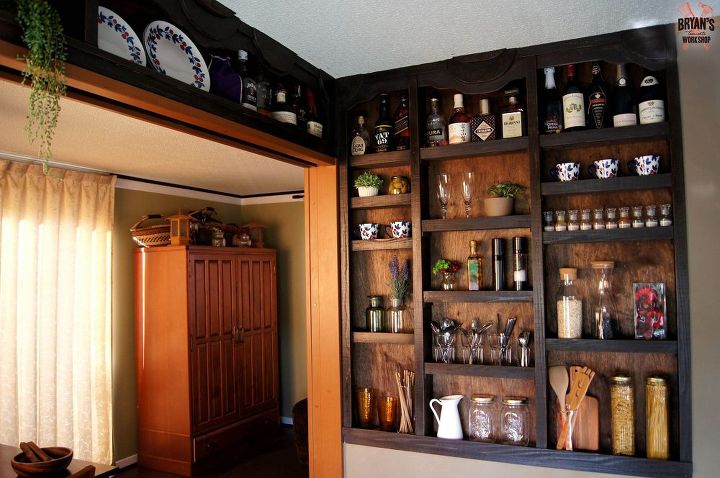
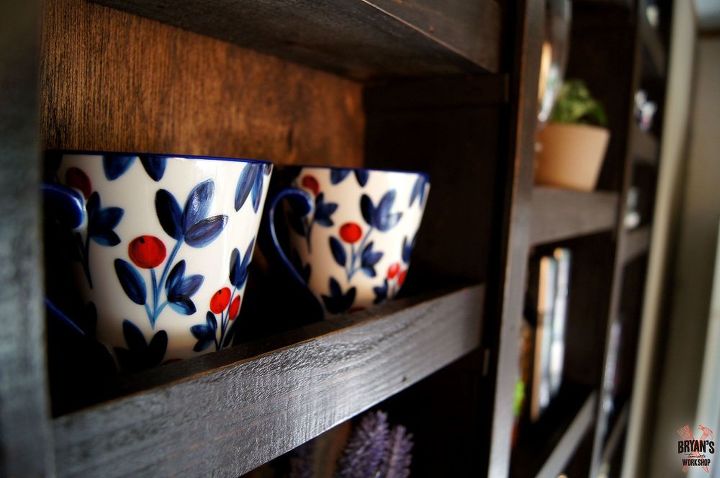
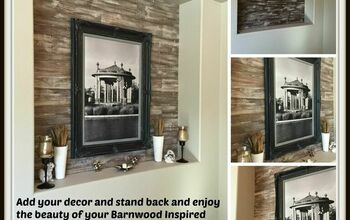
Fill with Whatever You Desire
Now its time to fill this bad boy up!
Affordable Home Upgrades


Comments
Join the conversation
-
OMG, you just provided the solution to my daughter's lack of kitchen pantry space!!! All we need is hinges and plywood, for cabinet "doors" and the back of the space! You are a GENIUS!!!! ~Chrissie
-
I used to live in an old, established neighborhood of homes built in the 1920s & 1930s. The original kitchens in many of them were SMALL (Woe unto you if it didn't already have a nook or breakfast room for a larger kitchen when remodeling). When one neighbor renovated her small kitchen, she created a "pantry" on one entire wall (maybe 8-9 feet wide) that was the depth of a single can. I didn't ask at the time, just thought it was a clever way to add extra storage, but it must have been something like this. I'm not kidding -- it was just inches deep. And there was no room for cabinet doors of any kind, so it was open. This was the second neighbor's kitchen I saw that added extra cabinets in a space that wasn't large enough & the end result was like a spiral-type maze to get to everything. This idea is a clever use of space in a non-load bearing wall. Just need to careful with what's behind it if there's any intention of hanging anything.


Frequently asked questions
Have a question about this project?
Are the shelves fixed or adjustable?
No wires behind the drywall?... You were lucky.
Do you think this can be done with lath and plaster walls? My house is over 100 years old.