How to Build a Pallet Planter Box

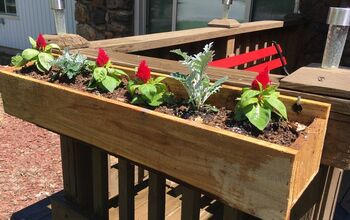
Here I am again with another pallet project for you. We're on a roll! When you have lots of pallets, you use them! Recently my honey had a morning off and he built this planter box for me while I was at work. It was a fun surprise to come home to!
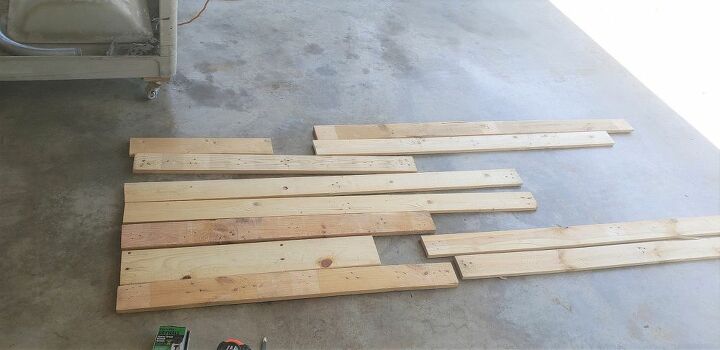
He started out with some left over pallet boards from our DIY Pallet Wood Wall.
You will need nine (9) pieces of pallet wood cut at 34 -1/4" long each.
He used our chop saw to make quick work of the cutting.
Now you have the bottom and sides and you're almost ready to assemble.
He used two (2) pieces cut at 13" long to hold all the pieces of the bottom together. Your measurements may very if your pallet wood is different sizes.
He placed them 5" in from each end.
Secure each bracing piece with 1-1/2" wood screw and a power drill.
You will need two side braces for each side, so in total you need four (4) pieces cut at 11-1/2" long. Again, they are 5 inches in from the ends and you will drop down from the top, 1 inch so that you have an amount hanging off the bottom edge to attach to the bottom section. He used his nail gun and brads to hold it all in place until he was ready to screw it all together.
Now you are ready to assemble the sides to the bottom of the planter. Again he used 1-1/2" wood screws to hold it all together.
Now for the ends. You will need to cut two (2) each of the following sizes. These are cut at an angle so that the planter graduates in size from bottom to top.
2 - 18"
2 - 16"
2 - 15"
This is how he explained it to me when I asked how he got the angles. "Because its pallet wood and its imperfect, there was lots of guessing involved". He got the size of the largest (top - 18") board and held it up to the planter and marked with a pencil the part that needed to be cut off. Using the chop saw, he cut along his line he made. Then, using the nail gun, he tacked it to the planter and followed doing the same with the next two pieces. I hope that is understandable.
He literately made this up just out of his head, he did not have any directions to go by. This is what he does. IDK, but I can't do that so I don't understand it! lol! It looks perfect to me!
Since its a planter, we need drain holes to let the water get out. He used a hole drill bit to make several holes all over the bottom of the planter.
We lined the inside of the planter with landscaping fabric and we used the staple gun to hold it all in place.
I think it turned out awesome and again like the patio pallet table he built, he took all the pictures for this one. Thank you baby! :)
I just planted one tomato and one pepper. We'll see how they do. I'm ready for fresh salsa, so I hope it works! It'll be nice just to step out on the patio and grab a fresh tomato.
More pictures on our blog! Thanks for looking! :)
Enjoyed the project?
Resources for this project:
See all materials
Comments
Join the conversation
-
-
-
 Leeanne
on Jul 21, 2020
We want to make a large amount of these for our garden — Deffo will I see this to go by! Thanks to your hubby
-










Frequently asked questions
Have a question about this project?
My deck has a hot tub on it, How can I cover it for privacy
We were just talking about building a raised garden bed & the kits in the store are so expensive. Thank you for this great idea. Do you know how much soil it took to fill your planter?