


Waterfall Console Table

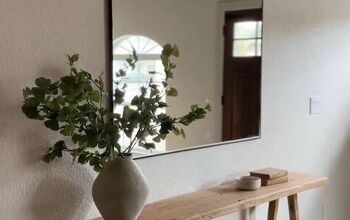
While I was perusing Pinterest I discovered a counsel table I just had to have. I then noticed the price and thought this was something we could attempt to make ourselves instead of paying the $1299 price they were asking! Can you say sticker shock!!! Here we'll give you an overview of how you can make this table : )
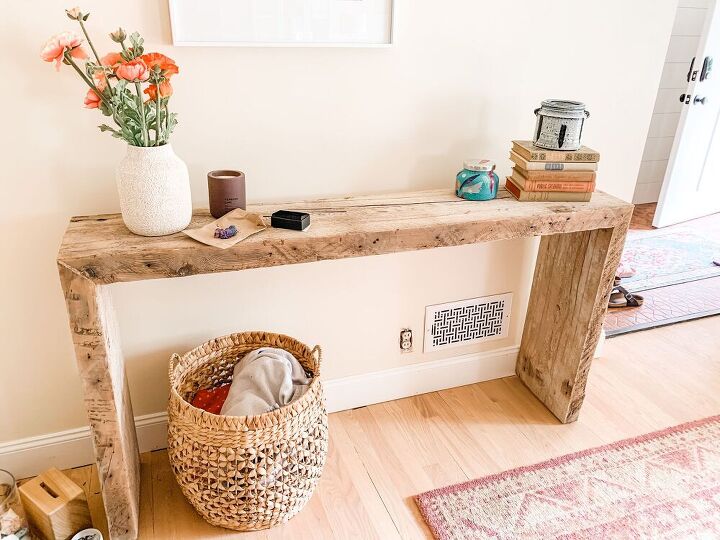
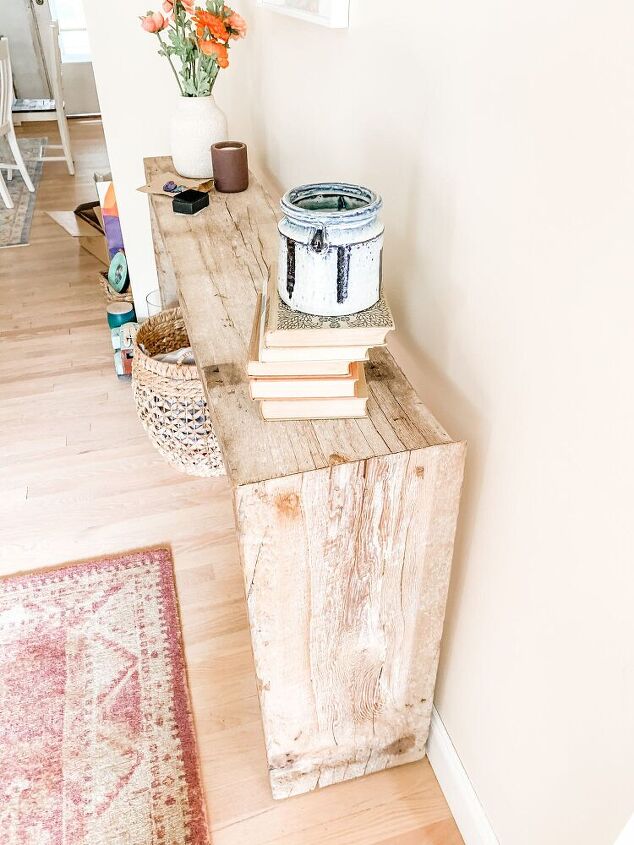
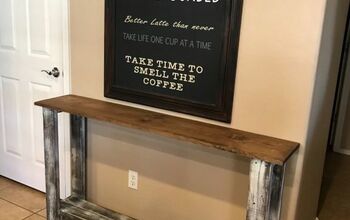
Here is the final piece. We still need to decorate the area, but we couldn't be happier. I like it way more than the luxary store brand I was looking at!
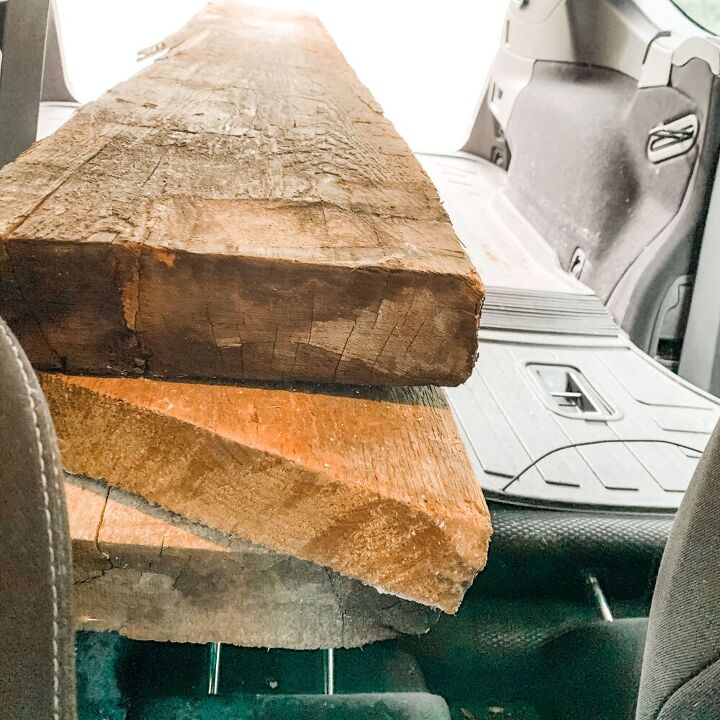
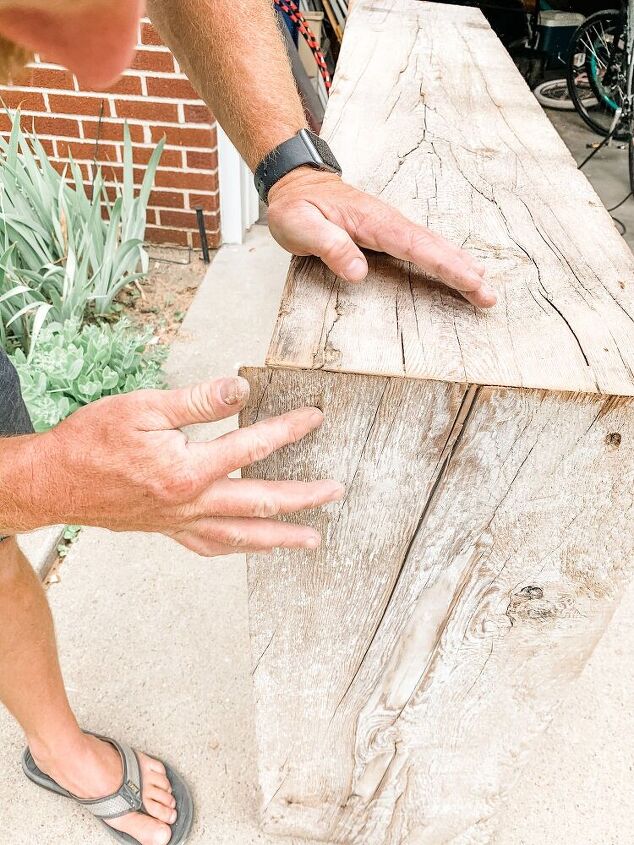
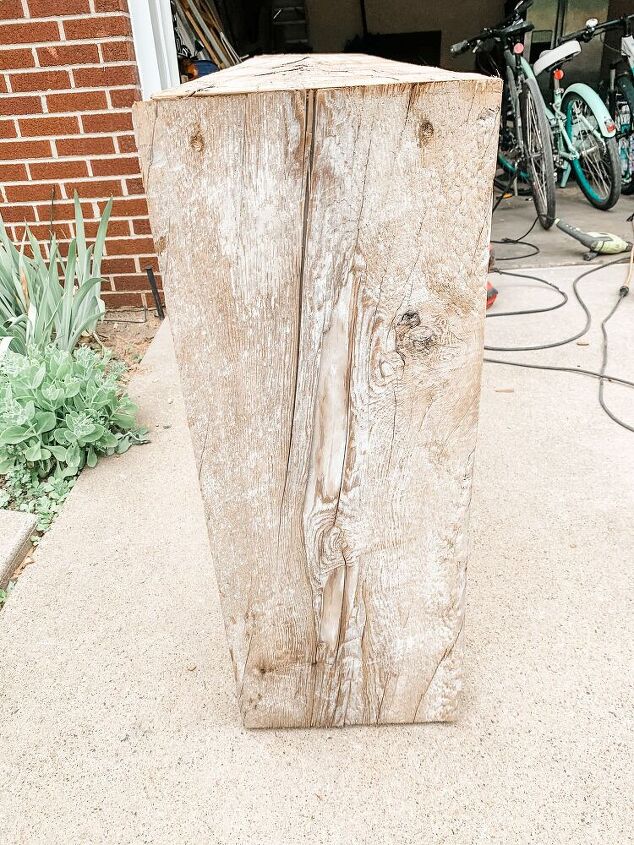
We went to our local reclaimed wood supplier and were able to purchase the two pieces we needed for just under $250, which was substantially less than the hefty price tag on my dream table. We started by identifying which part of the wood would be which part of the table. This wood is imperfect, which is why we went with it, but we still wanted to make sure we had the best parts of the pieces showing on the top and sides.
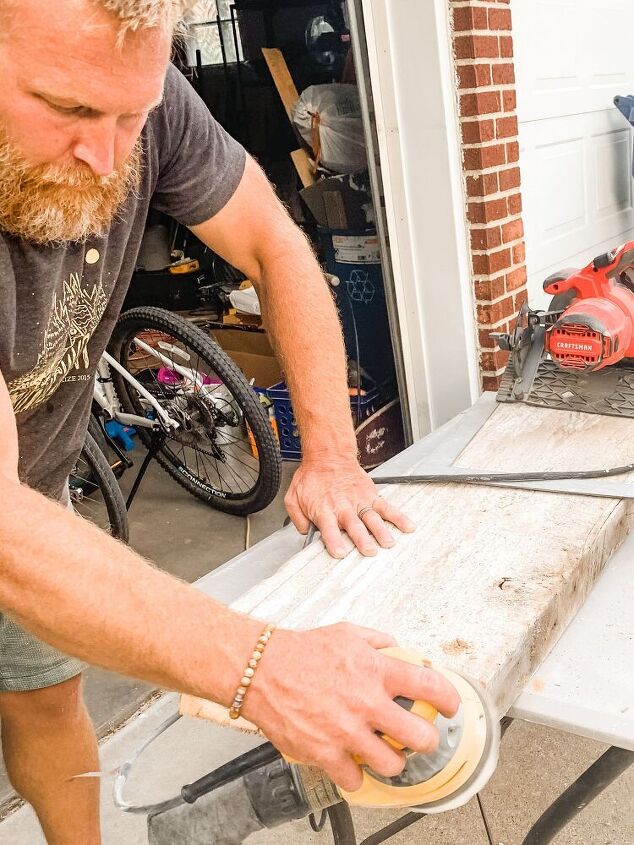
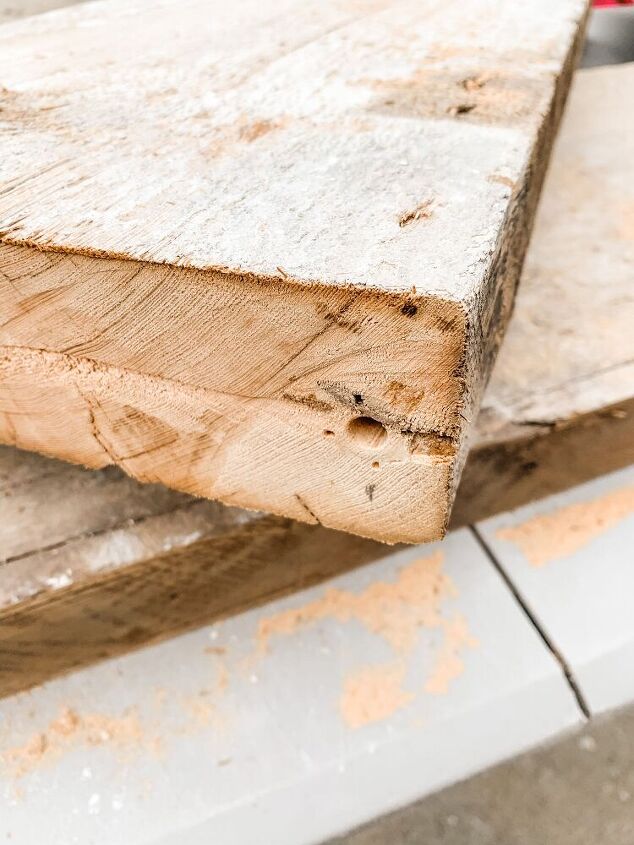
Then onto sanding. One thing to be cautious of is what is on the wood. Paint used before… is almost always lead-based, so consider having it tested before you start sanding. We were lucky enough to have only concrete on ours, which flaked and sanded off easily. It also left some white on the wood, which we loved. Be sure to remove all nails and or staples. Our reclaimed wood had many of both. We sanded all our pieces at this point get them to look like we wanted them. That way we could minimize the sanding needed after gluing the pieces together.
We then decided on the measurements we wanted. We wanted a table that was 60 inches long x 31.5 inches high. The piece of wood we got was 12-inches-deep, so that’s what we are sticking too. You always have the option to glue two pieces of wood together to make it deeper, but we didn’t feel it needed to be any larger. We have done this (and will do this again) for a reclaimed wood bench we are making for our mudroom.
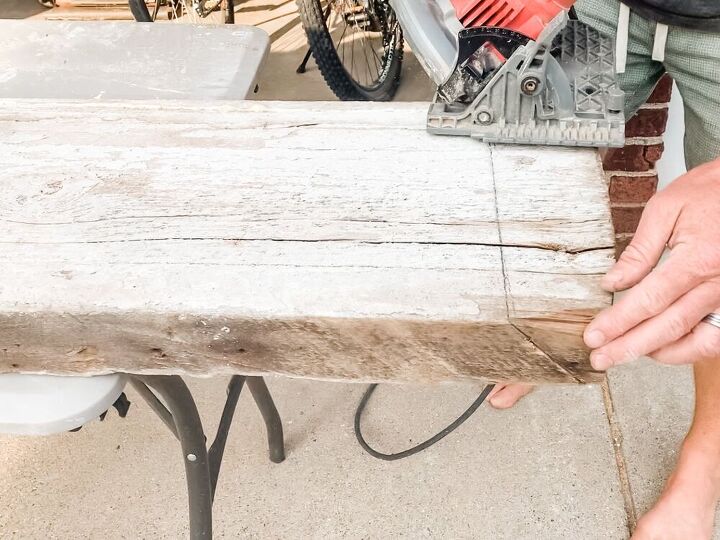
Both pieces were around 75-inches-long, so we made the top out of one piece and both legs out of the other piece. For the legs: We first cut the 45-degree angle at one end, then the next on the opposite end of the same piece. We did this before cutting them in half to give ourselves a way to recover should we make a mistake. Had we first cut them to size and then made the angled cut, we’d have to make the legs shorter to fix it. Thankfully those cuts went well and we then measured the length of each leg, 31.5 inches. A cut like this needs to be near perfect for all pieces to match up. So while it’s not hard, you do have to be quite precise.
Then for the top, we made the first 45-degree angle cut at the first end, and then cut the next one at 60-inches to the long point of a 45-degree angle. All went well, otherwise the table would had gotten a little bit shorter ;-)
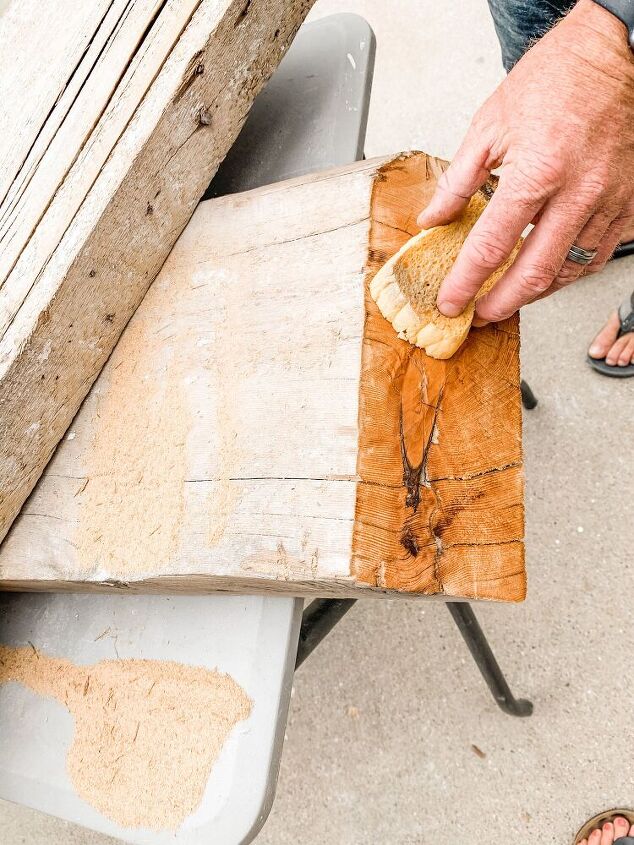
We selected a Gorilla Glue that expands a bit as it cures to ensure we got a strong joint. It requires a bit more clean-up and sanding after it dries, but it is well worth the strong joint in my opinion. Before applying the glue, you should wet the surface as it helps activate the glue.
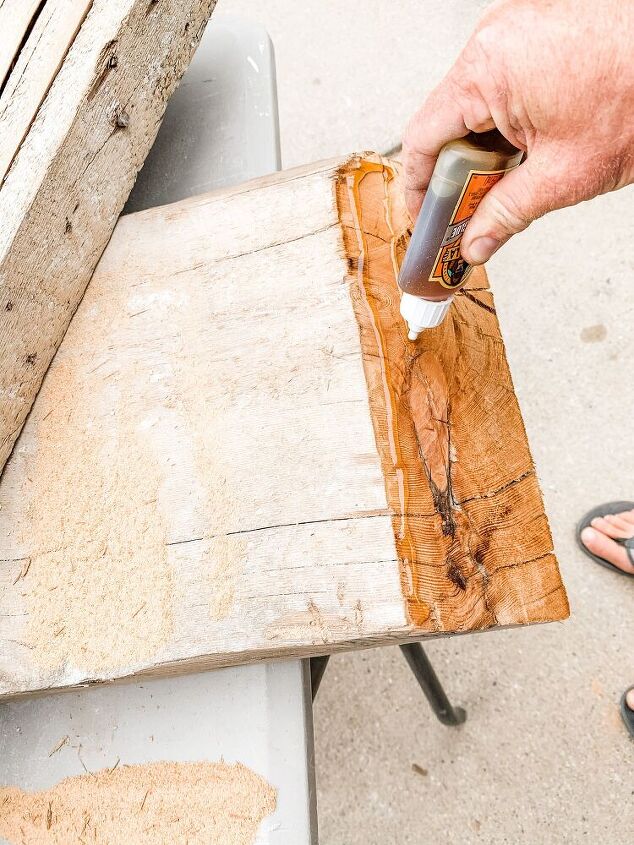
Then apply the glue.
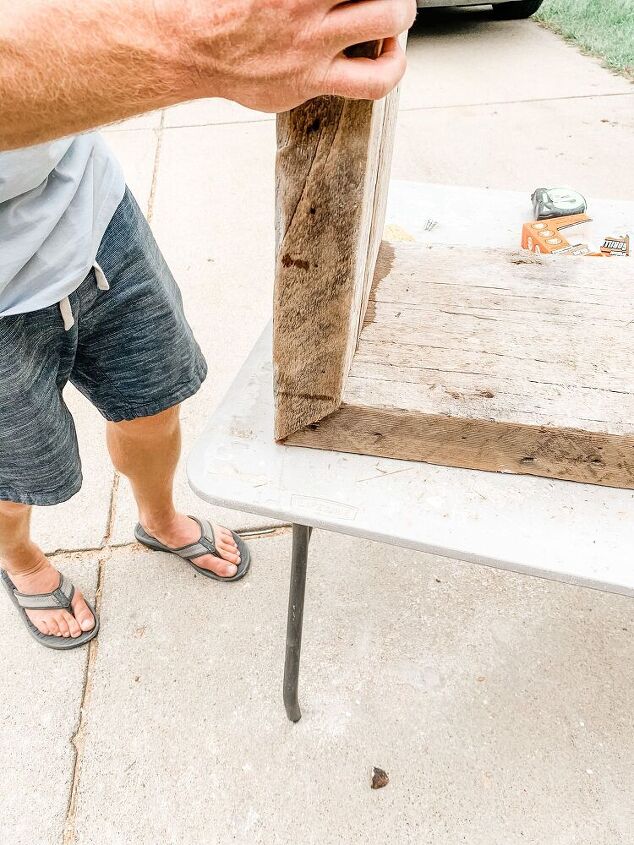
Align the areas that need to get attached.
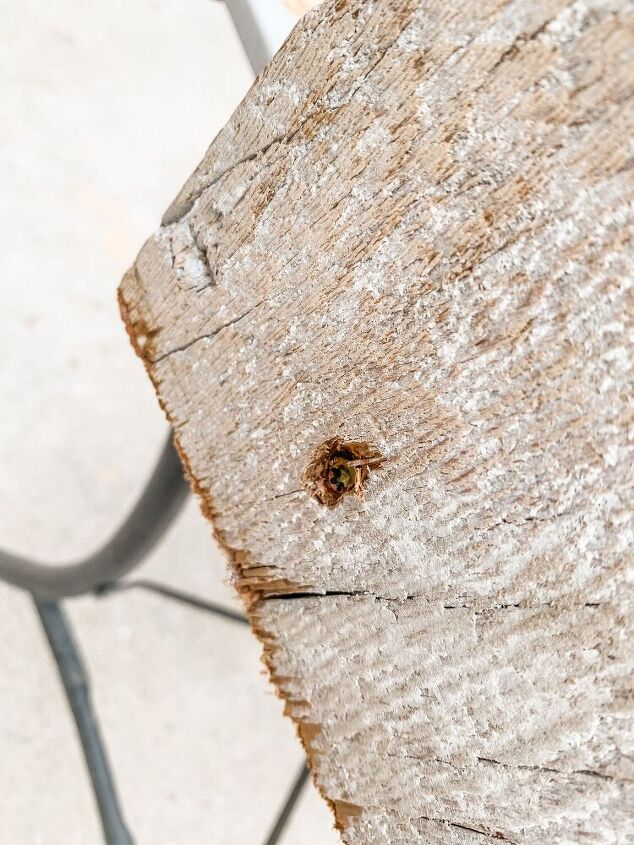
I did put two construction screws and two small L brackets on the inside corners. They are small and you will never see them on the underside of the table. The larger constructions screws were placed on the outside of the table and were countersunk.
I countersunk each screw and made some homemade wood putty out of some glue and the leftover sawdust from cutting and sanding the wood. Those screws will never be visible!
Finally, we added four elevator bolts (2 on each leg). These are simple to install and are excellent at making sure your table will sit level and not wobble. You first drill a small hole in the leg.
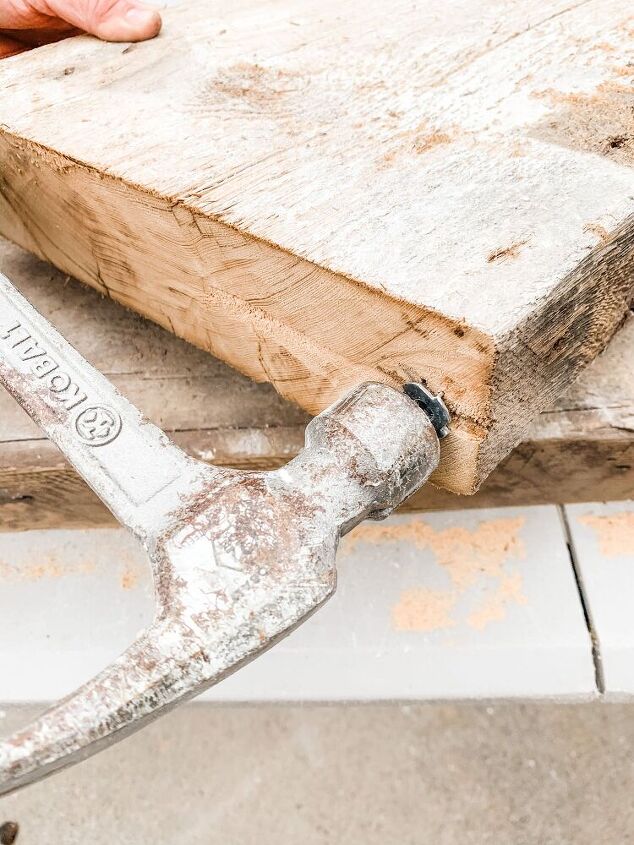
Then install the tee nut (this is the piece the elevator screw will screw into) but hammering it into the hole you just drilled.
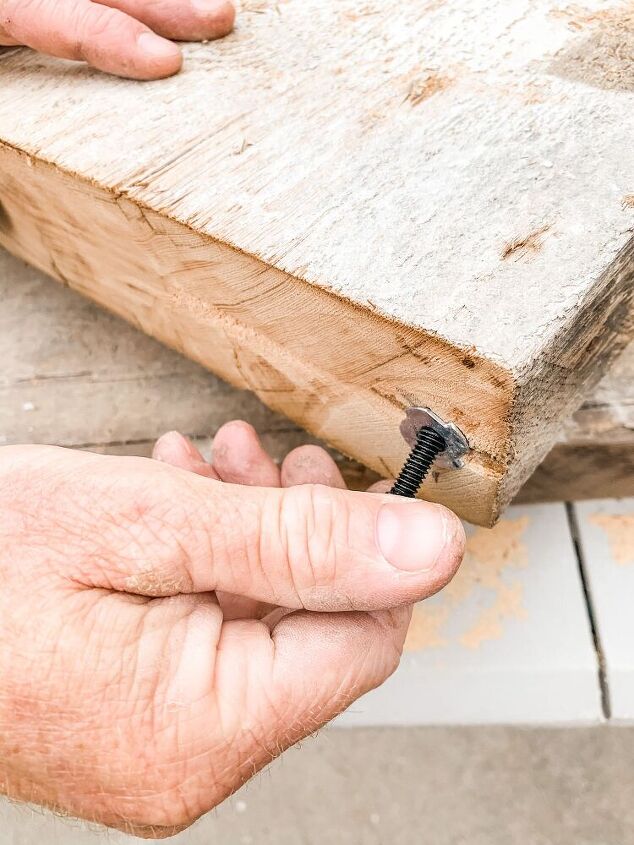
Once installed you can twist the elevator screw up and down to adjust the height of the bolt. These allow you to level the table and help make up for a few less than precise cuts.
And that’s it! We spent around $250 total instead of $1299 plus tax. That’s a savings of over $1000! While this is not something a novice should necessarily take on, it went very fast because there are not many steps. We spent about 2 hours on this total!
Resources for this project:
See all materials


Comments
Join the conversation
-
Love it!! For those in sticker shock over the price of really thick reclaimed wood you could buy new wood and bang it up, maybe whitewash the stain you use to make it look old. I don't remember seeing that thick of wood at the big box hardware stores tho. Unfortunately, for me it's the extra thick wood that takes this table to the next level.
-
This table is absolutely gorgeous and VERY well made. Thank you for sharing. You will never find wood like this in a HD or Lowes, never mind the thickness. If you do not have a reclaimed wood center near you, you can glue lengths of wood together to get a similar look and then age it as someone else suggested. I also want to thank Lauren for telling people to test ANY old wood such as this or doors or windows for lead. Too many people think that if its being sold it is ok for use. You can also ask the seller if the wood has been tested for lead. Test kits are reasonably priced at HD & Lowes.


Frequently asked questions
Have a question about this project?
Speaking of sticker shock, I am FLOORED that that piece of lumber cost $250!! Why!?
Love it... Could mybe use railway sleepers too if costs an issue?
Waterfall console table? Where’s the waterfall? It’s just a console table.