


Stunning Privacy Planter Bench With Cabot Exterior Stain

This post is sponsored by Cabot.
As someone who loves a good DIY project, I recently decided to enhance my front yard by adding a functional and visually appealing privacy planter with an integrated bench. The project not only beautifies the space but also uses the durable and vibrant Cabot Exterior Stain to ensure it stands the test of time and weather. Here's how I did it.
Materials & Prep
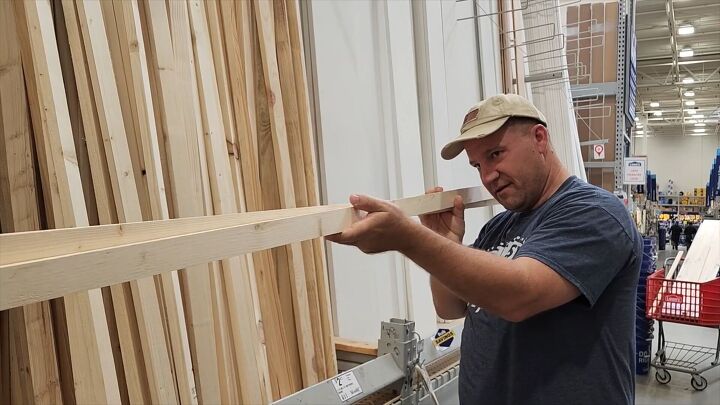
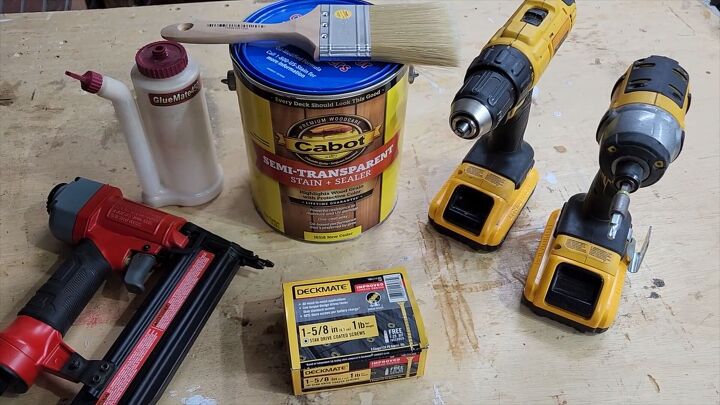
Before anything else, I took a trip to my local hardware store to make sure I had all the necessary materials and tools for the project. Armed with various sizes of lumber, wood glue, brad nails, and Cabot Semi-Transparent Stain & Sealer in Cedar, I was ready to dive in.
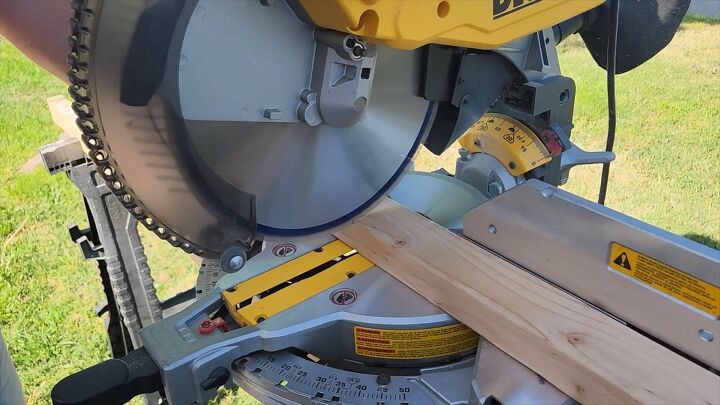
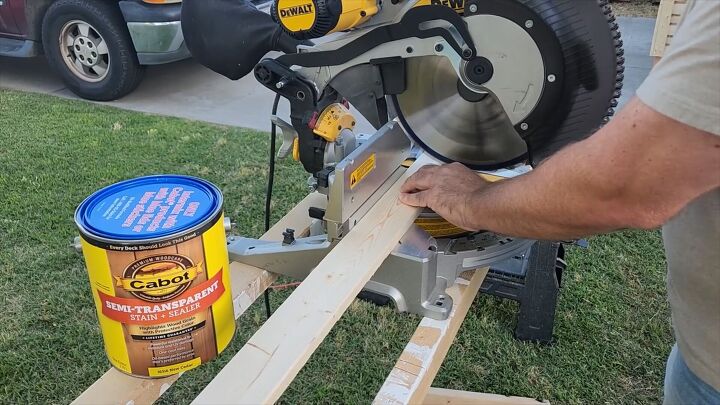
Cutting the Lumber
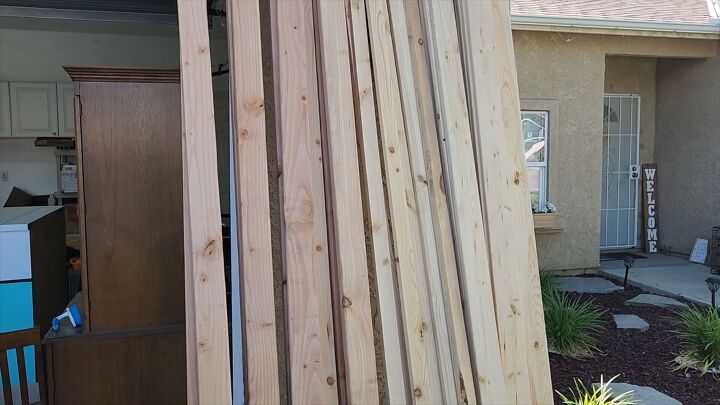
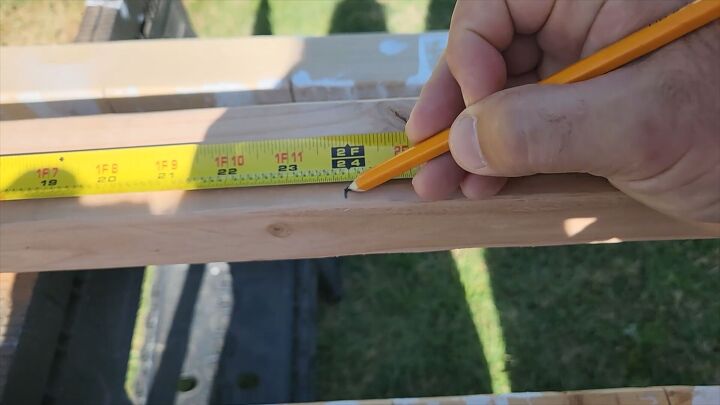
Back at home, I began by cutting the lumber to the desired dimensions for the privacy planter. This included panels for the sides, front, back, and sturdy pieces for the legs. I chose different sizes of wood to give the planter a unique visual appeal, setting it apart from typical planters.
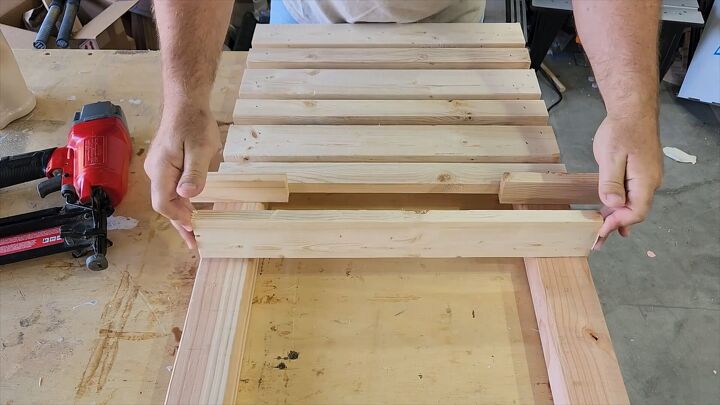
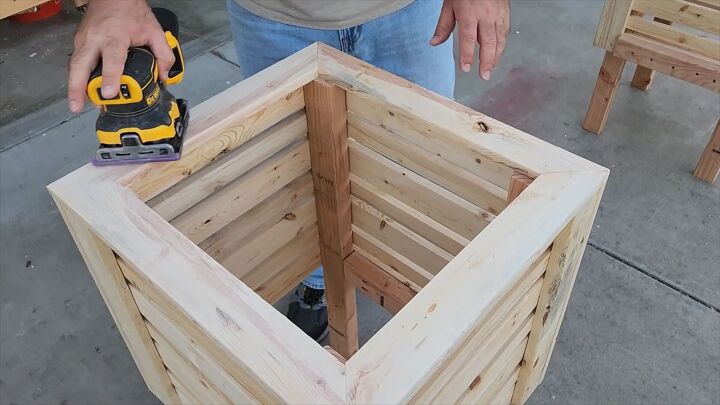
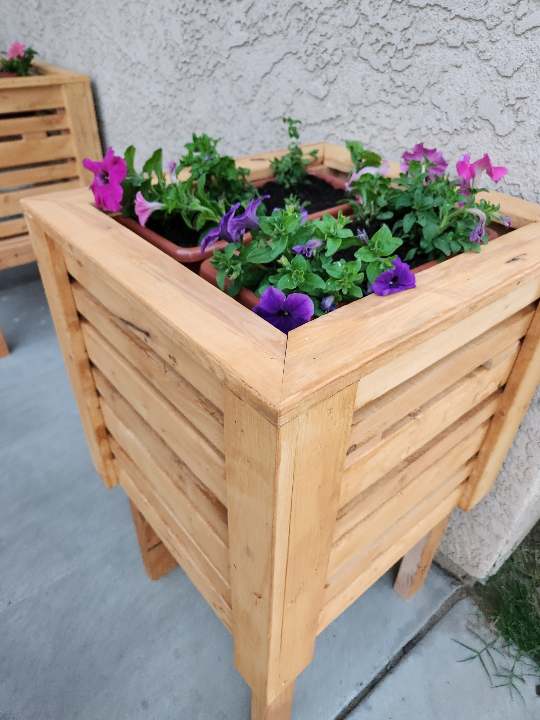
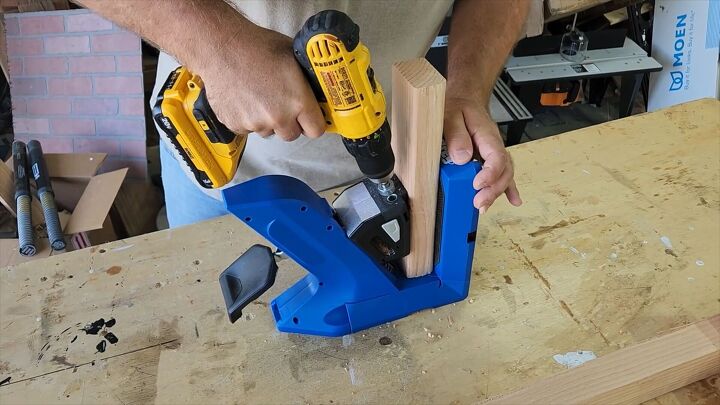
Assembling the Planter Boxes
Using wood glue and brad nails, I assembled the panels into robust planter boxes. The glue set in less than an hour, which was perfect for a day's work.
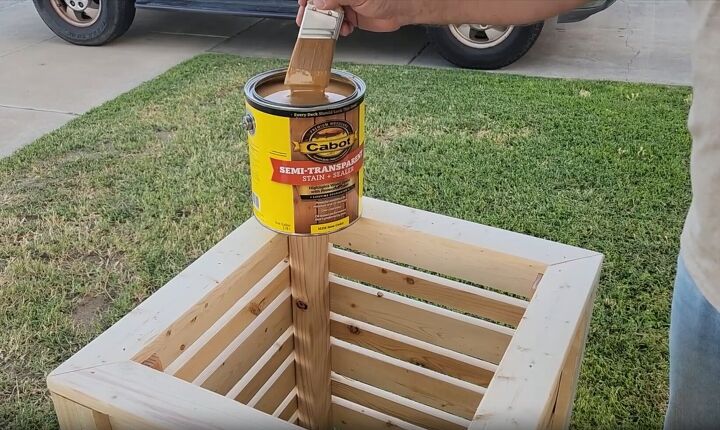
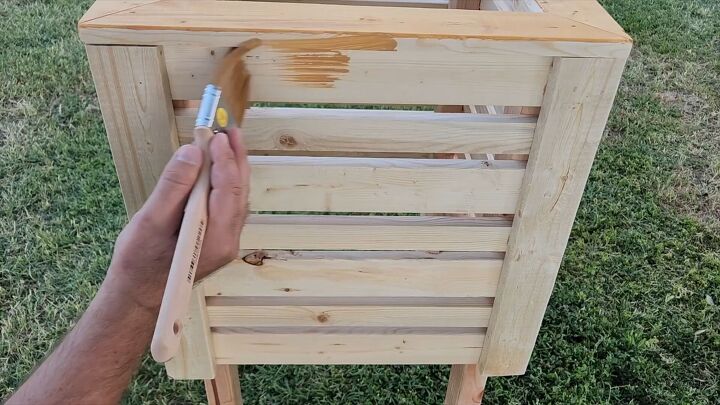
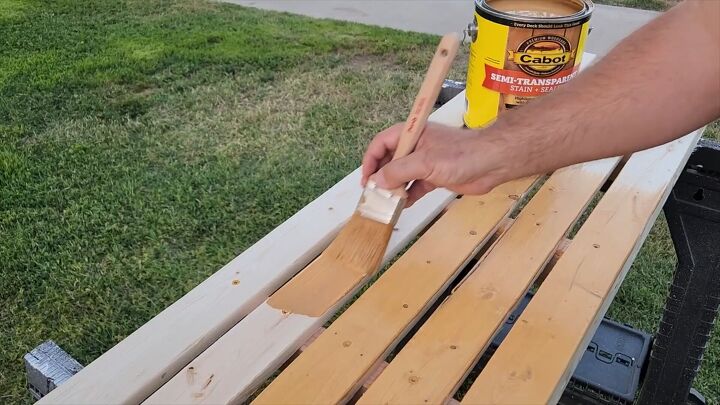
Applying Cabot Stain
The most crucial step was protecting and beautifying the wood. I stirred the Cabot stain gently to avoid creating air bubbles and applied it with a brush. The best part? It doesn’t leave brush marks and only needed one coat to offer long-lasting protection against fading and weather damage. The oil-based formula and the rich Cedar color gave the planters a luxurious finish while shielding them from moisture and sunlight.
Building the Bench
With some stain still left, I didn't stop at just planters. I built a simple yet strong bench that matched the planters' style without overshadowing them. After assembling the bench, I applied the Cabot stain, ensuring it matched the planters perfectly.
Integrating the Bench
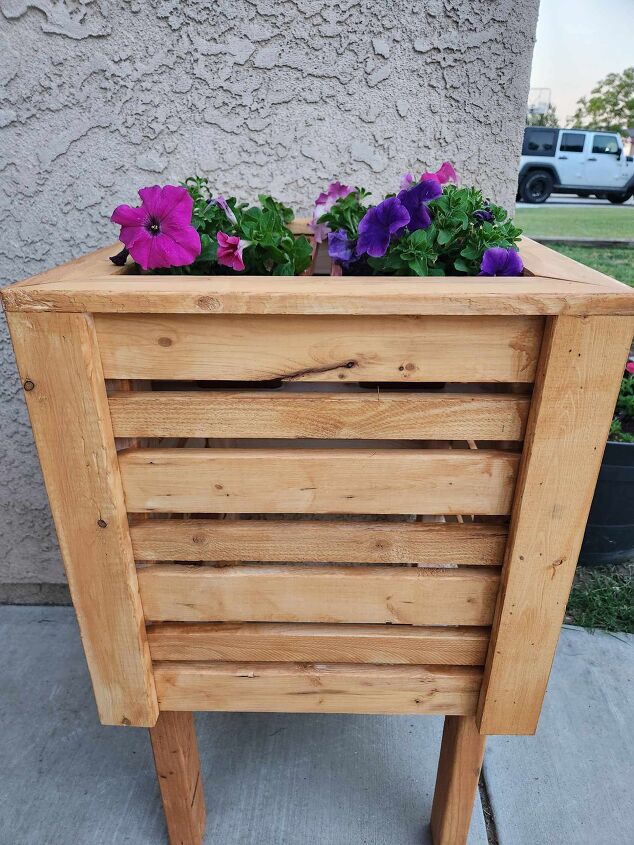
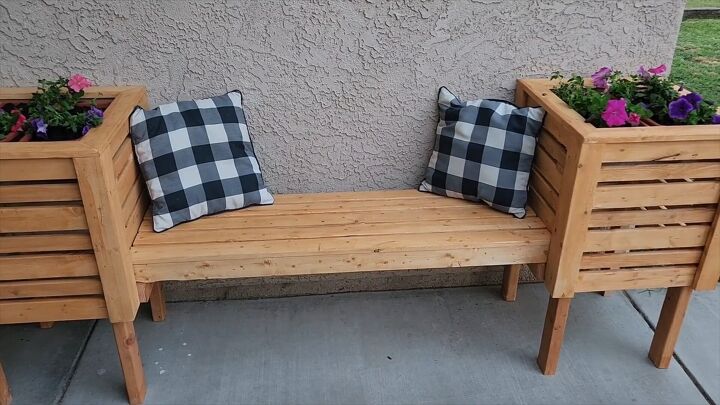
Once dried, I secured this new bench between two of the planter boxes, enhancing the functionality and aesthetics of my creation. This integration not only added seating but made the planter-bench combo a striking feature in my yard.
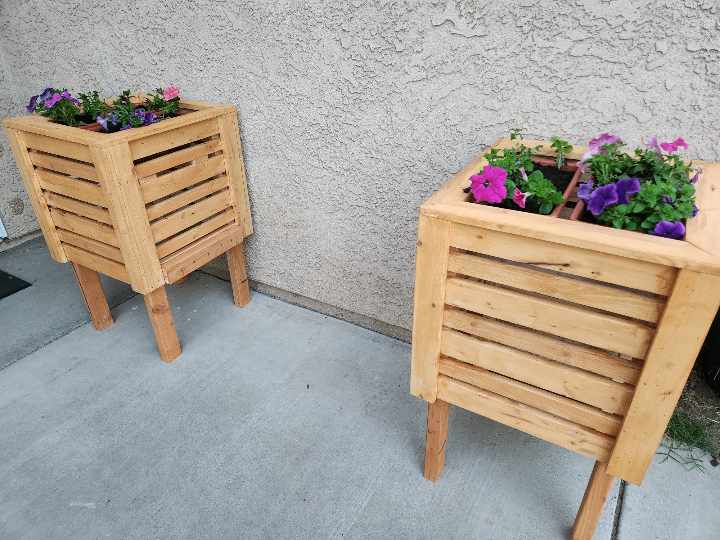
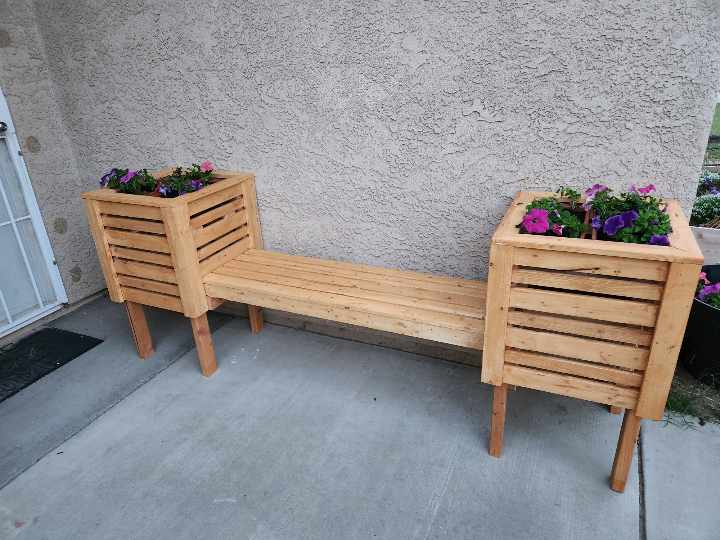
The completion of this DIY planter bench has transformed my front yard into a beautiful, functional space for my family to enjoy.
The Cabot Semi-Transparent Stain brought out the deep, rich beauty of the wood and will protect my project for years to come, perhaps even long enough to see my grandchildren enjoy it. This project brought immense satisfaction not only from the building process but from the lasting joy it will bring to my family.
A huge thanks to Cabot for sponsoring this project and enabling me to enhance my home’s outdoor space. This DIY adventure has truly transformed my front yard into an inviting oasis.
Cabot Semi-Transparent Stain & Sealer

Materials
- Lumber in various sizes
- Cabot Semi-Transparent Stain and Sealer (I went with Cedar)
- Wood glue
- Brad nails
- High-quality paintbrush
- Measuring tape
- Saw
- Brad nailer
Comments
Join the conversation
-
I love this. I'd like two!
-
Thing I’am worry about, is your wood sitting right on your concrete. Whenever I’am building something, that’s going to sit on concrete. Like these planter boxes, I would cut a square block, an inch thick, and a stainless steel, screw and mount this block Made From Treated Wood. Yes it is green color wood, and it will stain to a nice dark color, so it will Look Great at the bottom. And by using stainless steel, it won’t intermix, with the acid from the cedar wood. Just a little thing I do whenever I’am sitting any kind of wood on concrete. 🦼


Frequently asked questions
Have a question about this project?