


How to Make a Beach-Style Round Epoxy Coffee Table

If you're looking for a fun DIY project to create a unique piece for your home, this guide is perfect!
Learn how to craft a stunning round epoxy coffee table with a beautiful beach scene design.
This step-by-step guide will help you bring your vision to life using simple materials and tools.
This post was transcribed by a member of the Hometalk editorial team from the original HometalkTV episode.
Tools and Materials
- Pre-made round tabletop (from your local hardware store)
- Large planter (to use as the table base)
- Jenga pieces (found at Dollar Tree)
- Wood glue
- Wood stain
- Foam brush
- Clear polyurethane
- Two-part epoxy resin
- Acrylic paint (turquoise, white, or colors of your choice)
- Plastic spoon
- Hairdryer (with low heat, high wind settings)
- Gloves
- Stir sticks
Hometalk may receive a small affiliate commission from purchases made via Amazon links in this article but at no cost to you.

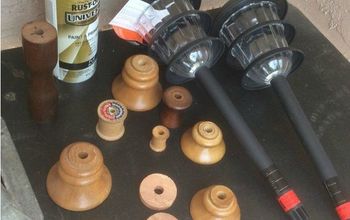
1. Preparing the Tabletop and Base
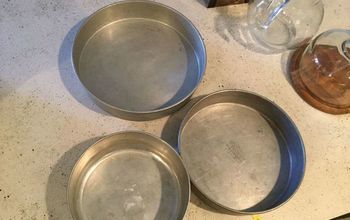
Start with a pre-made round tabletop from your local building store.
While you are there grab a planter to use as the table base.

Place the planter on the table base and trace its outline onto the surface to mark its exact placement.

Use Jenga pieces to create stops for the tabletop, preventing it from sliding off.

Measure and place Jenga pieces around the edge, leaving space for the tabletop to fit snugly.

Apply wood glue to the Jenga pieces and secure them around the circle at 4–5-inch intervals.

2. Staining the Wood
Apply a wood stain to the tabletop using a foam brush, making sure to brush the stain in the direction of the wood grain.

Ensure complete coverage, including the edges, and wipe off any excess with a cloth.

Once dry, apply a coat of clear polyurethane to seal the wood. It will appear milky at first but dries clear to protect the wood.

3. Mixing and Pouring the Epoxy
Prepare the two-part epoxy resin by mixing it thoroughly for 2–3 minutes.

Add acrylic paint to portions of the resin:
- Keep one part clear.
- Mix turquoise in another part.
- Use white for the final part.

4. Creating the Beach Scene
Pour the clear epoxy two-thirds of the way up the tabletop in wavy lines. Spread it out with a stir stick.

Apply the turquoise epoxy to the lower section and spread it around. It’s okay if it overlaps the clear epoxy.

Add the white epoxy along the top edge of the clear section. Use a plastic spoon to drizzle it on.

Blend the colors with a hairdryer. Work in sections to create smooth, natural transitions that mimic ocean waves.

5. Adding Layers for Depth
Allow the epoxy to cure for 24 hours.

Apply a second layer of epoxy, repeating the steps:
- Use clear epoxy and turquoise for the base, blending with your hands or stir sticks.
- Add white epoxy near the top and blend it into the clear and turquoise layers.

Use the hairdryer again to spread and blend the epoxy for a mirror-like finish.

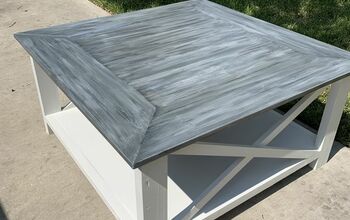
6. Assembling Your Table
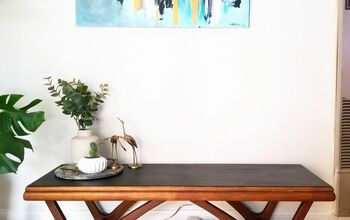
Once the tabletop is fully cured, place it on top of the planter base.

The planter can double as storage for blankets, towels in a guest room, or other items.
Admire your new round epoxy coffee table with its shiny surface and beachy design!
Ready for more epoxy fun?

Round Epoxy Coffee Table Tutorial
This project is a creative way to bring coastal vibes into your living space. A wood and epoxy coffee table like this is a functional and beautiful addition to any home.

If you enjoyed this project, why not try it yourself? Comment below with your questions, tips, or experiences. I’d love to hear from you!


Frequently asked questions
Have a question about this project?