


Old Wooden Ironing Board Turned Corner Shelf

I imagine many of you have seen an old wooden ironing board, maybe at your grandparents, depending on your age, or at a flea market. Mine came from my grandparents home and is close to 100 years old. They have both been gone a very long time but the ironing board made its rounds to various basements, sheds etc until it made its way to my place. Although I still iron, yes we are a rare breed nowadays, this little baby had seen better days, but still had some life left in it. It was my job to make it into something wonderful in honour of my grandparents and my dad, as I know he would be so proud of what I did with it instead of throwing it away. I have always loved the corner shelves that look like a boat or a canoe, but they can be very expensive to buy . My ironing board made me think of them and I set out to create it.
Tools and Materials
- ironing board
- jigsaw
- hammer
- nails
- wood
- hardboard
- paint
- wallpaper
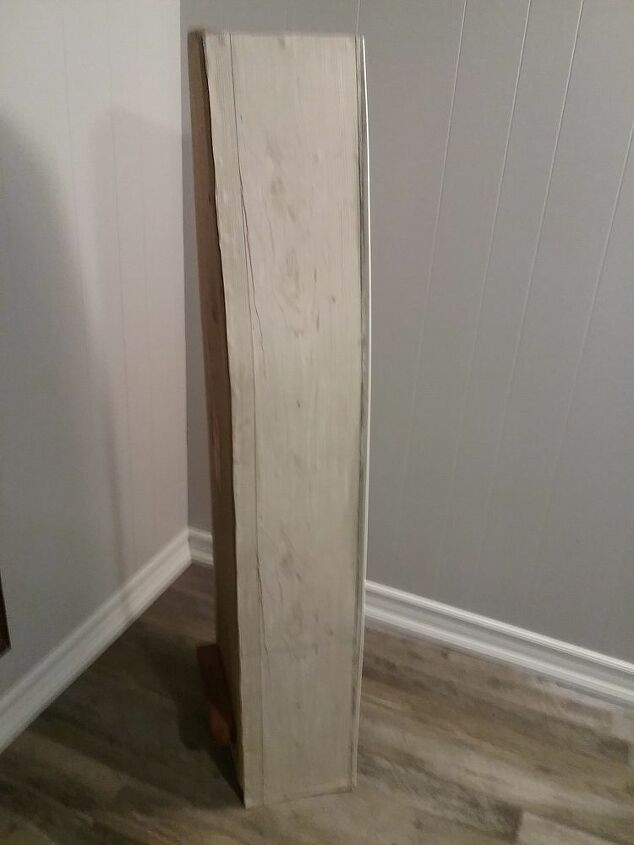
So my first step was to remove the cover, turns out there were about 100 thumb tacks to hold it in place.
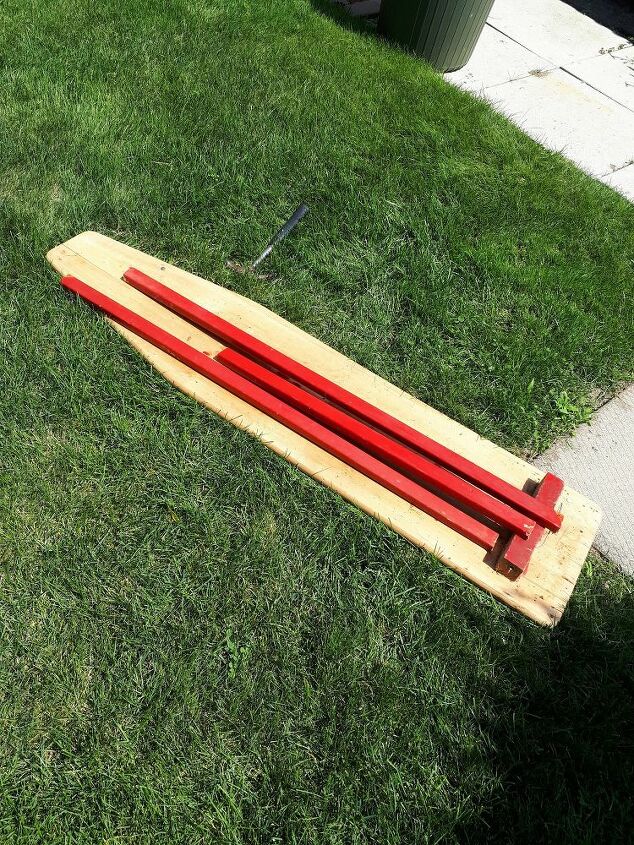
Next I dismantled the legs. Not an easy task I might add! I ended up having to cut the legs off as there was only one piece with screws in it that would come a part.
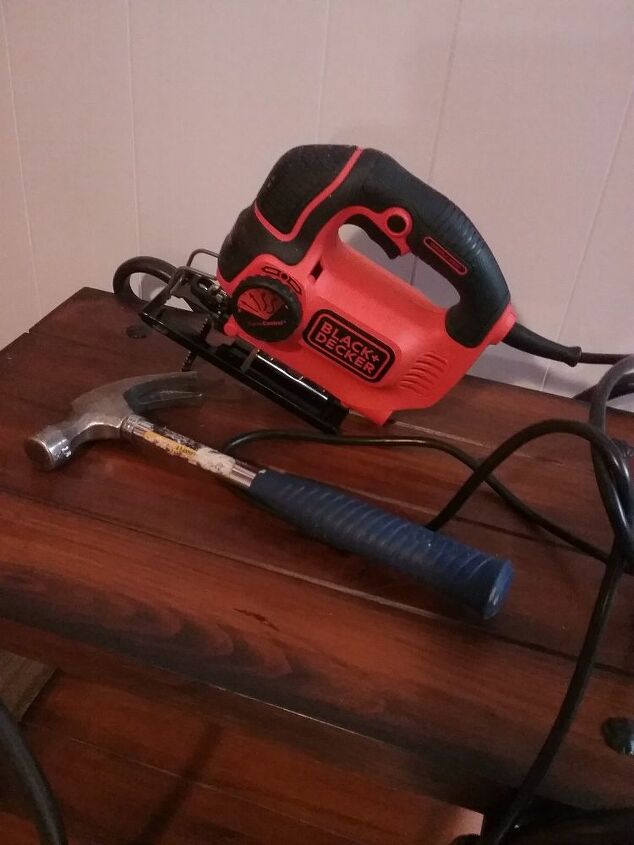
Now it is time to start building. Here is the tools needed for this project. My awesome new jigsaw from Hometalk and a hammer and 2 inch nails.
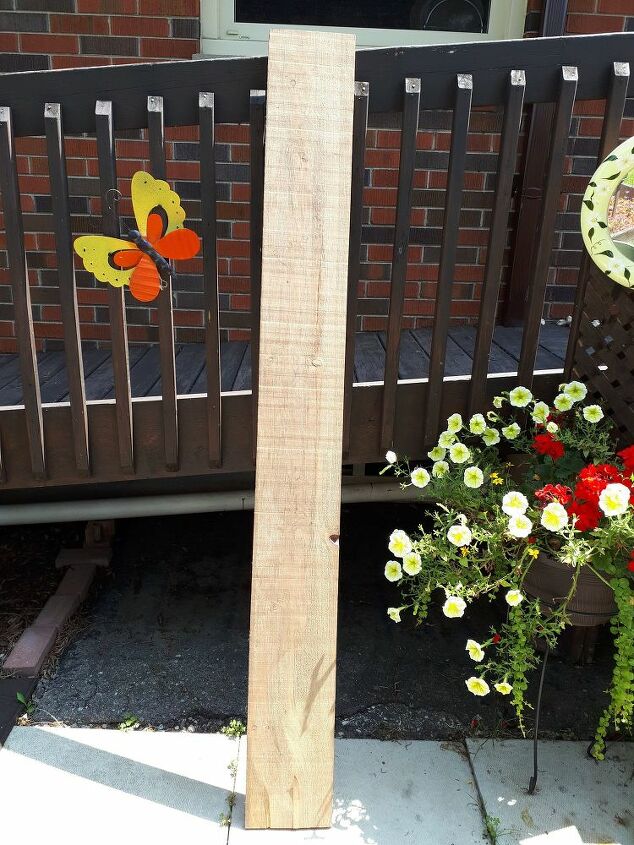
To make my shelves I used Barn board in a natural wood color purchased at Home Depot for under $10.00!!
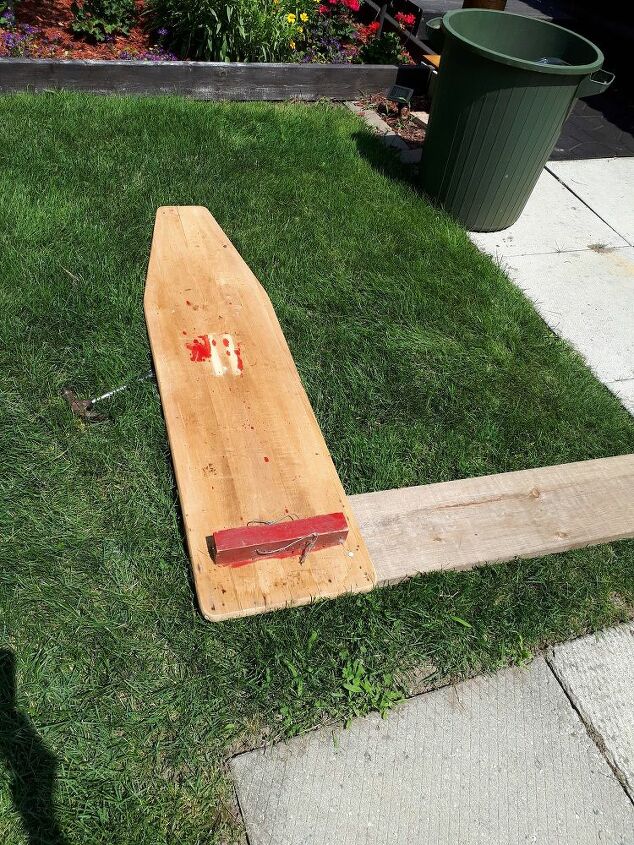
So, to measure my shelves, I just laid the wood on the ground and put my ironing board on top making sure it was at the end and drew a line at the other end, then cut with my jigsaw. The amount of shelves depend on you.
I wanted to use the legs off of the ironing board so I cut them the same width as my shelves, which I will use to secure underneath each shelf and on the bottom.
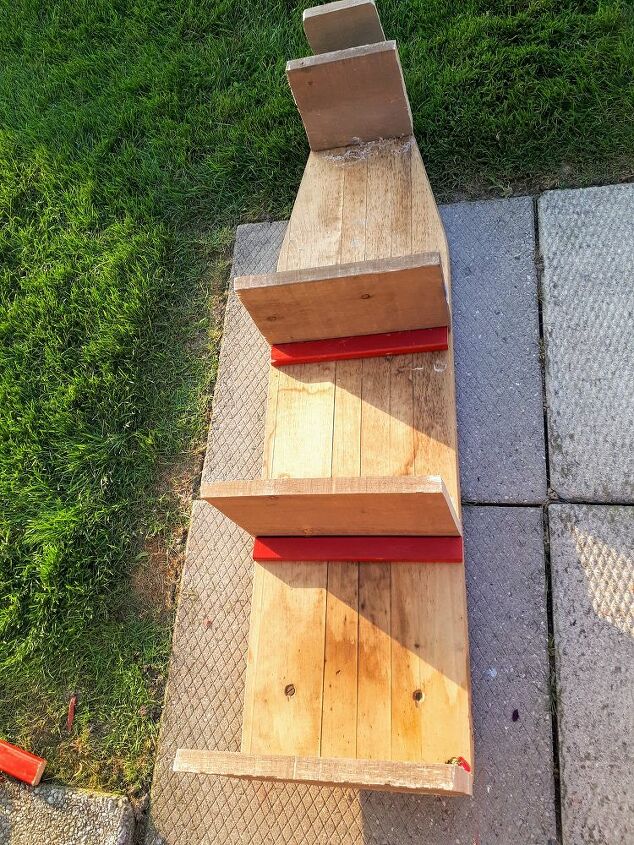
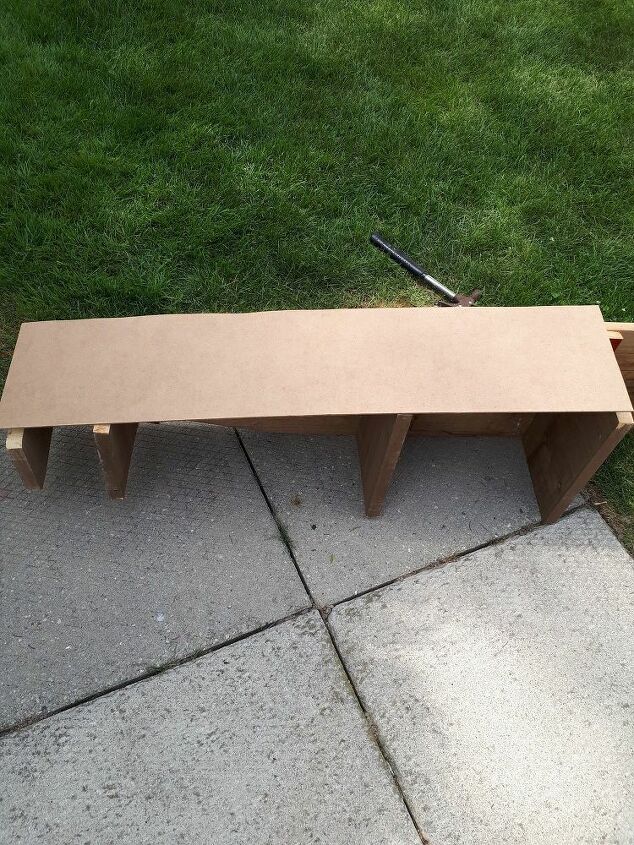
Now it is time to attach your shelves. Once determined the placement of my shelves I nailed them in place using 2 inch nails and then nailed my legs that I cut underneath to help secure the shelves.
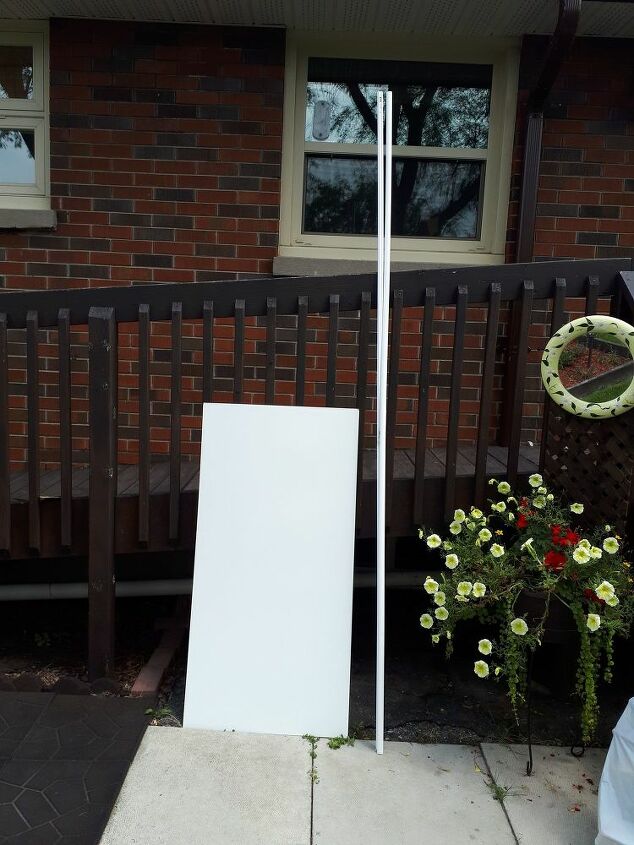
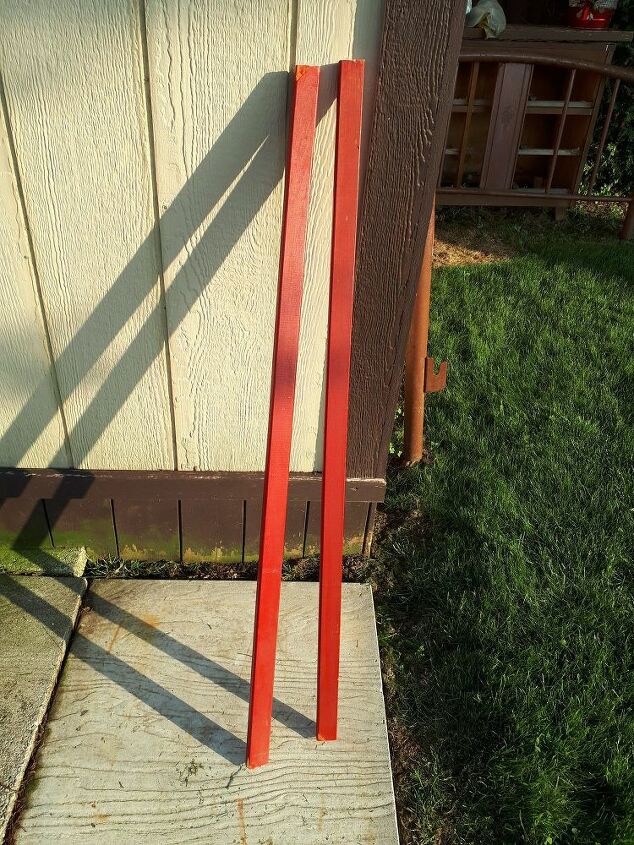
Now it is time to do the sides. For this I used a hardboard, it's white on one side and natural color on the other side. You will need two sheets as they are only 48 inches in length and my ironing board is 53 inches. Also 2 pieces of PVC trim. I purchased both at Home Depot for under $20.00
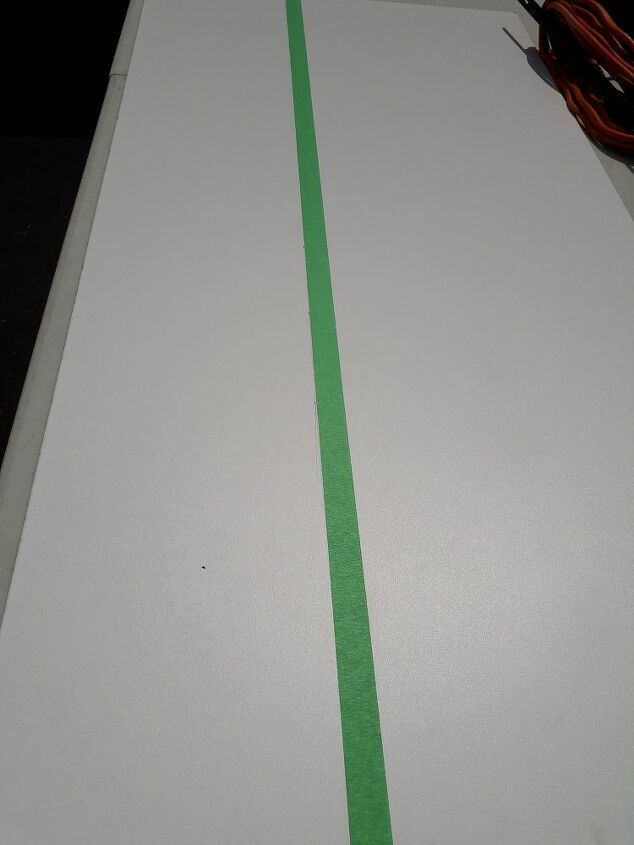
So I measured out my hardboard. The width was 8 1/2 inches. I then used painters tape to mark my line. I find it easier to use as a guide when doing a long cut to help keep a straight line when cutting. Repeat step.
To attach the hardboard I laid the ironing board on its side. I put the white side facing down. I attached using 1 inch nails. As mentioned this board was not long enough so I had to cut two pieces and add to the bottom and second shelf. Repeat step on other side.
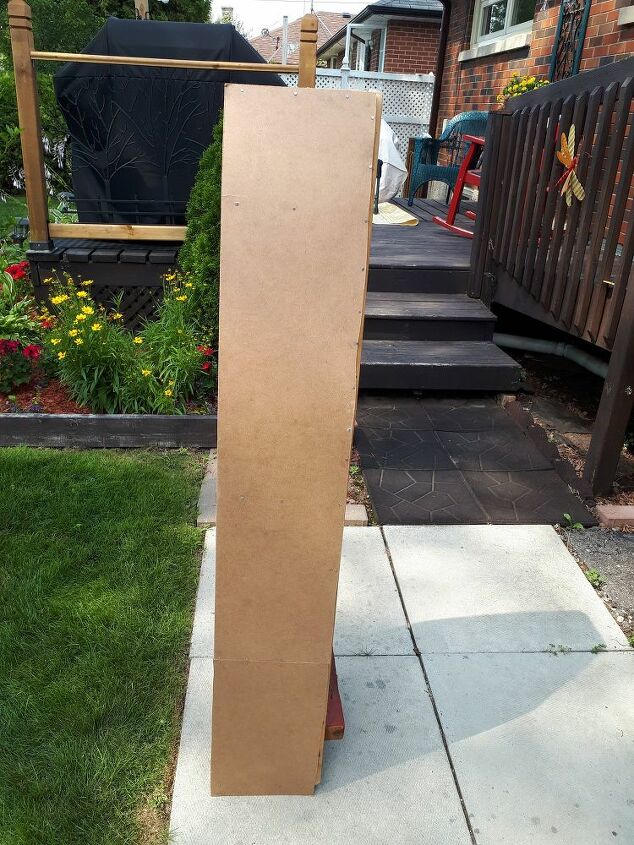
So it should now look like this. Next step is to add the trim. I laid the board down flat and attached the trim following the shape of the board. This is easy to do as this PVC trim is very flexible. I attached using 1 inch nails.
Here it is with the trim attached.
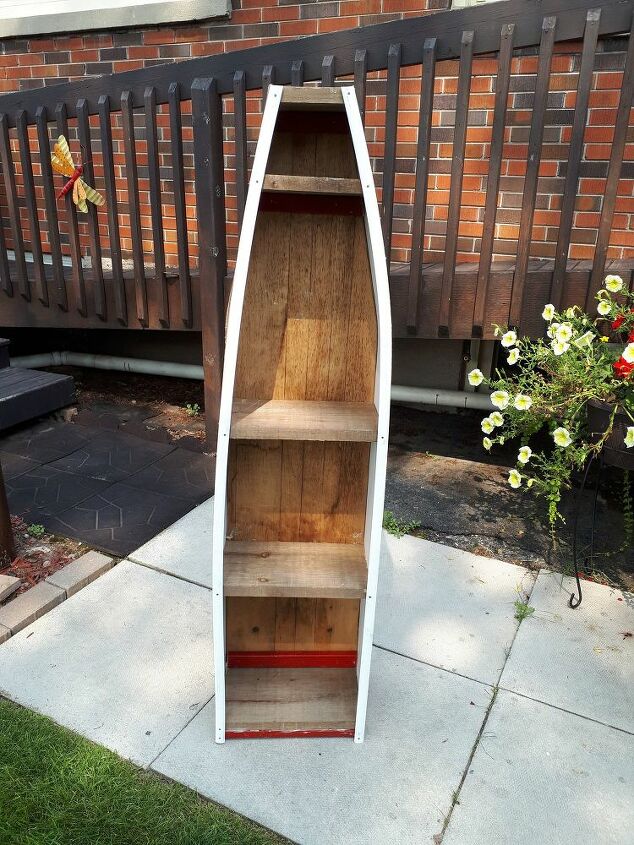
To finish off the sides I used some barnboard wallpaper I had left over. You can choose to paint your sides.
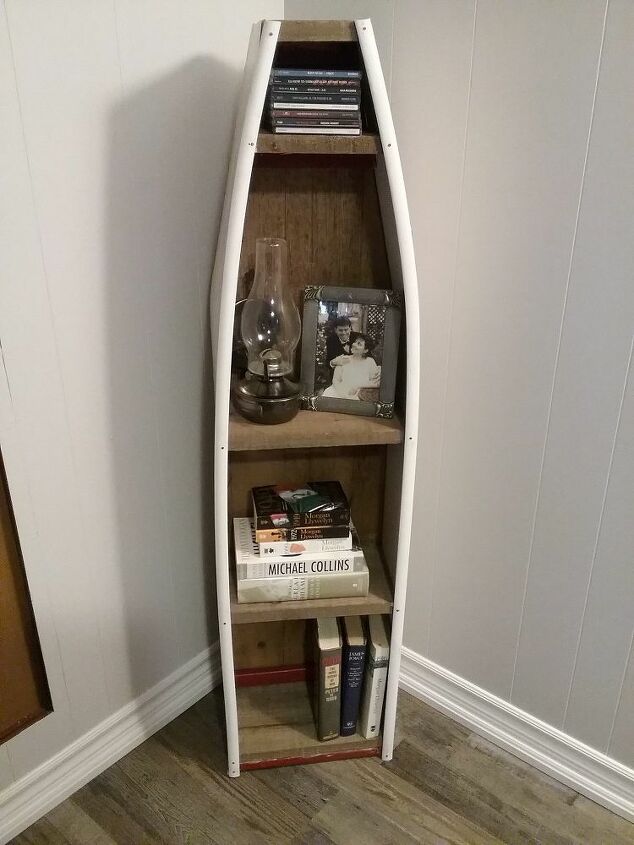
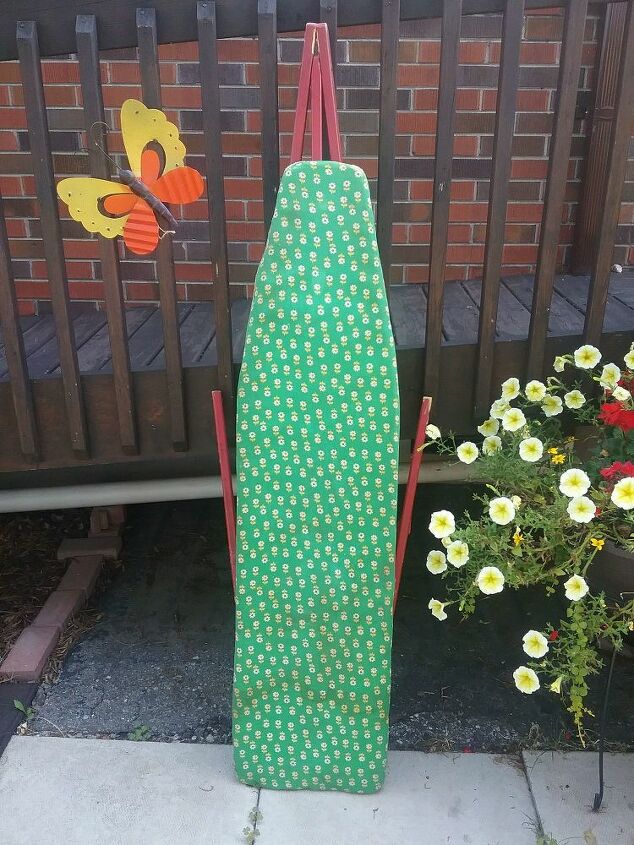
Here it is finally finished! I am so happy with the end result. I know my grandparents and my dad would be smiling too!
Comments
Join the conversation
-
fabulous Idea! Thx Melanie fir response! You are a genius truly!
Thank you happy Ironing Boards!!! Ha ❤️
-
I absolutely love this idea. I have my moms ironing board which is about 100 yo. I’ve wanted to turn it into some useable type of furniture and can see it turned into your canoe shelving. Thank you!!


Frequently asked questions
Have a question about this project?
She could have made herself a canoe
dont you think ???
The corner shelf looks amazing though 👍🏼
BTW, can i show you all this cute and funny picture? i don't know how else to do it, but it's so appropriate (lol) and the little dog is so funny with that expression on his/her face!
Did you cut your hardboard narrower at top? Or did you bend it somehow to follow curve ?