DIY Plant Stands From a Thrifted Bar Stool

I’ve been on the hunt for plant stands, but haven’t been able to find what I was looking for. So, I found a bar stool while thrifting and decided to see if I could make plant stands out of the bar stool. My $3 find turned into two rustic plant stands!
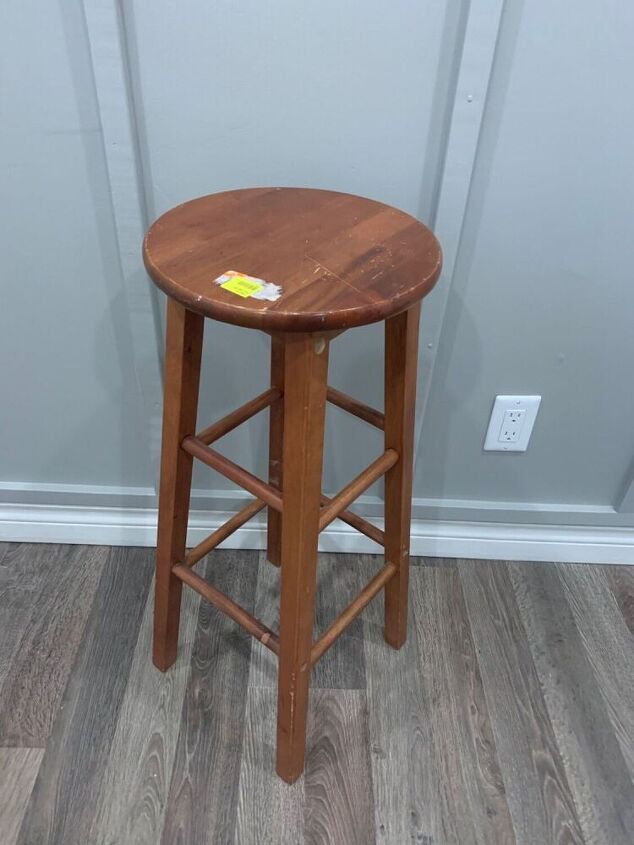
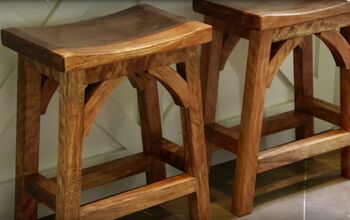
This is the bar stool I scored for $3! I think the trick is to find a stool that is taller as it will give you enough height to make two plant stands.
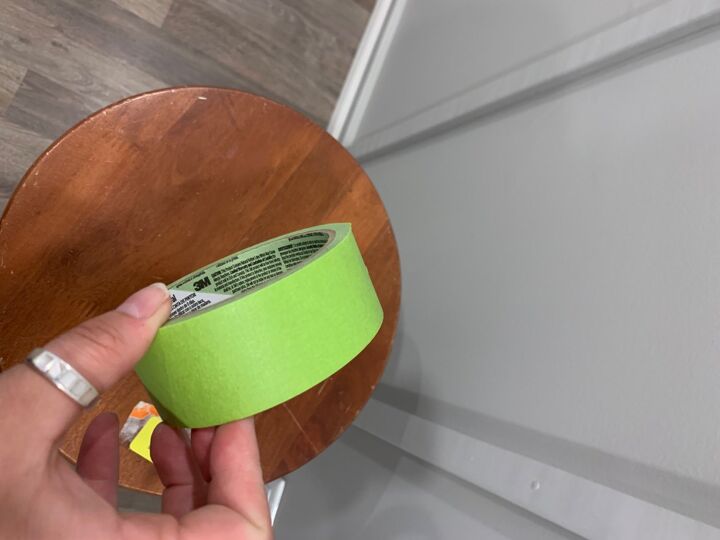
The first thing I did was use painters tape and tape off the legs where I wanted to make the cuts.
When you’re cutting into wood it’s always a good idea to tape it off so the wood does not splinter. We also used the tape as a guide on where to cut. I placed the tape above the top rungs to divide the two stands.
We used an Oscillating Tool to make the cut as straight as we could.. it wasn’t perfect but it did the job!
This is what it looks like once it’s cut into two stands.
The next step I did was sand the two stands (top of the smaller stand/legs & the legs on the taller one). We will be adding a DIY top for the taller stand.
I used 120grit sanding pad on my hand sander. I’m painting both legs on each stand so I just sanded enough to rough up the wood//remove the shine for the paint to adhere.
After everything was sanded I decided to fill the holes on the legs of each stand (I think there was plugs here to cover screws originally).
I did not have any wood filler on hand so I improvised and decided to try joint compound. I wasn’t sure how it would turn out, but it ended up working for me!
Once the holes are filled/dried I lightly sanded them using 120grit sand paper. I then wiped both stands down to get ready to paint.
I painted the taller stand first (bottom) with Rustoleums flat black spray paint. I gave it two coats of spray paint.
Next I cut a piece of old barn board roughly an inch wider all the way around to place on top of the taller stand.
Next I glued on the piece of barn board using this 5 minute epoxy (I did not want to split the wood by drilling it into the stand). I let this sit overnight with something sitting on top to ensure the glue dried.
I then moved into the smaller stand. I decided to stain the top using two different Varathane Stains ( Kona & Linen White ).
I alternated between stains to get the desired look I was going for. I recommend using gloves, applying the stain in a well ventilated area & to wear a mask. I used an old sock to apply the stain.
I then painted the legs on the small stand using left over sample paint I had on hand. The colour I went for is a light grey.
This is the final result of my DIY plant stands made out of a Thrifted bar stool!!! I love the end look and they look great in my new yoga room!
Enjoyed the project?
Resources for this project:
See all materialsComments
Join the conversation
-
 Emily Harris
on Dec 12, 2024
Just awesome!
-
-
 Omaifi
on Dec 12, 2024
Turning a thrifted bar stool into a plant stand is not only budget-friendly but also adds so much charm to your space. I’ve been wanting to elevate my plants (literally!) to give them better light, and this DIY project is the perfect solution. I’ve been browsing Wayfair for plant stands, but nothing beats the satisfaction of creating something unique yourself. Plus, $3 is an unbeatable deal! I love the rustic look you achieved, it gives your plants a homey, cozy vibe.
-












Frequently asked questions
Have a question about this project?