DIY Crate Storage Ottoman

Hey Everyone! In today's project I will be showing you I created this crate ottoman. It's super cute because it doubles as storage and beautiful decor.
We want to help you DIY, so some of the materials in this post are linked to sellers. Just so you know, Hometalk may collect a small share of sales from the links on this page.
You can also find all the products on Amazon:
(Amazon)
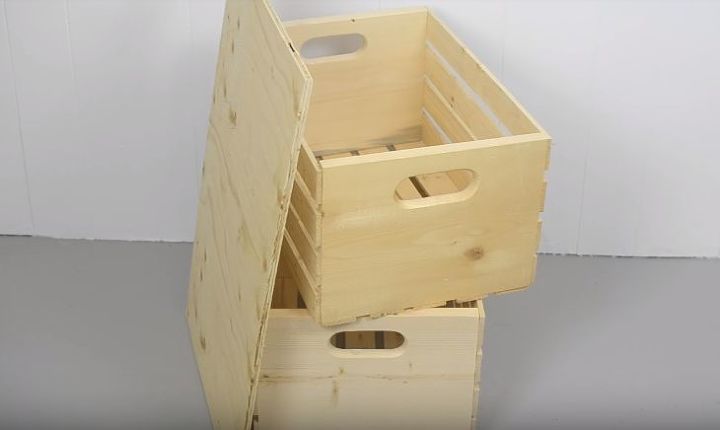
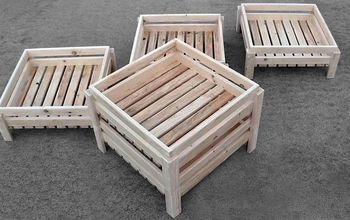
What you will need are two crates that are 25" by 17.5", you will need two planks of wood, some upholstery foam, and some upholstery backing, fabric, some paint, and a roller, as well as a paint brush. A drill, a staple gun, sand paper, four caster wheels, hinges, and screws. Some ribbon, and a glue gun.
First off you are going to sand your crates. You don't necessarily need a sander, sand paper works as well.
Next up you will paint your pieces. I painted in white. The paint and primer were in one so I used two coats (I used a lighter hand for the second coat). You only need to paint one plank of wood since other will be covered with your upholstery.
Now, take some time to align your crates with your base. To make things easier I used painters tape to hold things together when I lined things up. Now, take some time to align your crates with your base (one of the pieces measuring 25" x 17.5") to make things easier I used painters tape to hold things together when I lined things up.
Now I am going to take 8 screws and using a drill bit I will put them in the corners of the crates.
To upholster your lid you take your fabric and align it with the plank measuring out a 2 and half inches before cutting.
Take the foam cushion and glue it to the seat using the hot glue gun.
Take your staple gun to secure the sides of the fabric and keep stuffing the fabric to make it nice and full.
To cover the back side take some fabric glue and fabric and glue it down. I Used clay fabric for a neater look. To cover the raw edges I used ribbon and glued them with fabric glue.
To attach the lids of the crate you will make markings on each side. Use shorter half inch screws so they don't poke through the cushion and drill them in. Remember to make the hinges centered over the handles.
Attach the four wheels on the bottom and we are all done!
There you have it. I am so pleased with how this came out. It can roll along the room really easily and there is a lot of room for storage as well.












Frequently asked questions
Have a question about this project?
I love this idea! Great job making it beautiful! My only concern is how to clean the bottom once it's been in use for a while. Maybe vacuum with a pointy attachment between the wood? I'm thinking a half white board and half chalk board top to make a rolling craft cart for my 4-year-old. If I make the top extra sturdy it could double as a seat for her!
What do you think...this would be great for our patio...would the plastic milk crates work as well? I know wood and rain don't mix. I have outdoor fabric and lots of milk crates and casters that I save from old furniture. Your opinion would help. Thank you.
I wanted to add this -- I kept 1 copy for ME to use and 1 to giveaway. Very interesting idea. Any reason you couldn't make them longer--as many crates as necessary to make temporary bed for a little one? Any idea how much weight crates will hold up?