


How to Build a Frame Around a Window With A Curtain Box

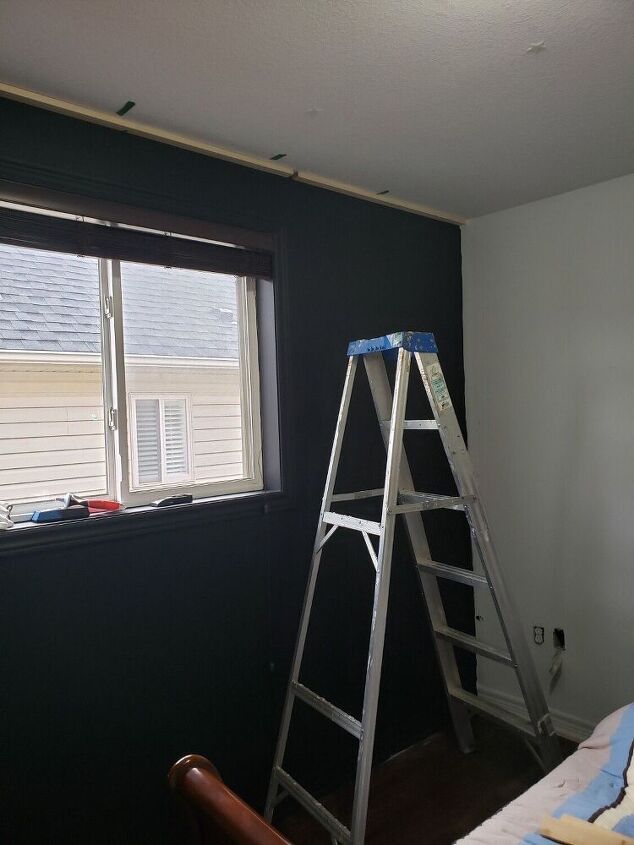
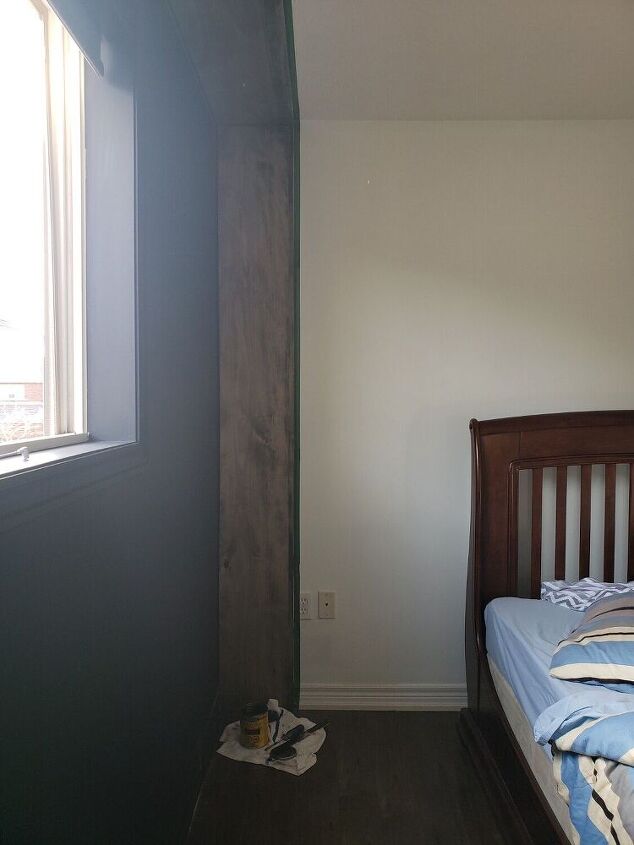
We have a very large curtain rod over our window, and it just didn't have the aesthetic finished look I wanted for this room. So, I added a new feature to our window with a DIY curtain box. It made such a beautiful feature to an otherwise boring wall. And it was a fairly easy and budget friendly DIY.

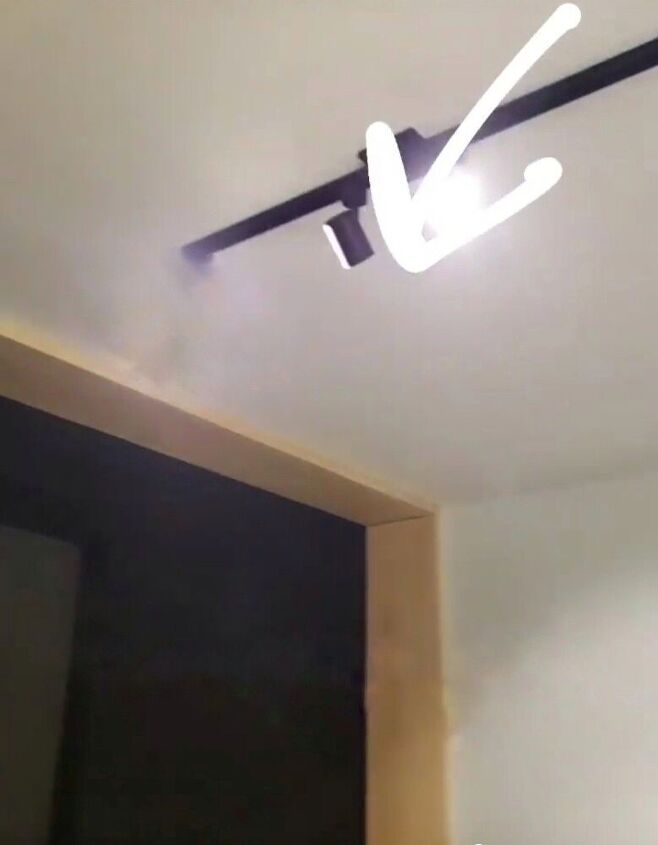
The plastic blinds started to warp and this window looked like an eye sore because of it. Like all room refreshes, one thing led to another, and new blinds led to adding new curtains for a more layered look. That's when I added the curtain rod, and thought it looked heavy still.
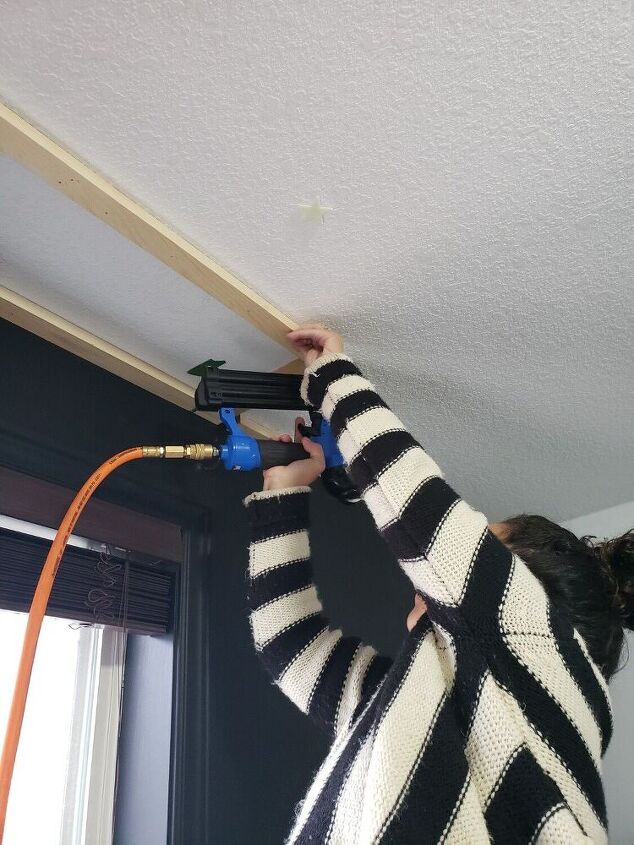
I used 1x2 select pine to frame the ceiling above the window from end to end of the wall.
After putting up the frame along the edge of the wall above the window I added another frame with 1x2 pine, which would be used to attach the pine to frame the ceiling.
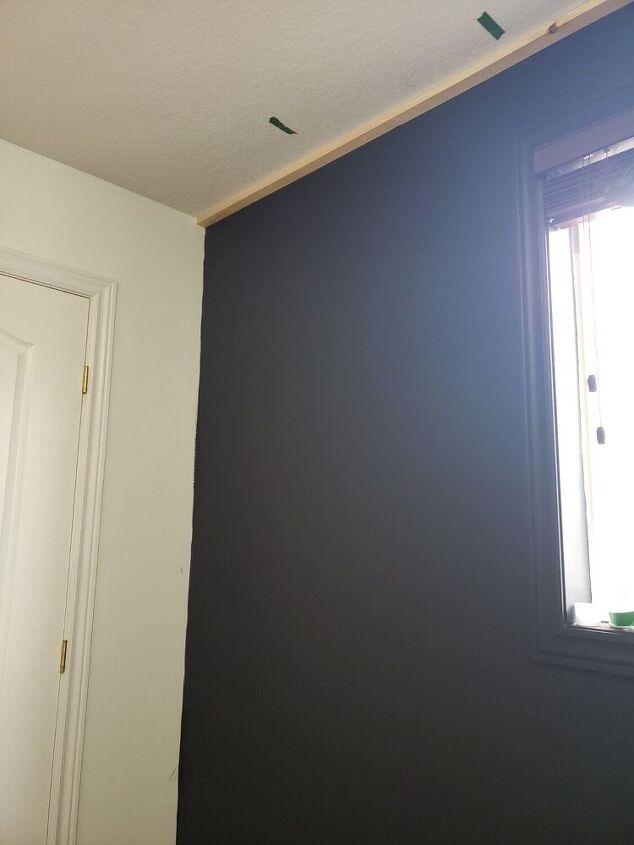
This second frame was spaced 12 inches apart from the first one, along the whole wall of the window. For a little extra, I continued the framing onto the wall on the left and right to add more of a wood and bulk feature to the room (but you don't have to add to the walls. Just boxing the window is fine).

Here's how the framing on the wall looks. I'll be framing and adding 1/4 " pine to it for aded wood feature.
Nail the pine into the frame made.

Pine was stained and added along the wall and the ceiling by the window. As seen in the picture below.
I basically framed the whole side of the wall. I ended up adding strip lighting around the wood too. Back to framing the ceiling....
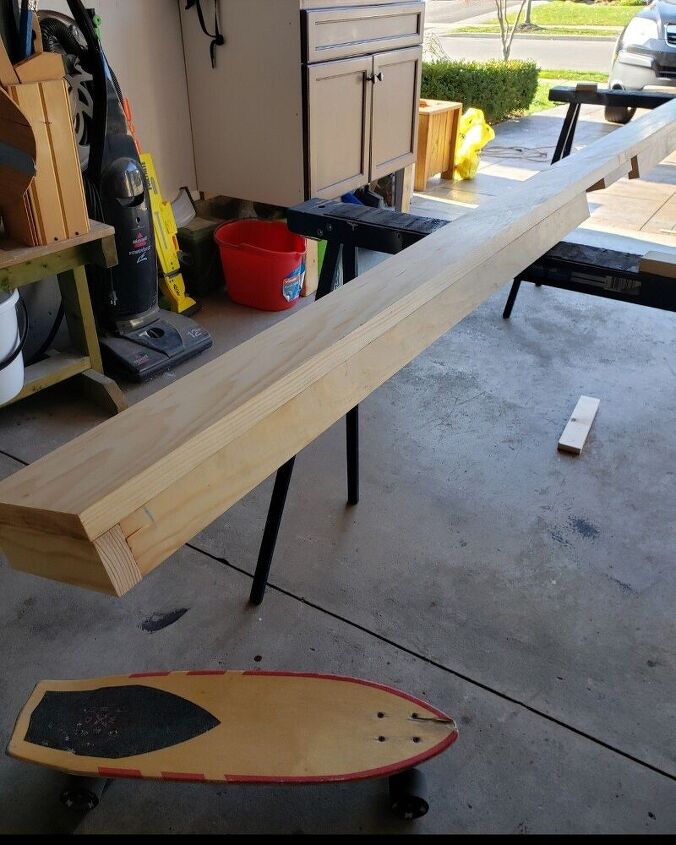
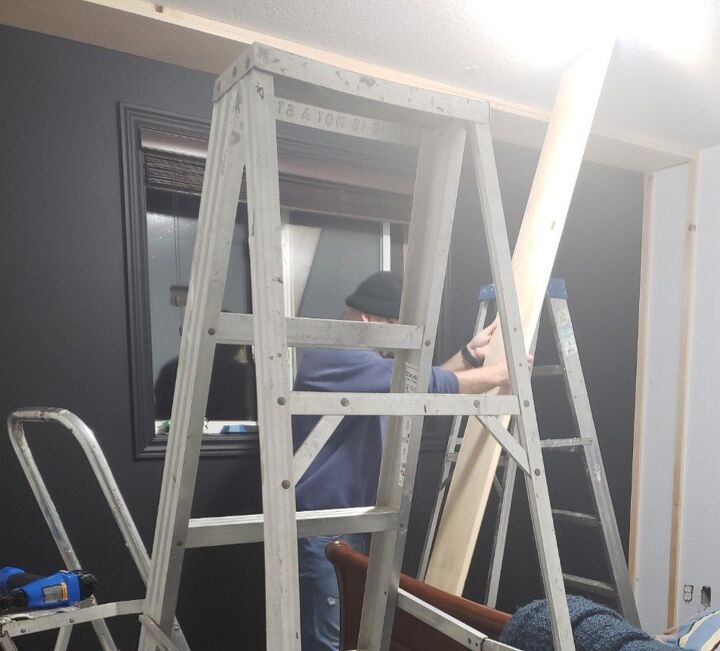
Select pine (3/4" x 12") box was made to add in front of the window. Then stain one it's nailed up.
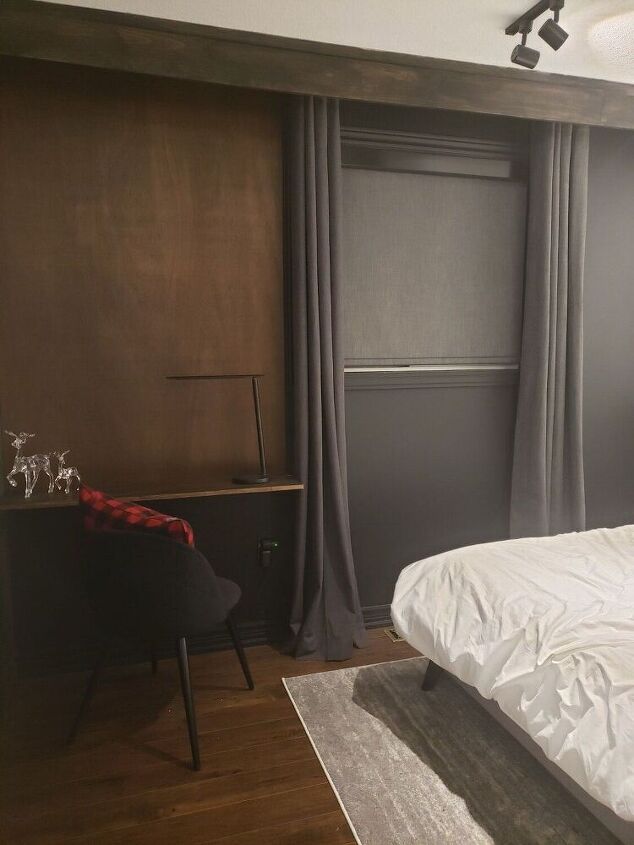
Last step is to put up the window box created to add to the framing. Here's the window box nailed into the frame, and stained. Love the look of this, I think it gives a chic boutique hotel vibe.
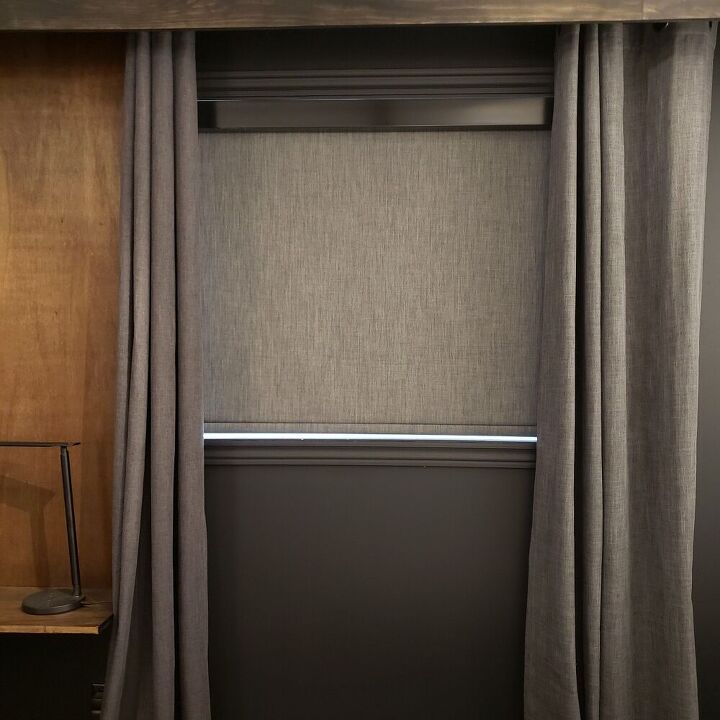
This curtain box covered up the large curtain rod, but also gives the room a modern simple look.
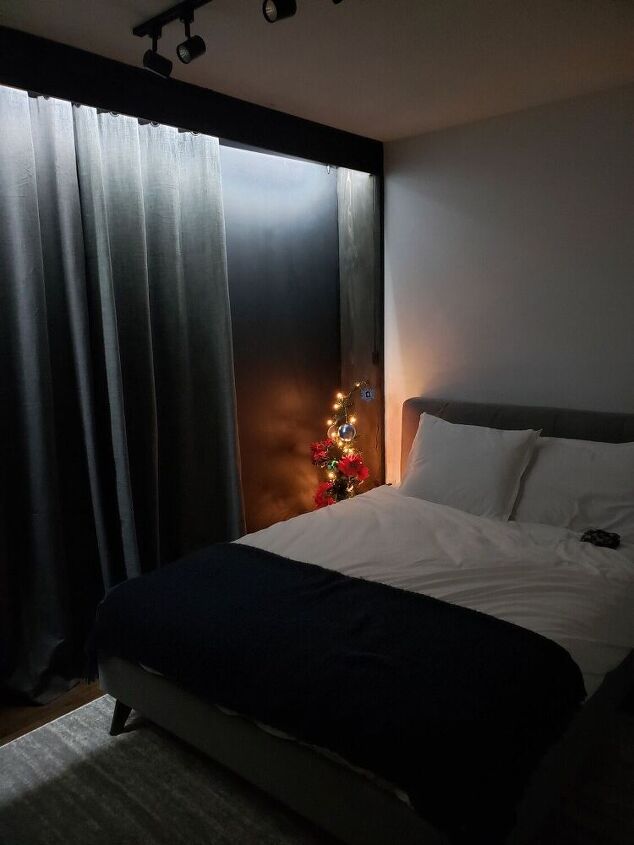
I also added strip lighting strings the frame and beneath the curtain box giving it even more modern vibes.
Hope you like this.

If you want to see more of this being installed, check out my instagram bubble titled "FALL 2020 ORC"
https://www.instagram.com/s/aGlnaGxpZ2h0OjE3OTE1MDAzMTc5NDgzMTU1?igshid=5mksh3r16agl&story_media_id=2427305985428089286_10181349765
Resources for this project:
See all materials


Comments
Join the conversation
-
Looks like a hotel room
-
That’s a great return for your $$! It doesn’t look homemade at all - quite elegant!


Frequently asked questions
Have a question about this project?
Really Love this Idea but how much totally did it cost?