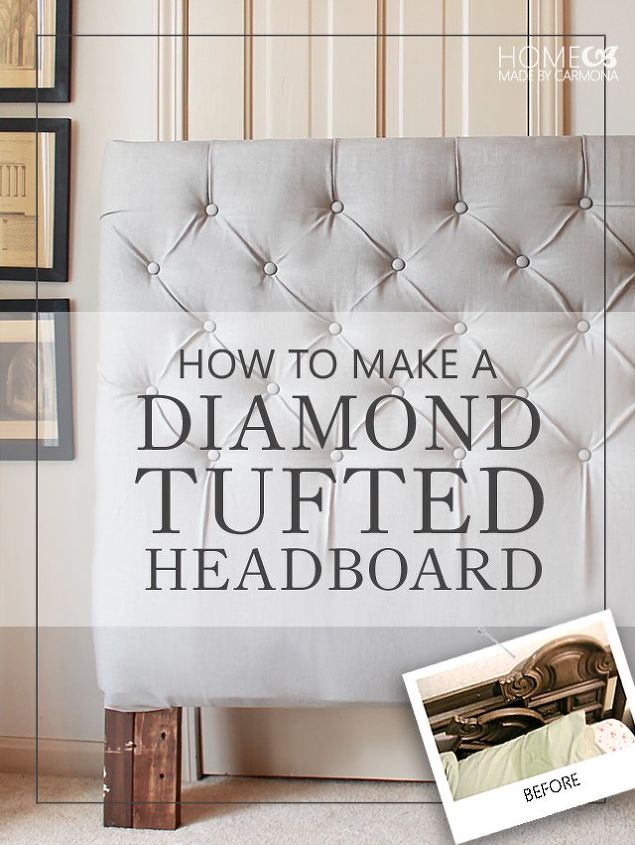
How To Make a Sophisticated Diamond Tufted Headboard for Only $50!

Nothing is worst than being super frugal, yet having such expensive taste. I have wanted a gorgeous diamond tufted headboard for years without any hope of every owning one...that is until I made one myself! With a slew of clever budget saving tricks, I spent UNDER $50 to make this gorgeous knock off.
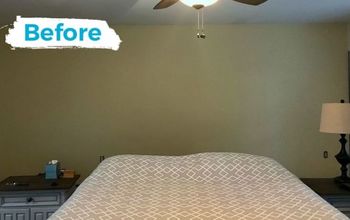
You will never believe this headboard's before picture. It is officially as scary to look at (and old) as headboards get.
After stripping off the old decorative backing, I added some plain pieces of plywood (actually salvaged wood from an old MDF wardrobe) to create a backing, and a 2x4 to the top to frame it up and add a little height.
If the first thing you do is run out to the store and buy the first set of [high end] materials you need for a project, you'll end up spending an arm and a leg. Keep your project frugal by searching for low budget materials, and clever alternates to high end material.
I chose to keep this project really low cost by using eggcrate mattress foam (found at Walmart for just $11), instead of spending $50 per yard on upholstery foam.
I used salvaged wood, and low end framing studs...you're just going to cover it up anyway!
Then I used coupons on the high end items that would typically need to be purchased at full cost; such as a button kit, or home decor fabric.
Covering up your ugly old headboard (or headboard frame) is easy. The challenging part of this project will be making your own buttons, otherwise the rest is surprisingly simple to execute!
I include lots of clever shortcuts to make this DIY as sturdy and easy as possible.
If you are intimidated by the idea of folding tufts, don't be! This tutorial excludes that step altogether...tufts are the natural result of pulling buttons tight! No folding required.
You are going to be shocked that you can do it yourself with such amazing results! Many of my readers have shared pictures that they could do it following my step-by-step, and I know if we can, then so can you! Who say's you can't have that stunning (high end) diamond tufted headboard of your dreams?
Be sure to stop by the blog for the full tutorial: https://homemadebycarmona.com/make-diamond-tufted-headboard/
Enjoyed the project?
Suggested materials:
- Mattress Foam (Walmart)
- Quilt Batting (Fabric Store)
- Fabric of Choice
- Button covers (JoAnns / Amazon)

Comments
Join the conversation
-
 Ashley
on Apr 02, 2019
Looks good! Just a tip though, the reason you had so much trouble with the first row, is that when you're tufting any project, you need to lay it down flat (sawhorses or the equivalent work really well), and start from the middle, then work your way out to the edges. Starting at the edges makes it difficult to get the pleats right, and doesn't allow for the diamond shape at the edge either. Also, for anyone who doesn't want to, or can't drill holes into their board or project piece, tufting tacks work just as well. They look like buttons (or diamonds in my case), but have a nail-like appendage on the back. You still need to plan out your spacing, and be sure to dig out some of the foam around the space where the buttons will sit. This gives a deeper tufted look, and a more defined pleat. Then just use a rubber mallet and nail those suckers in place. They hold really well, especially on something like a headboard that won't have anyone/anything pulling/putting strain on it, and they look fantastic!!
-
-











Frequently asked questions
Have a question about this project?
Where is the tutorial? It just jumps straight to the fabric... I need instructions for my carpenter....
What is MDF doors?
Very beautiful, but this instruction is not enough. "... making your own buttons, ..." - what does it mean?