How to Paint Faux Wood Grain: DIY Dresser Makeover
In this tutorial, I'll walk you through the process I used to create a stunning faux wood grain painting finish on a piece of furniture. By following these step-by-step instructions, you can transform any plain surface into a beautifully textured and aged wood-like masterpiece.
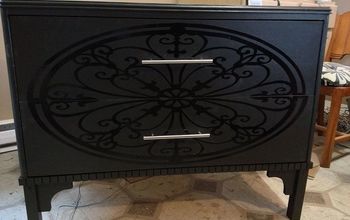
Previously, I showed the same painting technique on a pair of matching nightstands. The combination of priming, painting, glazing, and sealing will give your project a realistic wood appearance with intricate details. Let's dive in and bring this wood faux finish to life!
Supplies and Materials
- Zinsser 123 primer
- Spackling paste or wood filler
- Sandpaper (medium and fine grit)
- Spanish Sand chalk-colored paint (2 coats)
- Aged Glaze
- Sponge brush
- Small paintbrush
- Large paintbrush
- Kid's broom (for adding texture)
- Vara Thane water-based satin polyurethane
- Hardware (screws, knobs, etc.) from Amazon
- Paint trays
- Drop cloths or old newspapers
- Painter's tape (optional)
- Clean cloth or sponge
How to paint faux wood grain
1. Prepare the Surface
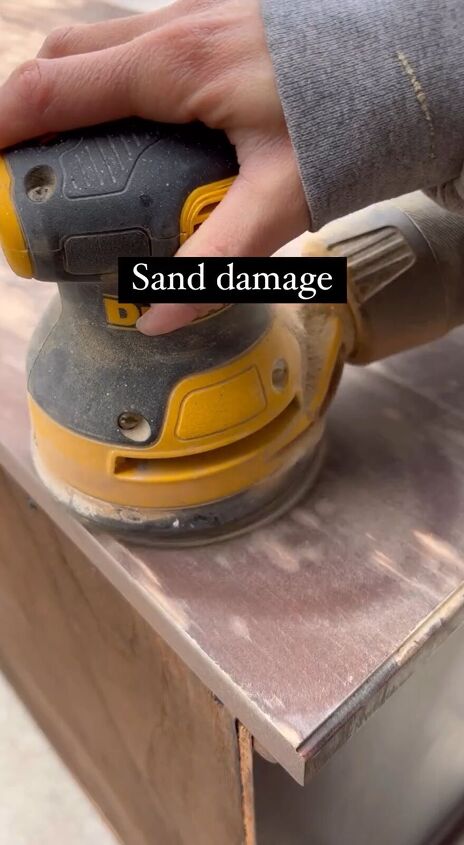
Start by ensuring your surface is clean and free of any dust or debris. If your furniture has an existing finish or paint, sand it lightly to create a smooth surface for the primer to adhere to. Fill any damaged areas, holes, or imperfections with spackling paste or wood filler. Once dry, sand the patched areas until they are flush with the surface.
2. Prime the Surface
Apply a coat of Zinsser 123 primer to the entire surface. This will help the paint adhere better and provide a solid base for the faux finish. Use a paintbrush or roller, depending on the size of your project. Allow the primer to dry according to the manufacturer's instructions.
3. Base Coat
Paint two coats of Spanish Sand chalk-colored paint onto the primed surface. Allow each coat to dry completely before applying the next. This will serve as the base color for your wood faux finish.
4. Applying the Aged Glaze
Using a sponge brush, apply the Aged Glaze evenly over the painted surface. For detailed areas, switch to a small paintbrush. To create a smooth and cohesive look, use a large paintbrush to blend the glaze in long, even strokes. For added texture, lightly drag a kid's broom over the wet glaze, following the grain of the "wood." This step adds depth and character to the faux finish.
5. Protect with Polyurethane
Once the glaze has dried and you're satisfied with the level of aging and texture, apply a topcoat of Vara Thane water-based satin polyurethane. This will seal the finish, protect it from wear, and give it a subtle sheen. Apply the polyurethane in thin, even coats, following the manufacturer's instructions. Allow each coat to dry before adding another layer.
6. Add Hardware
Enhance the wood-like appearance by adding hardware from Amazon. Whether it's knobs, handles, or other decorative elements, choose pieces that complement the overall style of your faux wood finish. Attach the hardware securely to your project using appropriate screws or fasteners.
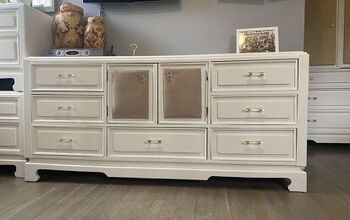
Faux wood grain painting on a dresser
Congratulations! You've successfully transformed your piece of furniture with a captivating wood faux finish. By following these steps and utilizing the right supplies, you've created a stunning and realistic wood-like texture with intricate detailing.
This technique can be applied to various surfaces, allowing you to bring a touch of rustic charm to your living space. Enjoy your newly faux-finished masterpiece!
Follow @moderntouchbyjanette on Instagram for more DIY ideas.










Frequently asked questions
Have a question about this project?
Hi this is beautiful! Could you send links or at least product names/brands for the “aged glaze” and “Spanish sand chalk paint?”